Peanut Butter Butterfinger Cookies
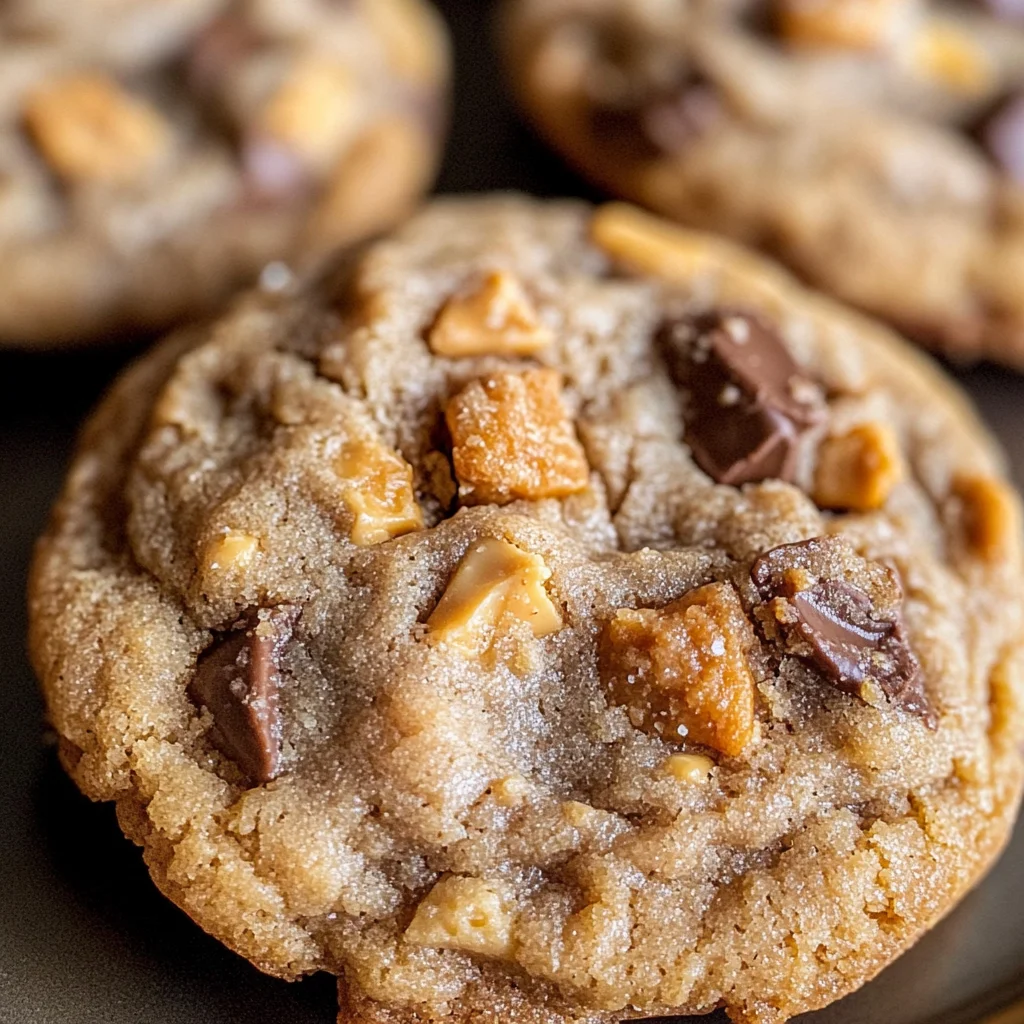
If you’re looking for a cookie that combines the rich taste of peanut butter with the delightful crunch of Butterfinger candy, then these Peanut Butter Butterfinger Cookies are just what you need! They are soft, thick, and oh-so-delicious, making them perfect for family gatherings or simply indulging during a cozy night in. Trust me, once you try these cookies, you’ll wonder how you ever lived without them!
This recipe is not only a treat for your taste buds but also super easy to whip up. Whether you’re baking with kids or looking for a fun weekend project, these cookies fit the bill perfectly. Let’s dive into why you’ll love this recipe!
Why You’ll Love This Recipe
- Easy to make: With simple steps and common ingredients, you’ll have these cookies ready in no time.
- Kid-approved: Everyone loves peanut butter and chocolate! These cookies are sure to be a hit with the little ones.
- Make-ahead friendly: Prepare the dough in advance and chill it until you’re ready to bake.
- Perfectly sweet: The combination of peanut butter and Butterfinger gives just the right amount of sweetness and crunch.
- Great for sharing: Bake a batch and surprise your friends or neighbors; they’ll appreciate your delicious gesture!
Ingredients You’ll Need
You won’t need anything fancy for these Peanut Butter Butterfinger Cookies—just some simple, wholesome ingredients that come together beautifully! Here’s what you’ll need:
- 3/4 cup butter (softened – 1 and 1/2 sticks)
- 1/2 cup granulated sugar
- 1/2 cup brown sugar (packed)
- 1 cup peanut butter (don’t use natural pb)
- 1 large egg
- 1 & 1/2 teaspoons vanilla
- 1 & 1/2 cups all-purpose flour (spooned and leveled)
- 1/2 teaspoon baking soda
- 1/2 teaspoon baking powder
- 1/4 teaspoon kosher salt
- 16 ounces Butterfinger (chopped)
Variations
One of the best things about this cookie recipe is its flexibility! If you’re feeling adventurous or want to tweak things based on personal preference, here are some fun ideas to consider:
- Add chocolate chips: For an extra chocolaty flavor, mix in some semi-sweet or dark chocolate chips!
- Use different candies: Try swapping out Butterfinger for other favorite candies like Reese’s Pieces or M&M’s.
- Make it nut-free: Substitute sunflower seed butter for peanut butter to make these cookies nut-free.
- Experiment with spices: A pinch of cinnamon can add a warm touch to the flavor profile.
How to Make Peanut Butter Butterfinger Cookies
Step 1: Cream the Butters
In a large bowl or stand mixer, beat your softened butter until it’s smooth and creamy. This step is crucial as it helps incorporate air into your cookie dough, leading to delightful fluffiness when baked.
Step 2: Mix Sugars
Add both granulated sugar and packed brown sugar into the bowl. Beat them together until fluffy—about two minutes should do it! This mixing process breaks down any chunks of butter and creates that perfect sweet blend.
Step 3: Add Peanut Butter
Now it’s time for the star ingredient—peanut butter! I recommend using Jif or another creamy variety. The creaminess will help bind everything together while adding that incredible flavor we all love.
Step 4: Incorporate Egg and Vanilla
Crack in one large egg along with one and a half teaspoons of vanilla extract. Mixing these in creates richness in flavor and helps with texture. Just remember to scrape down the sides occasionally!
Step 5: Combine Dry Ingredients
Add one and a half cups of all-purpose flour along with baking soda, baking powder, and kosher salt on top. Before mixing everything together, stir those dry ingredients gently with a spoon to break up clumps. This will ensure even distribution when combined into the dough.
Step 6: Form Your Dough
Turn on your mixer at low speed until everything just comes together. Be careful not to over-mix—the goal is soft dough without any visible flour! Once combined, fold in those chopped Butterfinger bits gently so they’re evenly dispersed throughout.
Step 7: Chill the Dough
Cover your bowl with plastic wrap or a lid and chill it for at least 15 minutes (or up to 24 hours). Chilling helps solidify the fats again which makes for thicker cookies that hold their shape better while baking.
Step 8: Preheat Oven & Shape Cookies
Preheat your oven to 350°F (175°C) while you shape your dough into two-inch balls using your hands or a cookie scoop. Place them on parchment-lined baking sheets about an inch apart.
Step 9: Bake Away!
Slide those trays into the oven! Bake them for about ten minutes until they puff slightly but still look set around the edges. If needed, gently press down on each cookie after removing from the oven.
Step 10: Cool & Enjoy!
Let them rest on the pan for five minutes before transferring them onto wire racks to cool completely. I recommend waiting until they’re nearly room temperature before diving in; it’ll enhance their texture!
Now that you know all about making these scrumptious Peanut Butter Butterfinger Cookies, go ahead and give them a try! They might just become your new favorite treat!
Pro Tips for Making Peanut Butter Butterfinger Cookies
Baking is always a delightful adventure, and these tips will ensure your Peanut Butter Butterfinger Cookies turn out perfectly every time!
-
Use room temperature ingredients: Starting with softened butter and room temperature egg helps create a smoother dough that incorporates more air, resulting in fluffier cookies.
-
Don’t overmix the dough: Mixing just until combined prevents gluten development, which keeps your cookies soft and chewy rather than tough.
-
Chill the dough: Allowing the dough to chill for at least 15 minutes enhances the flavors and prevents spreading too much during baking, giving you thicker cookies.
-
Press down gently: If your cookies don’t spread enough while baking, lightly press them down with a spatula right out of the oven. This technique helps achieve that perfect cookie shape.
-
Store properly: To maintain freshness, store cookies in an airtight container. You can also freeze dough for later enjoyment, ensuring you have a treat on hand whenever cravings strike!
How to Serve Peanut Butter Butterfinger Cookies
These delicious cookies are perfect for any occasion, whether you’re hosting a party or enjoying a cozy night in. Here are some fun ideas to present them beautifully!
Garnishes
- Drizzle of chocolate: A simple drizzle of melted chocolate over the cooled cookies adds an elegant touch and enhances their flavor.
- Chopped nuts: Sprinkling some chopped peanuts or pecans on top creates extra crunch and complements the peanut butter flavor.
Side Dishes
- Milk: A classic pairing! The creamy texture of milk balances out the richness of the cookies and makes each bite even more enjoyable.
- Ice cream: Serve these cookies alongside a scoop of vanilla or chocolate ice cream for a decadent dessert experience that’s sure to impress.
- Coffee or tea: The warm flavors of coffee or tea provide a delightful contrast to the sweetness of the cookies, making for an inviting afternoon treat.
- Fruit platter: A fresh fruit platter with berries or sliced apples offers a refreshing contrast to the rich flavors of these cookies, adding color and nutrition to your dessert table.
Now you’re all set to make and serve these fantastic Peanut Butter Butterfinger Cookies! Enjoy every bite!
Make Ahead and Storage
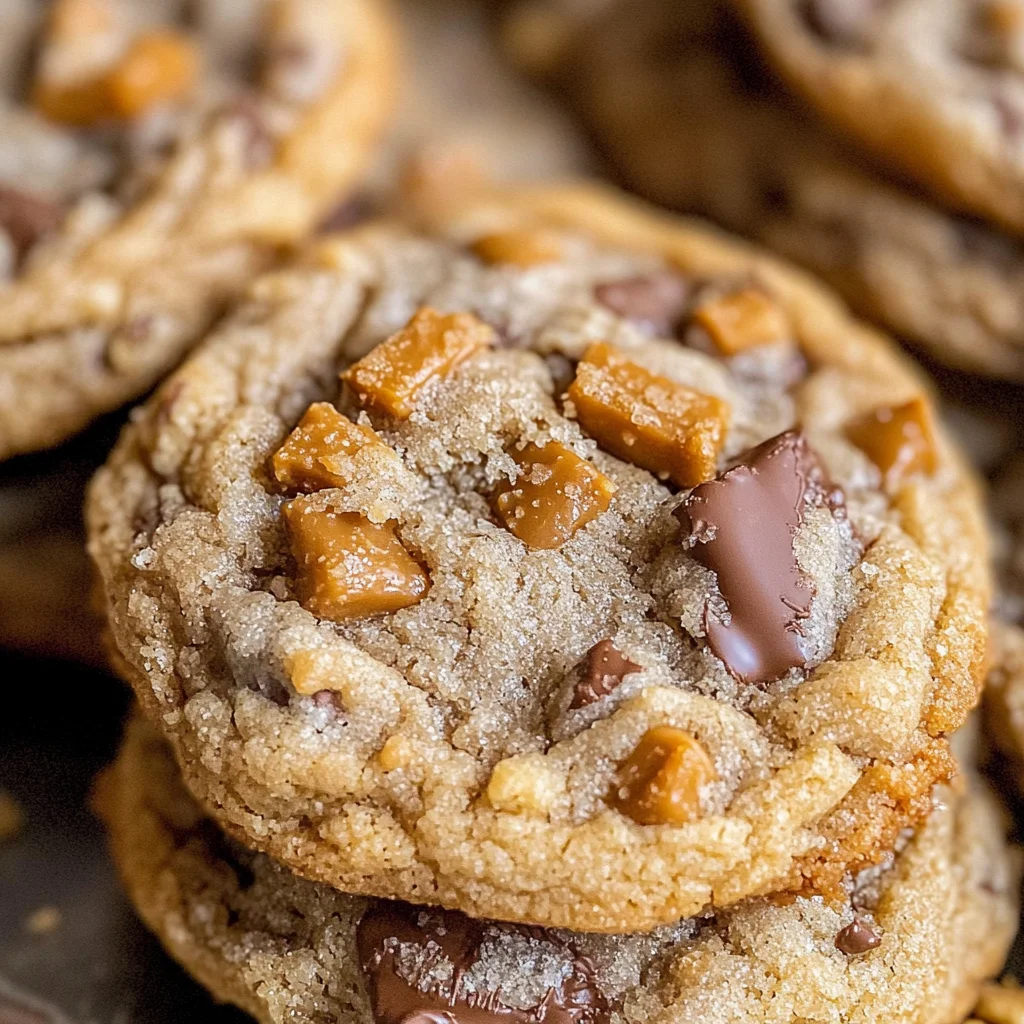
These Peanut Butter Butterfinger Cookies are perfect for meal prep! Whether you’re planning a special occasion or just want to have a delightful treat on hand, this recipe has you covered.
Storing Leftovers
- Store cookies in a tightly sealed container at room temperature for up to 3 days.
- To keep them fresh longer, consider placing parchment paper between layers of cookies to prevent sticking.
Freezing
- Freeze cookie dough balls in a ziplock bag for up to 3 months.
- For baked cookies, store them in a sealed container for up to 4 weeks.
- When baking from frozen, add an extra minute or two to the cooking time and press down gently with a spatula after baking.
Reheating
- To enjoy warm cookies, reheat in the microwave for about 10-15 seconds.
- Alternatively, place them in a preheated oven at 350°F (175°C) for about 5 minutes until warmed through.
FAQs
Got questions? I’ve got answers! Here are some common queries about these delicious cookies.
Can I use natural peanut butter for Peanut Butter Butterfinger Cookies?
While you can technically use natural peanut butter, it may alter the texture and flavor of your cookies. For best results, stick with a creamy variety like Jif or Skippy.
How should I store my Peanut Butter Butterfinger Cookies?
Store your cookies in an airtight container at room temperature for up to 3 days. You can also freeze them for longer storage if desired!
Can I make these Peanut Butter Butterfinger Cookies without eggs?
Yes! You can substitute eggs with flaxseed meal or applesauce as alternatives. This will still yield tasty results while accommodating different dietary needs.
What’s the secret to thick Peanut Butter Butterfinger Cookies?
The key is not overmixing your dough and ensuring you chill it before baking! This helps achieve that thick, soft texture we all love.
Final Thoughts
I hope you enjoy making these Peanut Butter Butterfinger Cookies as much as I do! They’re not just a treat; they’re an experience filled with peanut buttery goodness and delightful crunchiness. Whether you’re sharing them with friends or savoring them yourself, they are sure to bring smiles all around. Happy baking!
Peanut Butter Butterfinger Cookies
Indulge in the delightful combination of creamy peanut butter and crunchy Butterfinger candy with these Peanut Butter Butterfinger Cookies. Soft, thick, and incredibly satisfying, these cookies are a perfect treat for family gatherings or a cozy night in. With simple ingredients and easy-to-follow steps, you can whip up a batch that everyone will love. Whether you’re baking with kids or looking for a fun weekend project, this recipe is sure to become a favorite!
- Prep Time: 20 minutes
- Cook Time: 10 minutes
- Total Time: 30 minutes
- Yield: Approximately 24 cookies 1x
- Category: Dessert
- Method: Baking
- Cuisine: American
Ingredients
- 3/4 cup softened butter
- 1/2 cup granulated sugar
- 1/2 cup packed brown sugar
- 1 cup creamy peanut butter
- 1 large egg
- 1.5 teaspoons vanilla extract
- 1.5 cups all-purpose flour
- 0.5 teaspoon baking soda
- 0.5 teaspoon baking powder
- 0.25 teaspoon kosher salt
- 16 ounces chopped Butterfinger candy
Instructions
- Preheat your oven to 350°F (175°C).
- In a large bowl, cream the softened butter until smooth.
- Add granulated and brown sugars; beat until fluffy.
- Mix in peanut butter, egg, and vanilla until well combined.
- Stir together flour, baking soda, baking powder, and salt; gradually add to the wet mixture.
- Fold in chopped Butterfinger pieces gently.
- Chill the dough for at least 15 minutes.
- Shape dough into two-inch balls and place them on parchment-lined baking sheets about an inch apart.
- Bake for about 10 minutes until puffed but set around the edges.
- Allow cookies to cool on the pan for five minutes before transferring to wire racks.
Nutrition
- Serving Size: 1 serving
- Calories: 150
- Sugar: 8g
- Sodium: 95mg
- Fat: 7g
- Saturated Fat: 4g
- Unsaturated Fat: 2g
- Trans Fat: 0g
- Carbohydrates: 18g
- Fiber: 1g
- Protein: 3g
- Cholesterol: 15mg


