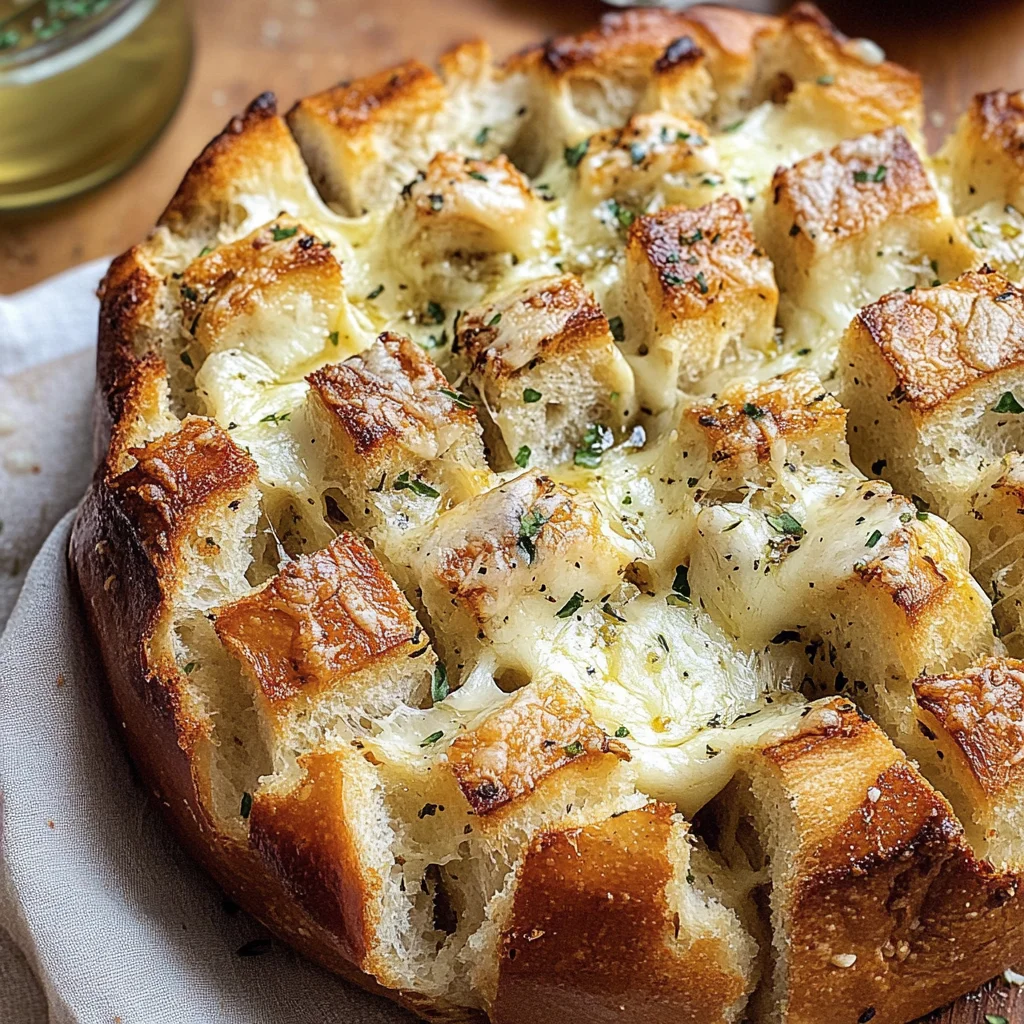
Pull Apart Garlic Bread Recipe
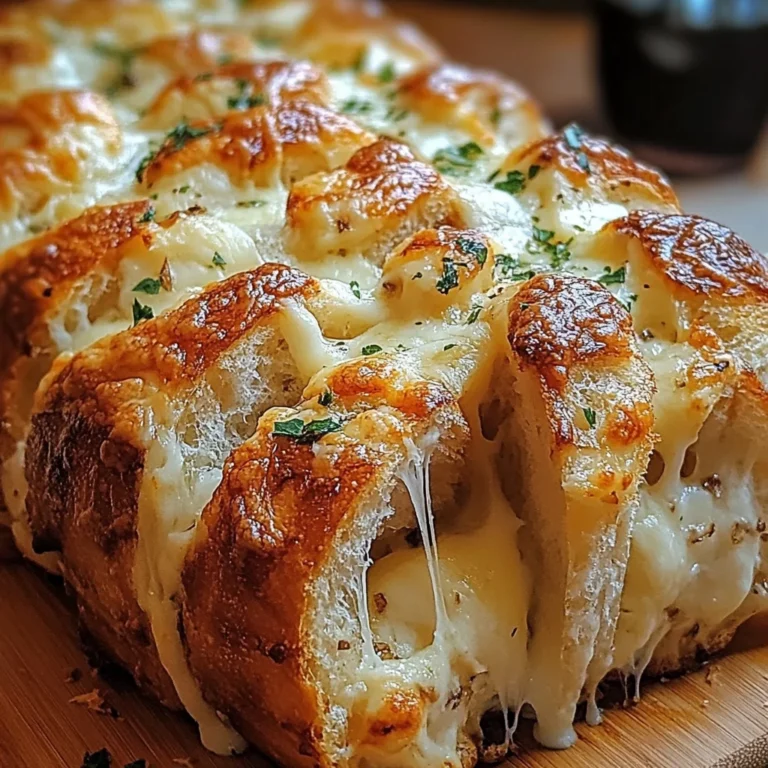
If you’re looking for a fun and irresistible appetizer, this Pull Apart Garlic Bread Recipe is just what you need! Imagine gathering around a warm, crusty loaf filled with garlicky goodness. Every pull reveals buttery, flavorful bites that are perfect for sharing. Whether it’s a busy weeknight dinner or a cozy family gathering, this dish is sure to bring smiles to your table.
I absolutely love how simple and satisfying this recipe is. There’s something special about breaking apart the bread, making it an engaging treat for everyone. Plus, it’s super easy to whip up, making it a go-to favorite in my kitchen!
Why You’ll Love This Recipe
- Easy to make: This recipe comes together in just 15 minutes of prep time, perfect for those busy days.
- Family-friendly: Kids and adults alike will enjoy pulling off their own pieces of delicious garlic bread.
- Flexible serving options: It works wonderfully as an appetizer or side dish alongside your favorite meals.
- Make-ahead friendly: Prepare the garlic butter mixture in advance for even quicker assembly later!
- Mouthwatering flavor: The combination of garlic, butter, and fresh herbs creates an aroma that will make everyone’s mouth water.
Ingredients You’ll Need
Let’s gather some simple and wholesome ingredients to create this delightful pull apart garlic bread. You probably have most of these at home already!
For the Bread
- 1 large round loaf of crusty bread (sourdough works great!)
For the Garlic Butter Mixture
- 1 cup (2 sticks) unsalted butter, softened
- 8 cloves of garlic (minced)
- 1/4 cup fresh parsley (finely chopped)
- 2 tablespoons fresh chives (finely chopped)
- 1/2 teaspoon salt
- 1/4 teaspoon black pepper
Optional Ingredients
- 1 cup shredded mozzarella or parmesan cheese
Variations
This recipe is wonderfully flexible! Here are some fun ways to customize your pull apart garlic bread:
- Add some heat: Mix in red pepper flakes for a spicy kick that adds excitement to each bite.
- Incorporate veggies: Toss in some finely chopped spinach or sun-dried tomatoes for extra flavor and nutrition.
- Cheesy delight: Swap out the mozzarella with cheddar or pepper jack cheese for a different cheesy experience.
- Herb-infused butter: Experiment with other herbs like basil or oregano for unique flavor profiles.
How to Make Pull Apart Garlic Bread Recipe
Step 1: Preheat Your Oven
Before diving into the preparation, preheat your oven to 350°F (175°C). This ensures your garlic bread cooks evenly and gets that lovely golden color.
Step 2: Prepare the Garlic Butter Mixture
In a bowl, combine the softened butter with minced garlic, chopped parsley, chives, salt, and black pepper. Mix until everything is well combined. This rich mixture is what makes our pull apart garlic bread so flavorful!
Step 3: Cut the Bread
Take your loaf of crusty bread and make diagonal cuts across the top about 1 inch apart. Be careful not to cut all the way through; we want it to stay intact at the bottom! Rotate the loaf 90 degrees and make another set of diagonal cuts to create a crosshatch pattern. This allows the buttery goodness to seep deep into every crevice.
Step 4: Spread the Garlic Butter
Using your fingers or a small spatula, gently spread that luscious garlic butter mixture between each cut. Make sure it gets nice and deep into those slices; that’s where all the flavor lives!
Step 5: Add Cheese (Optional)
If you’re using cheese, sprinkle it generously between those cuts. The melted cheese will add an extra layer of comfort and deliciousness that you won’t want to miss!
Step 6: Wrap and Bake
Wrap your entire loaf in aluminum foil but leave the top slightly open for crisping. Place it on a baking sheet and bake for about 15-20 minutes. This step helps keep everything moist while cooking.
Step 7: Crisp It Up
After baking, unwrap the top of the foil and return it to the oven for another 5-10 minutes until golden brown and crispy on top. This gives you that perfect texture contrast between soft inside and crispy outside.
Step 8: Serve Warm
Once out of the oven, let it cool for a few minutes before serving warm! Gather everyone around as they tear off their pieces—enjoy every savory bite together!
Pro Tips for Making Pull Apart Garlic Bread Recipe
Making the perfect pull apart garlic bread can be a delightful experience! Here are some tips to ensure your loaf turns out beautifully every time.
-
Use Fresh Ingredients: Fresh garlic and herbs can elevate the flavor of your garlic bread significantly. It’s worth opting for fresh over dried, as it brings a vibrant taste that really shines through.
-
Don’t Skimp on Butter: Generously applying the garlic butter mixture is key to achieving that rich, savory flavor that makes this dish irresistible. Make sure to get it into every nook and cranny!
-
Experiment with Cheeses: While mozzarella and parmesan are classics, don’t hesitate to explore other cheeses such as gouda or cheddar for a unique twist. Each cheese will impart its own character to the bread.
-
Control Your Baking Time: Baking times may vary depending on your oven and the size of your loaf. Keep an eye on it towards the end to achieve that perfect golden brown crust without burning.
-
Let It Rest: Allowing the bread to cool slightly before serving helps maintain its structure and makes it easier to pull apart. Plus, it gives you a moment to savor the aroma!
How to Serve Pull Apart Garlic Bread Recipe
Pull apart garlic bread is not just delicious; it’s also visually appealing! Presenting it well can make all the difference at your dinner table or during gatherings.
Garnishes
- Fresh Parsley: Sprinkle chopped fresh parsley on top right before serving for a pop of color and freshness.
- Grated Cheese: A light dusting of extra grated cheese adds a beautiful finish and enhances the cheesy goodness.
- Chili Flakes: For those who enjoy a little heat, a sprinkle of chili flakes can be a fun way to spice things up!
Side Dishes
- Mixed Green Salad: A simple mixed green salad with a light vinaigrette complements the richness of garlic bread while adding freshness and crunch.
- Roasted Vegetables: Seasonal roasted vegetables provide a hearty side that balances the flavors perfectly. Carrots, bell peppers, and zucchini work wonderfully.
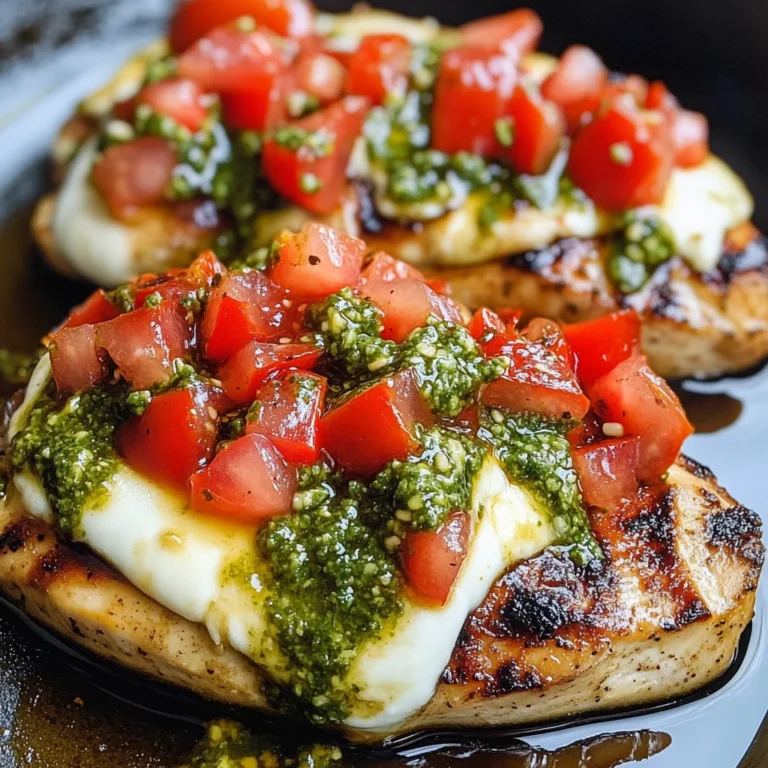
- Pasta Primavera: This colorful pasta dish loaded with seasonal vegetables makes for a delightful pairing that embraces Italian flavors.
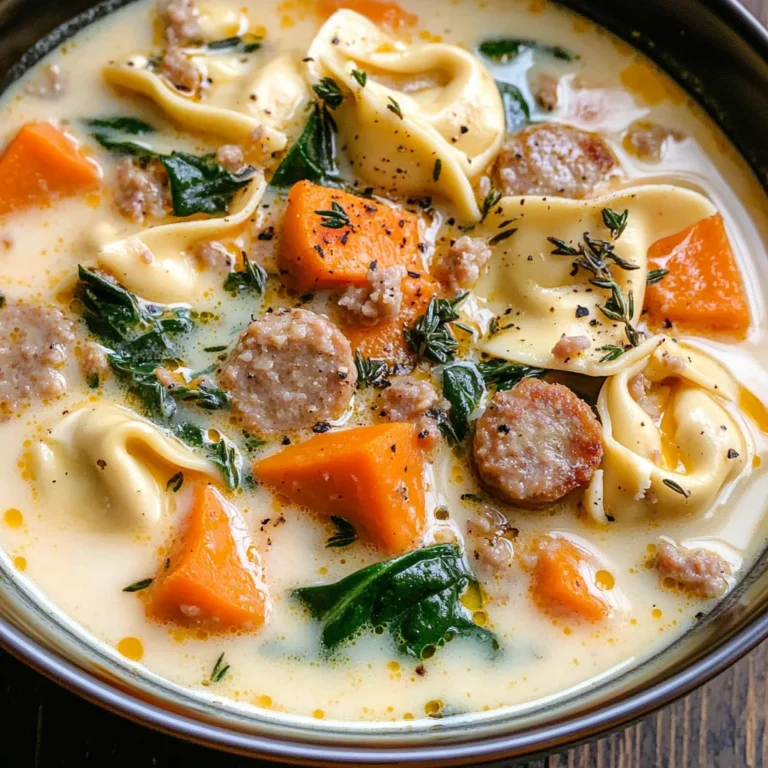
- Tomato Soup: A warm bowl of tomato soup is an excellent companion for pull apart garlic bread, creating a cozy meal perfect for any occasion.
With these tips and serving suggestions, your pull apart garlic bread will surely become a star at your next meal! Enjoy sharing this scrumptious treat with family and friends.
Make Ahead and Storage
This pull apart garlic bread recipe is not only delicious but also perfect for meal prep! You can prepare it in advance, making it a fantastic option for gatherings or busy weeknights. Here’s how to store and reheat your garlic bread to keep it fresh and tasty.
Storing Leftovers
- Allow the bread to cool completely before storing.
- Wrap leftovers tightly in plastic wrap or aluminum foil.
- Place the wrapped bread in an airtight container or a resealable bag.
- Store in the refrigerator for up to 3 days.
Freezing
- Prepare the garlic bread as directed but do not bake it.
- Wrap tightly in plastic wrap, followed by aluminum foil to prevent freezer burn.
- Label with the date and freeze for up to 2 months.
- When ready to bake, thaw overnight in the refrigerator before baking.
Reheating
- Preheat your oven to 350°F (175°C).
- Unwrap the garlic bread and place it on a baking sheet.
- Bake for 10-15 minutes until heated through and crispy on top.
- For best results, cover loosely with foil for the first half of baking time.
FAQs
Here are some common questions about this delightful recipe that you might find helpful!
Can I make this Pull Apart Garlic Bread Recipe without cheese?
Absolutely! The pull apart garlic bread recipe is wonderful on its own without cheese. The garlic butter mixture provides plenty of flavor, making it a delicious appetizer or side dish.
How long does it take to bake the Pull Apart Garlic Bread Recipe?
The total baking time for this pull apart garlic bread recipe is about 20-30 minutes. Bake initially covered in foil and then uncovered for a crispy finish!
Can I use different herbs in my Pull Apart Garlic Bread Recipe?
Yes! Feel free to experiment with your favorite herbs. Basil, oregano, or thyme can all add a unique twist to your pull apart garlic bread recipe.
What type of bread works best for Pull Apart Garlic Bread Recipe?
A large round loaf of crusty bread like sourdough works best due to its sturdy structure. However, you can also try ciabatta or focaccia for different textures!
Final Thoughts
This pull apart garlic bread recipe is truly special because it brings people together over warm, buttery goodness. I sincerely hope you enjoy making this delightful dish as much as I do! Whether it’s for a cozy night in or a lively gathering with friends, this recipe will surely impress everyone at the table. Happy baking!
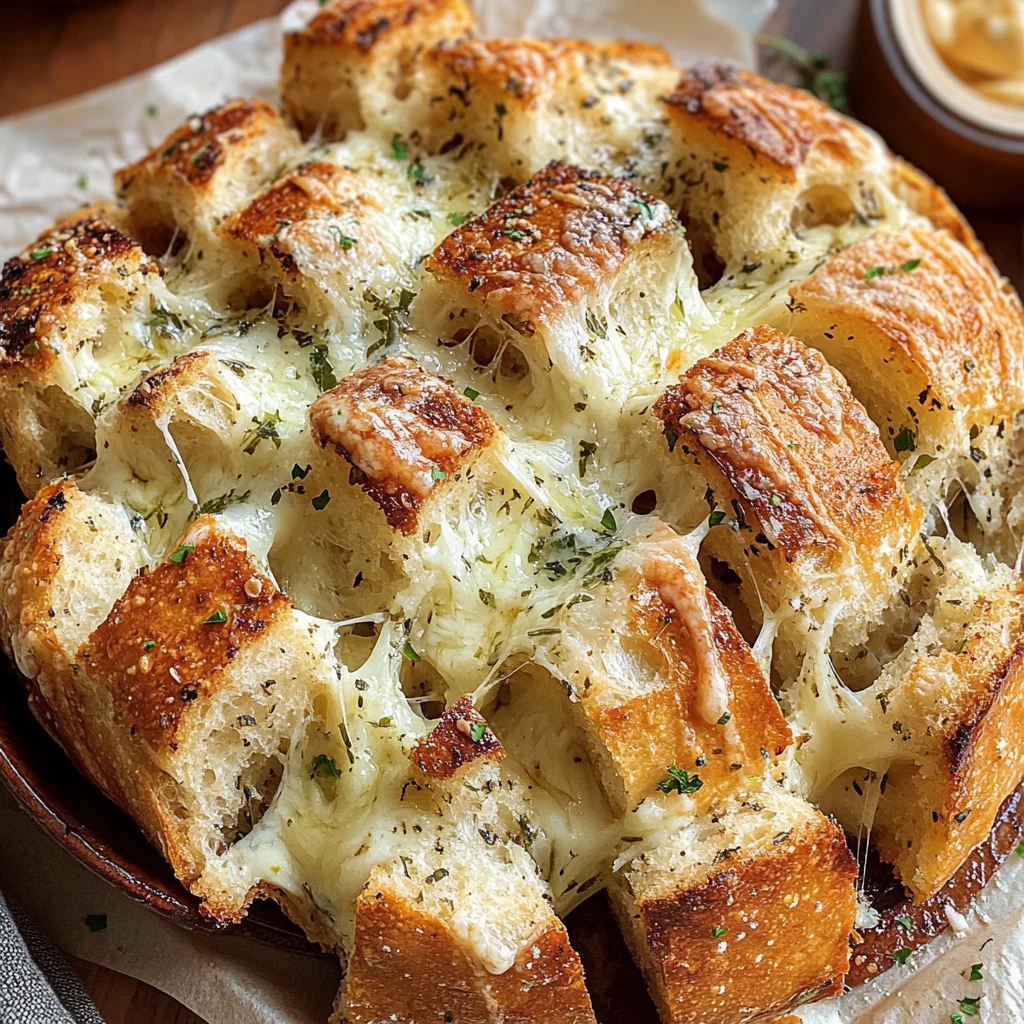
Pull Apart Garlic Bread Recipe
If you’re searching for a delightful and shareable appetizer, look no further than this Pull Apart Garlic Bread Recipe. Imagine gathering around a warm, crusty loaf infused with garlicky goodness. Each pull reveals buttery bites that are perfect for sharing, making it an excellent choice for busy weeknight dinners or cozy family gatherings. This recipe is not only simple to prepare but also provides a fun way for everyone to join in on the experience of tearing apart the bread. With its mouthwatering aroma and rich flavors, this dish is sure to impress your family and friends!
- Prep Time: 15 minutes
- Cook Time: 25 minutes
- Total Time: 40 minutes
- Yield: Approximately 12 servings 1x
- Category: Appetizer
- Method: Baking
- Cuisine: Italian
Ingredients
- 1 large round loaf of crusty bread (sourdough recommended)
- 1 cup unsalted butter, softened
- 8 cloves garlic, minced
- 1/4 cup fresh parsley, finely chopped
- 2 tablespoons fresh chives, finely chopped
- 1/2 teaspoon salt
- 1/4 teaspoon black pepper
- Optional: 1 cup shredded mozzarella or parmesan cheese
Instructions
- Preheat your oven to 350°F (175°C).
- In a bowl, mix the softened butter with minced garlic, chopped parsley, chives, salt, and black pepper until well combined.
- Cut diagonal slits into the top of the bread about 1 inch apart without cutting all the way through.
- Spread the garlic butter mixture generously between each cut.
- If using cheese, sprinkle it between the cuts.
- Wrap the loaf in aluminum foil (leaving the top slightly open) and place it on a baking sheet.
- Bake for 15-20 minutes; then unwrap and bake uncovered for an additional 5-10 minutes until golden brown and crispy.
- Allow to cool slightly before serving warm.
Nutrition
- Serving Size: 1 piece (approximately 60g)
- Calories: 270
- Sugar: 0g
- Sodium: 300mg
- Fat: 22g
- Saturated Fat: 14g
- Unsaturated Fat: 7g
- Trans Fat: 0g
- Carbohydrates: 18g
- Fiber: 1g
- Protein: 3g
- Cholesterol: 40mg