Buttercream sliding off cake is not always a sign that the frosting needs more sugar. A warm cake, a damp surface, a heavy coating or unstable layers can each undermine the finish. Begin by finding what is moving: the coating alone, a filling seam or the entire stack.
Stop decorating as soon as you notice the movement. Adding a border to cover a bulge, or another thick coat to conceal a slipping patch, increases the load without correcting the cause. A small pause for inspection gives you a better chance of saving the finish than pressing forward while the structure changes underneath it.
Locate the movement before touching the cake
Look at the top, sides and board. If the top layer has shifted sideways, the problem begins inside the stack. If the layers remain aligned but a curtain of frosting is sagging, focus on the coating and its contact with the cake. A bulge exactly along a filling seam may indicate filling pressure rather than a uniformly soft outer frosting.
Turn the board carefully rather than lifting the cake to inspect it. Check whether the board itself flexes or rocks. An unstable support can disturb an otherwise reasonable coating each time the cake moves. The frosting should not be expected to compensate for a board that bends under the finished weight.
For a shifted filling or uneven stack, follow the layer assembly guide before concentrating on the final coating. A fresh exterior can disguise the seam briefly without making the internal layers secure.
Check the cake, not just the frosting
A cake that is still warm can soften buttercream at the contact surface even when the bowl of frosting appears perfectly workable. The outside may feel cooler than the center of a thick layer, so allow the cake to cool fully before assembly according to its recipe.
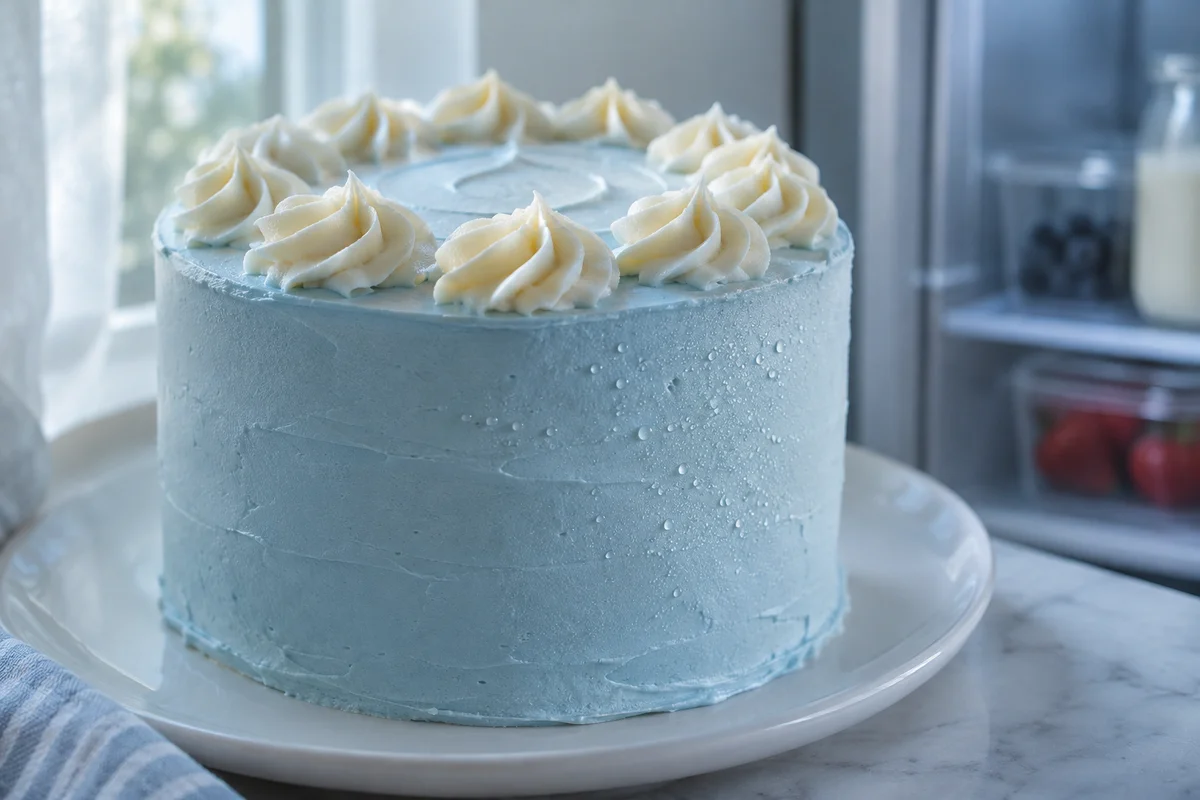
At the other extreme, a very cold cake brought into warm humid air can develop surface moisture. A film of water is different from a dry firm crumb coat. Inspect the actual surface before spreading frosting rather than treating the word chilled as proof that every preparation step is complete.
King Arthur Baking's cake guide recommends compatible working conditions for cake and buttercream and discusses level layers for balanced assembly. Use those preparation principles rather than rushing from baking directly to a heavy final coat.
Assess frosting under realistic conditions
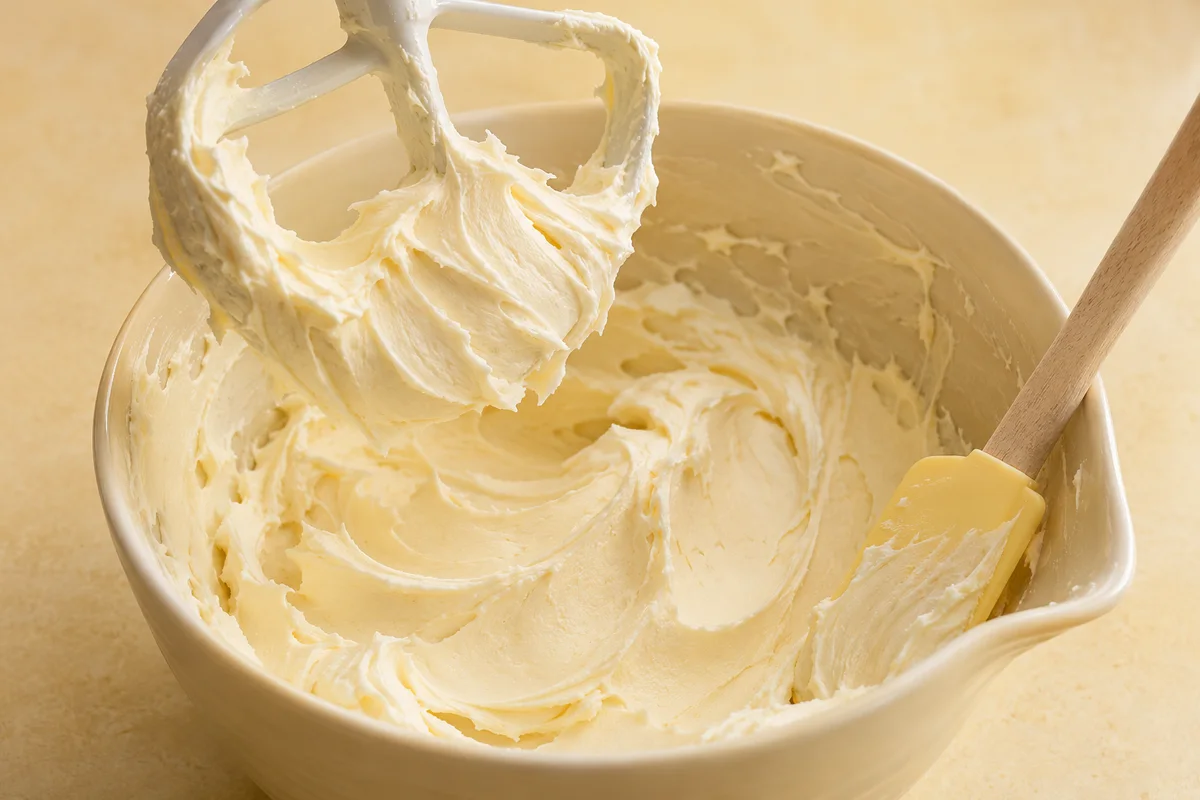
Spread a small amount against the side of a clean bowl or a suitable practice surface. Does it stay where you put it, or does it flow downward without pressure? A frosting that cannot support a shallow test application is not ready to support a thick vertical cake coating.
Identify whether the softness comes from warmth, excess liquid or a formula designed for a softer finish. A cream cheese frosting or whipped topping cannot automatically be corrected using the same approach as an American buttercream. Repeatedly adding powdered sugar can change taste while leaving the underlying application unsuitable.
Our American buttercream guide covers preparation and controlled adjustments. If the coating has softened mainly during handling, reassess temperature before changing the recipe. Test the correction in a small portion rather than altering every remaining bowl at once.
Look for moisture and weak surface contact
Excess syrup on the exterior, a wet thawing surface or liquid escaping from fruit can interfere with a clean coating. Note where the moisture starts. If it appears only around a fruit cluster, the garnish may be responsible; if droplets cover unrelated areas, consider condensation.
Do not wipe the whole cake aggressively with a towel or cover a visibly wet area with another large layer of buttercream. That can smear the coating and trap the issue beneath new material. Remove an unsuitable garnish, contain a local repair and return to the appropriate preparation stage where practical.
Use the condensation guide when temperature and humidity are involved. Its surface-management advice does not authorize extended warm holding for a filling that needs refrigeration.
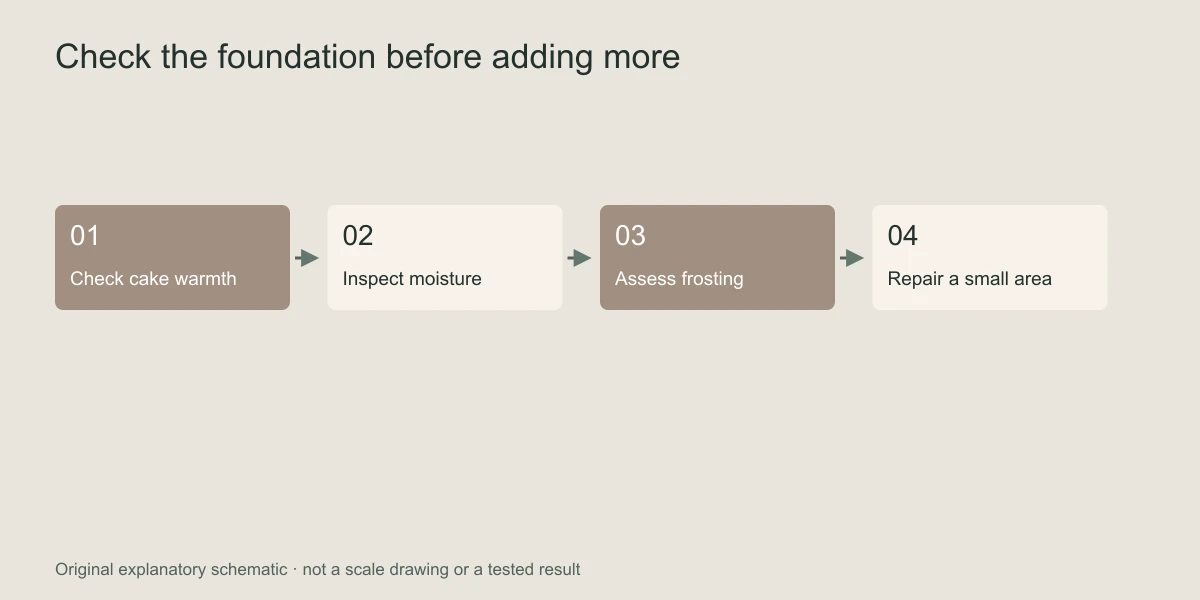
Build a sound crumb coat and final layer
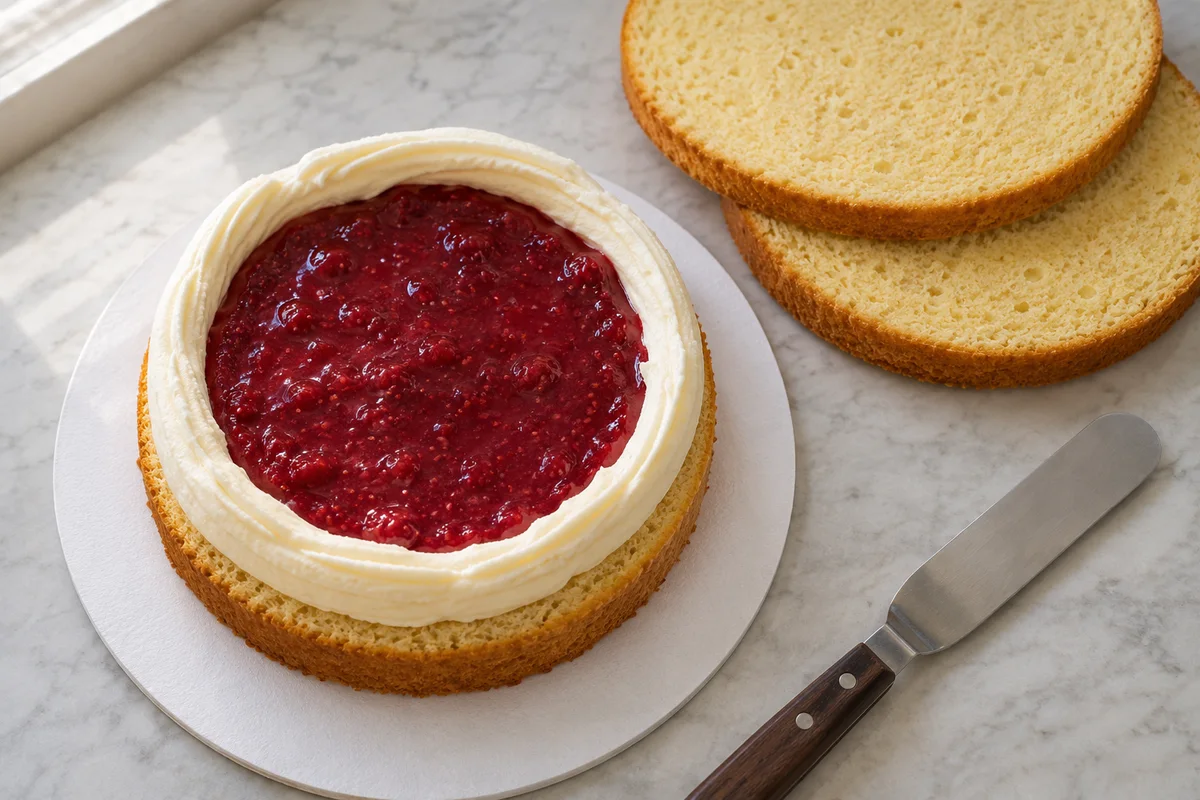
A crumb coat should make a controlled interface between the cake and the final finish. Spread it with enough contact to capture loose crumbs, keeping the layer restrained rather than using it to correct every major shape problem. Repair a damaged cake surface or uneven filling before burying it.
Let the crumb coat reach the condition appropriate to the recipe before adding the final layer. The useful check is whether a light tool pass disturbs or drags it, not whether a fixed number of minutes has elapsed. Follow recipe-specific chilling instructions and account for perishable handling needs.
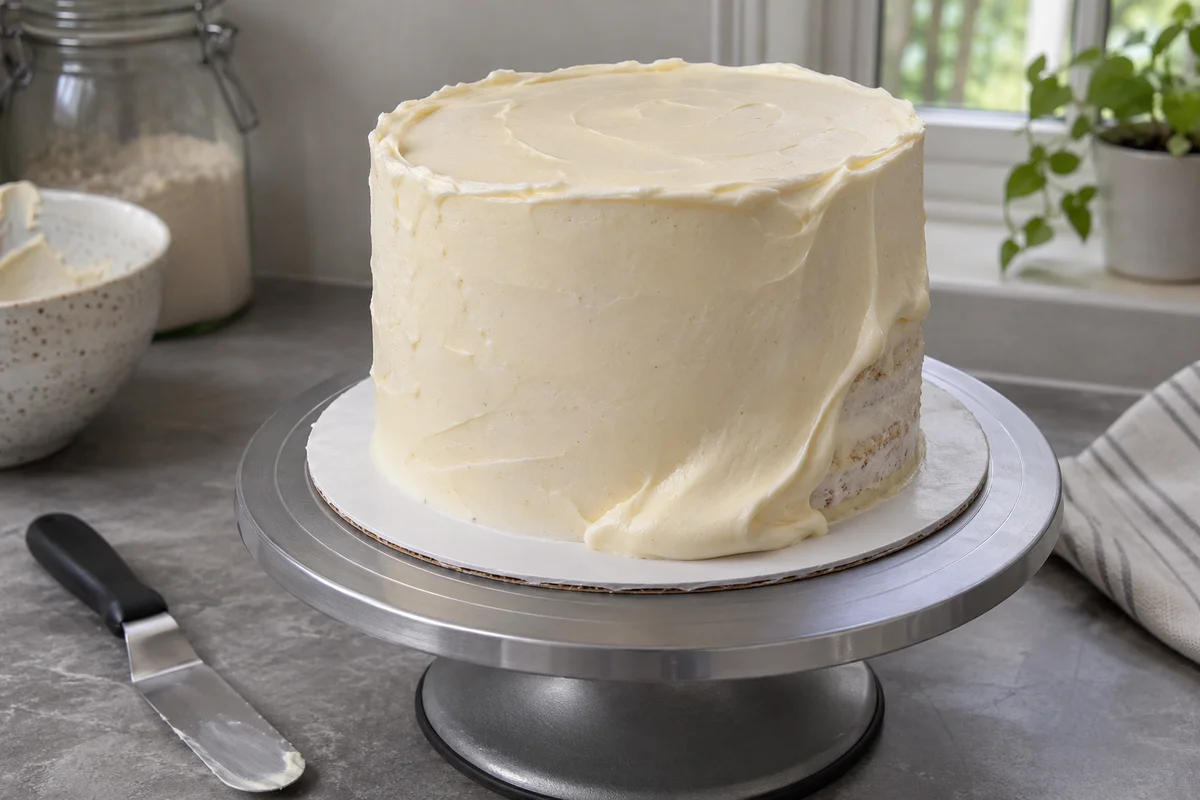
Apply the final frosting in a manageable thickness. An oversized mound requires more scraping and places extra weight on the side. If the cake needs a much thicker coating in one area to appear straight, check whether the layers themselves are misaligned instead of correcting the whole shape with frosting.
Repair a small slipping area methodically
- Stop adding decorations and identify whether the cake stack is still aligned.
- Move the cake to an appropriate stable, cool working or storage environment without unnecessary handling.
- Remove only loose or compromised frosting with a clean tool, keeping debris out of the clean reserve.
- Address the observed cause, such as an excessively soft portion or a localized wet garnish.
- Restore a controlled coating with suitable frosting, then observe the repair before finishing the entire cake.
A severe structural problem may require partial disassembly or a simpler serving plan. Do not promise a flawless recovery from every collapse. If layers have shifted substantially, making individual portions or choosing a simpler presentation can be more practical than rebuilding an unstable tall centerpiece under time pressure.
Use the location to narrow the cause
| Where movement appears | First check | Useful correction |
|---|---|---|
| Along a filling seam | Filling amount and layer alignment | Correct assembly before recoating. |
| Across an entire warm side | Cake and frosting temperature | Restore appropriate conditions; retest the frosting. |
| Under a heavy fruit cluster | Weight and surface juice | Reduce the load and repair the contact area. |
| After lifting or transport | Board rigidity and movement | Improve support and handling, not merely frosting stiffness. |
Plan transport as part of the finish
For example, imagine a cake whose front is neat but whose back develops a seam-shaped bulge. Do not immediately chill the remaining frosting and cover the back more thickly. First compare the layer positions and look for a filling seam pressing outward. If the pressure comes from inside, the repair must address that assembly issue. Otherwise the fresh coating may simply follow the same movement, leaving a larger bulge later.
Now consider a cake that stays aligned, while frosting begins to droop over the whole side during a warm decorating session. Test a clean sample away from the cake. If that sample also cannot hold a vertical smear, focus on the frosting's condition and environment. This observation gives you a reason to pause and restore suitable working conditions rather than continuing to press the coating harder against the sponge.
These examples are diagnostic exercises, not guarantees that a particular cake can be saved. Check the real ingredients, handling history and extent of damage before deciding whether to repair, rebuild or change the presentation. When the cause remains uncertain, stop making global ingredient changes merely to make the visible symptom disappear temporarily.
Put the cake on a rigid board and use a container that fits without touching the coating. Carry the board from underneath rather than gripping decorated sides. Keep the cake level, protect it from direct sunlight and avoid leaving it in a warm vehicle while other errands are completed.
For perishable cakes, follow FoodSafety.gov's cold-handling guidance and your recipe's requirements. Appearance-related cooling is not a substitute for the required cold chain. A frosting that survives a short journey visually may still have an unacceptable handling history.
Before the next attempt, write down the cake's cooling condition, filling amount, frosting texture and moment when movement began. “Slid after the car trip” directs attention to different checks from “slid immediately on application.” A precise observation is more useful than permanently making every future batch stiffer.