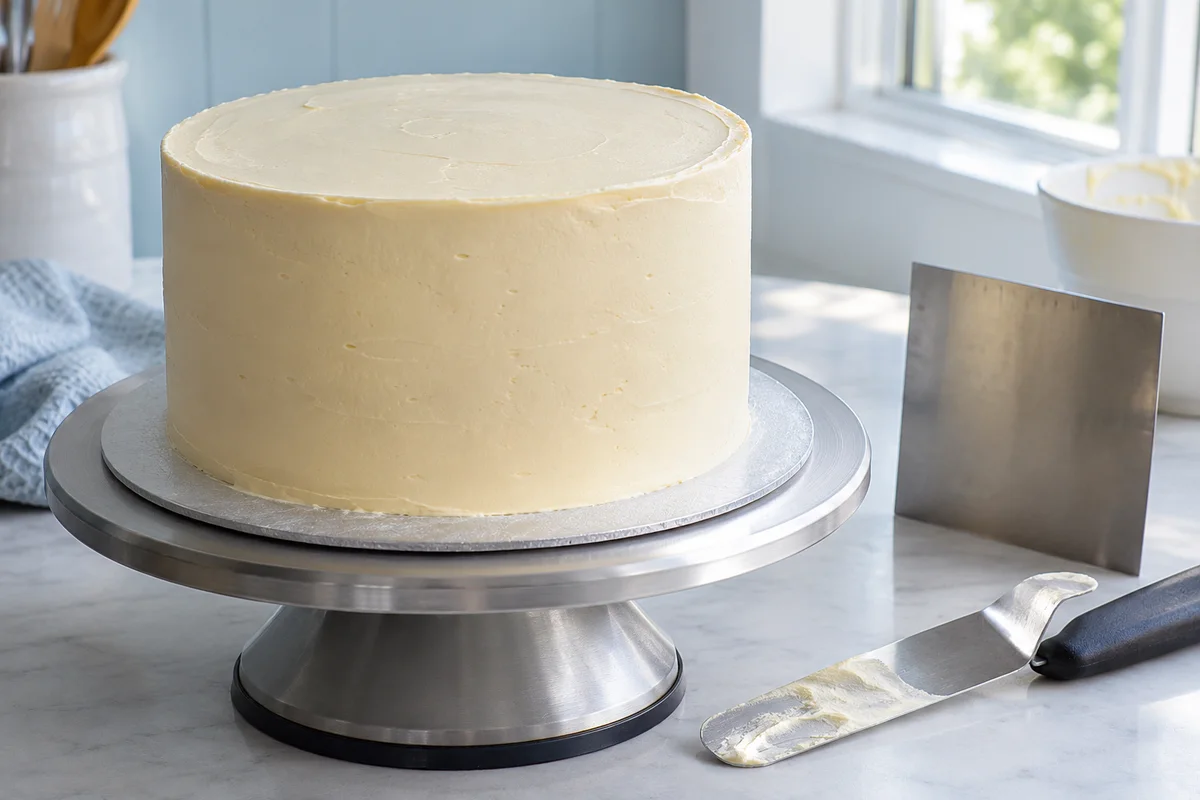
Air bubbles in buttercream become obvious when a scraper passes across the cake and leaves dozens of tiny pits behind. The frosting may taste smooth and feel soft enough to spread, yet the surface looks unfinished. More scraping often exposes another layer of bubbles instead of solving the problem.
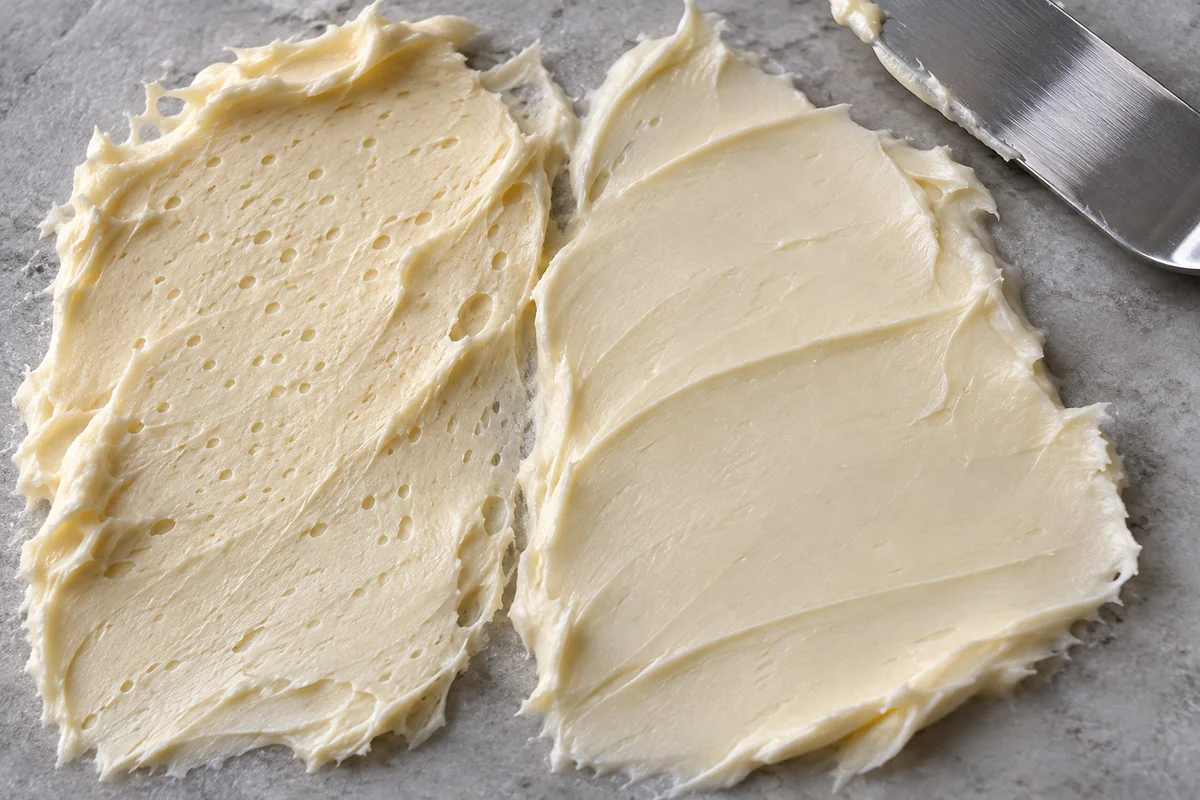
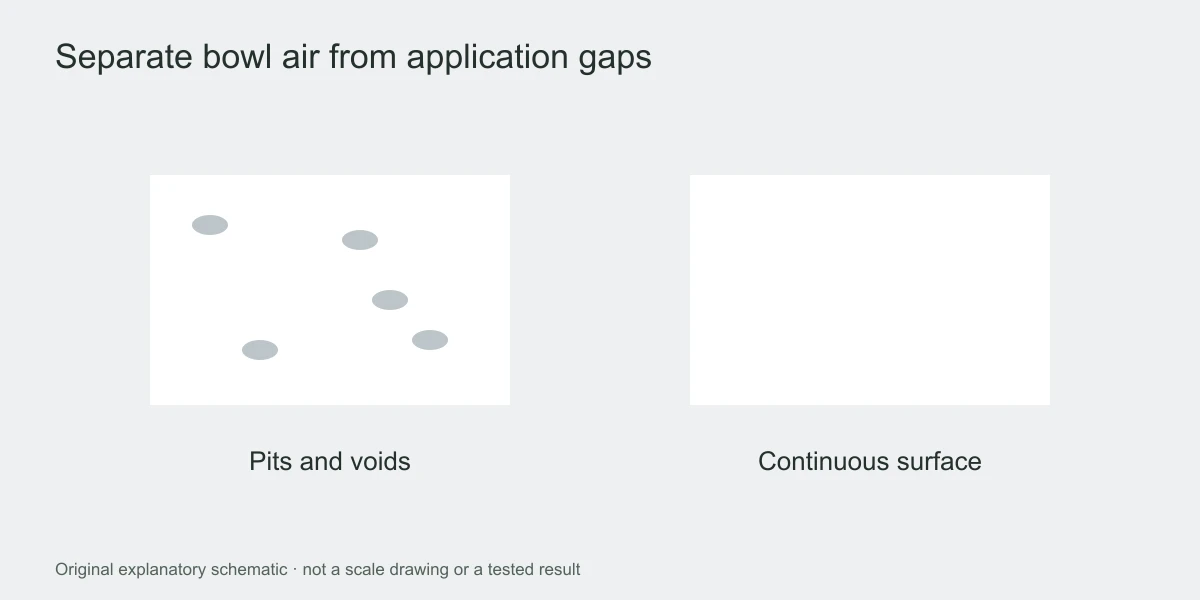
First determine whether the air is in the bowl or is being trapped during application. Spread a little frosting firmly against the inside of a clean bowl. If that smear is full of pinholes, work on the mixture. If it is smooth but the cake coating is pitted, change how you apply and scrape the frosting before altering the recipe.
Make sure the marks really are air pockets
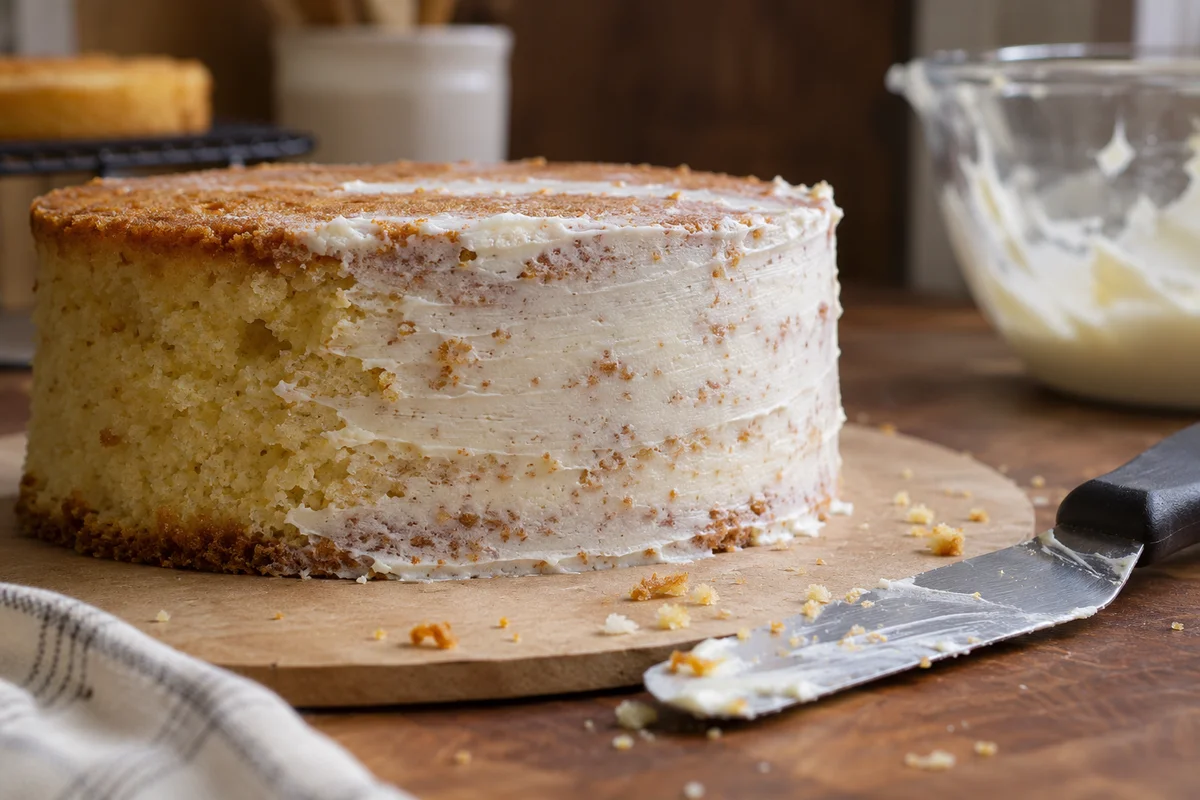
Air pockets usually leave small depressions with no solid particle in the center. Crumbs produce visible flecks or drag marks, while cold butter pieces can leave lumps that resist spreading. These problems may occur together, but they need different corrections. Adding liquid to a bowl containing cold butter lumps can make the surrounding frosting loose without resolving those pieces.
Look at a sample in a thin smear and a thicker ridge. Examine the cake from an angle so light catches the surface. A rough shadow can make a shallow scrape line look like a hole; use direct observation rather than diagnosing the entire batch from a distant photograph.
For crumb contamination, use the crumb-control guide. If the mixture is smooth but refuses to stay where it is placed, consult the sliding-frosting sequence. Those issues should not be treated as air problems simply because the finished surface looks uneven.
Understand when the mixture becomes aerated
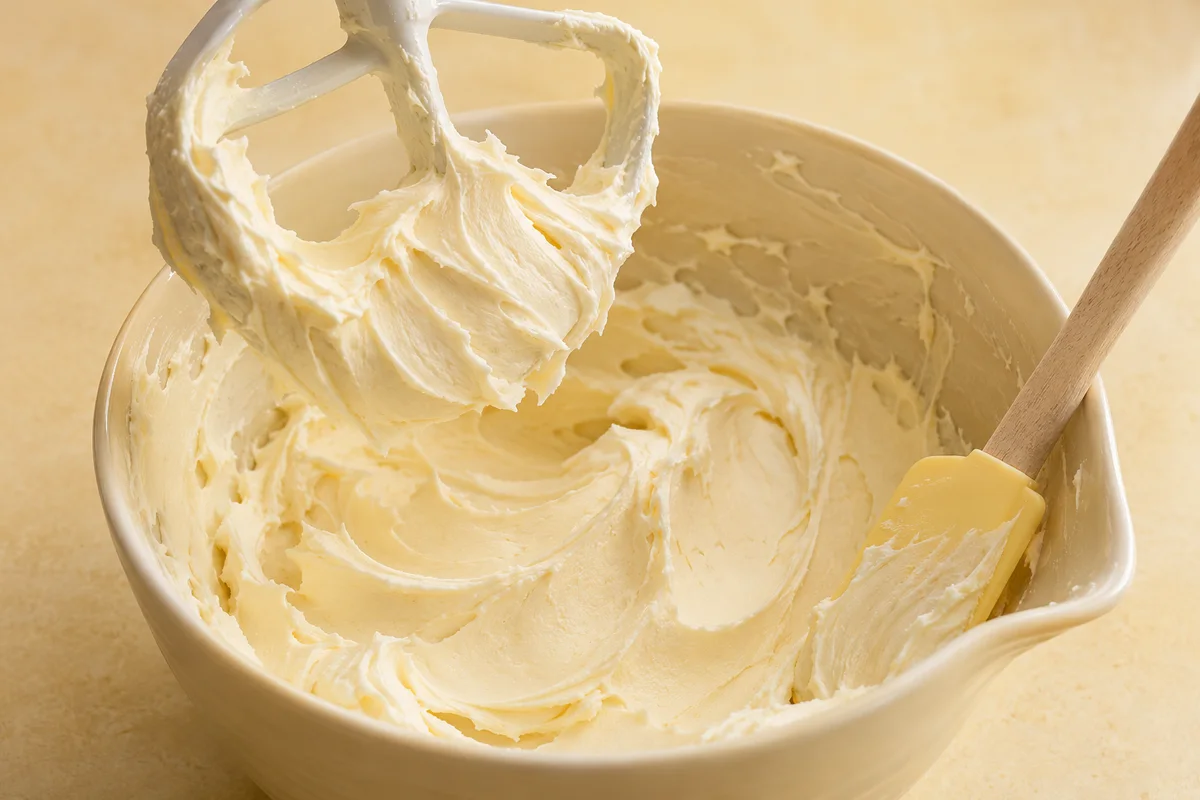
Whipping can incorporate useful lightness during preparation, but continuing aggressively after the ingredients are combined can also leave more visible air in the finished frosting. A whisk and a paddle move the mixture differently. The stage used to create a meringue is not necessarily the best stage for polishing the final buttercream surface.
Batch size matters too. A very small quantity in a large bowl may be difficult for the attachment to reach consistently. Frosting smeared high around the bowl can remain outside the main mixing action. Scrape that material back into the working area instead of assuming the machine will eventually collect it.
King Arthur Baking's smooth-frosting guidance describes low-speed paddle mixing as one way to reduce bubbles after buttercream is combined. Treat that as a finishing approach, not an instruction to whip every frosting for a fixed long duration regardless of its condition.
Run a small bowl test
- Set a small untreated sample aside so you have something concrete to compare with the adjusted mixture.
- Scrape the main bowl's sides and bottom, bringing overlooked frosting into an even mass.
- Mix gently with the appropriate attachment or press a manageable portion against the bowl with a spatula.
- Spread a fresh sample in one broad smear and compare the number and depth of pits.
- Stop when the intended finish improves. Do not continue simply to reach an arbitrary mixing time.
Keep the test portion similar in size for each comparison. A tiny spoonful can look smoother merely because you pressed it more firmly than a much larger sample. The purpose is to judge a controlled change, not create a comparison where every condition differs.
Use a spatula without repeatedly folding in air
When a mixer is impractical, push frosting against the bowl in slow broad strokes. Press through a small section rather than stirring rapidly around the center. Collect the pressed mixture and work through the remaining portion with a similar movement.
Repeatedly chopping into the frosting or lifting it high on the spatula can keep folding air back through the mixture. Change the movement first. A clean, flexible tool that fits the bowl's curve makes it easier to press an even layer than a narrow rigid tool that only touches one small point.
Check that the frosting is at a workable temperature for its formula. Very firm frosting can resist the tool and tear into ridges. An overly warm mixture may smear easily but lose structure. The desired outcome is a continuous, workable coating, not the softest possible bowl.
Adjust temperature only when there is a reason
Some buttercreams become smoother after a modest temperature correction. That does not mean every pitted batch needs heating. First establish whether the mixture is unusually stiff or cold, and identify whether it is American or meringue-based buttercream.
Use the selected recipe's recovery method, preferably on a sample. Avoid blasting the bowl with intense heat or melting the entire batch in pursuit of a perfectly smooth surface. A technique intended to correct the temperature of one frosting can damage another if copied without its context.
Our American buttercream guide covers ingredient preparation and initial texture. This troubleshooting stage assumes the ingredients are already properly combined; it is not a substitute for correcting an unsuitable ratio or incomplete mixing.
Avoid trapping new pockets during application
Apply frosting against the cake with deliberate contact, rather than placing many isolated dabs and trying to join their edges later. Gaps between separate patches can become hidden pockets. Work in manageable sections so you can see whether the coating is continuous.
Use a sound crumb coat and an appropriate final thickness. A very thin outer layer may reveal every small void beneath it. A large uneven mound may require so much scraping that you keep uncovering fresh pockets. Aim for sufficient coverage before spending time on the final surface.
Hold the scraper steadily and clean it between meaningful passes. If a pass reveals one small pit, fill that area with matching workable frosting, then smooth gently. Scraping the whole circumference again and again can remove sound frosting while the isolated hole remains unfilled.
Match the correction to the observation
For a local repair, first remove loose crumbs from the tool, not from the cake with a sweeping motion. Pick up a small amount of clean matching frosting and press it into the depression. Leave enough material to bridge the gap, then use a light pass that blends the repair with the surrounding finish. If you scrape hard enough to expose the same cavity again, you have removed the repair rather than smoothed it.
Judge the patch after turning the cake back into its normal viewing position. Strong side lighting is useful for finding defects, but it can also encourage unnecessary correction of marks that will not matter in the finished design. Decide whether the surface is acceptably continuous, whether the coating remains even and whether the repair has introduced any crumbs. Those checks give you a practical end point before you add the final border or garnish.
| Observation | Most useful check | Next action |
|---|---|---|
| Pitted smear straight from bowl | Aeration and working texture | Try gentle finishing or spatula pressing. |
| Smooth bowl, pitted cake | Gaps between applications | Apply with closer contact and fill isolated voids. |
| Solid flecks in marks | Crumbs or unmixed ingredients | Address contamination or preparation separately. |
| Fresh pits after every pass | Continued removal of coating | Stop scraping broadly and repair locally. |
Consider a cake with one rough patch near the back. Test a small repair there before making a global change to the whole bowl. If the repair becomes smooth, continue with that method. If it slumps or drags crumbs, you have learned something useful without sacrificing the already neat front of the cake.
Two common questions
Should I add liquid to eliminate air bubbles?
Not automatically. Extra liquid changes consistency and may weaken piping without removing the cause of trapped air. Use a measured recipe-appropriate adjustment only when the mixture genuinely needs loosening.
Does chilling remove the air?
Chilling can change firmness, but a firm air pocket is still an air pocket. Reassess the mixture after it returns to its intended working condition rather than judging only its refrigerated surface.
Once the surface is smooth enough for the design, stop. A cake with a few intentional piped details does not benefit from endless scraper passes that gradually thin the coating. Use the smooth-edge guide to finish the shape while preserving the work already completed.