An abundant dessert board does not need every inch covered. Clear groups, repeated shapes and a few open lanes make a collection look generous while allowing guests to lift a cookie without disturbing everything beside it. The most useful dessert board ideas begin with the food and serving conditions, not with a large tray that must somehow be filled.
Choose a board that suits the occasion, then build it from a small number of complementary desserts. A mix of cookies, brownie pieces and miniature pastries can offer plenty of variation. Adding every sweet in the cupboard often produces clutter rather than variety, especially when several items have similar colors and shapes.
Choose the surface and the serving route
Use a clean surface intended for food contact, or place suitable dishes and food-safe liners on the board. A decorative tray is not automatically suitable for direct contact with unwrapped food. Check the manufacturer's intended use, especially when the surface has paint, a coating or a rough texture.
Consider whether the board will sit in one position or be carried to the table. A loaded tray needs secure handles or enough accessible edge to grip it. Do not create an arrangement that can only be moved by placing a hand beneath a loose cookie or a fragile tart.
Decide where guests will approach. If people can reach from all sides, distribute the choices around the board rather than hiding one group behind a tall bowl. Against a wall, keep taller items toward the back and leave the front edge easy to serve.
Pick a few anchors before choosing fillers
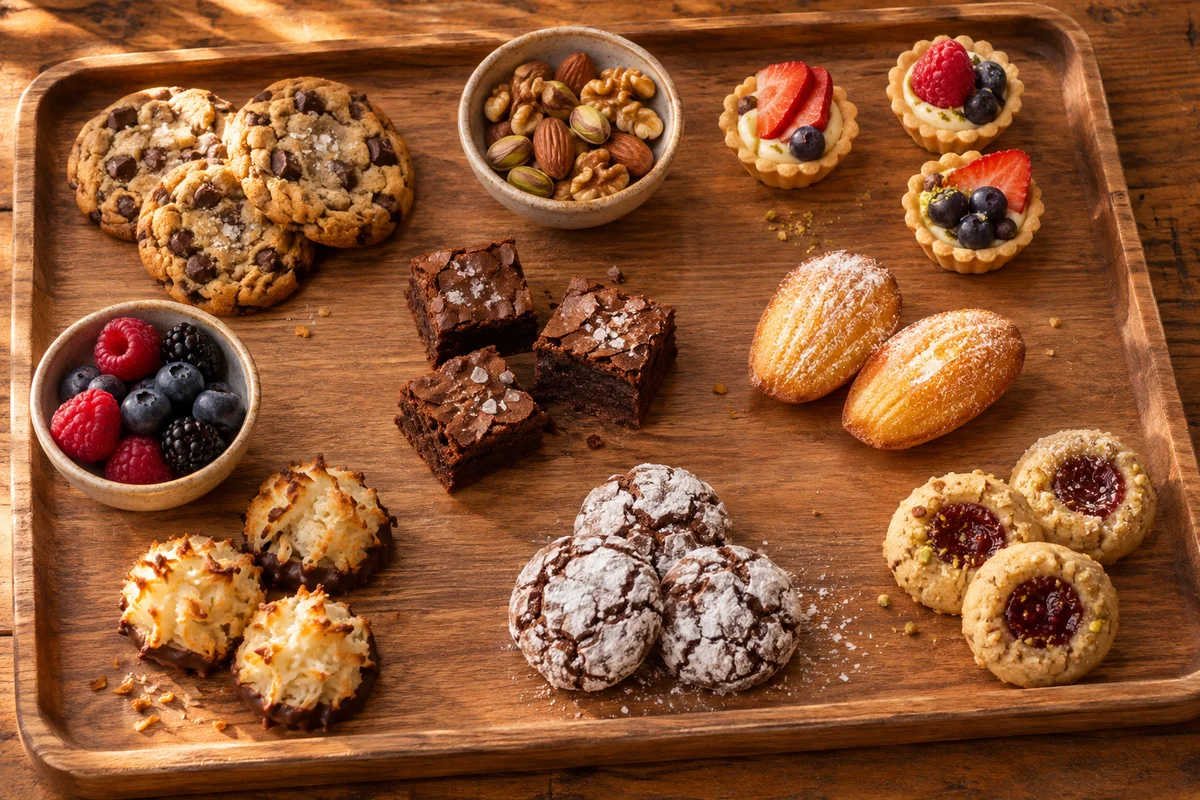
Anchor desserts establish the main structure. These might be a group of brownie squares, a small stack of cookies and several miniature pastries. Choose different shapes or textures so the board has variety without relying on a large number of separate recipes.
Make a distinction between genuine variety and duplication. Three nearly identical chocolate biscuits may add less interest than one chocolate biscuit paired with a pale shortbread and a fruit tart. Flavor matters as much as appearance, so choose a collection that guests can enjoy rather than one designed only for a photograph.
- Choose the desserts that deserve the most visible space.
- Use different silhouettes to distinguish the main groups.
- Add small accompaniments only when they suit the food.
- Keep saucy, sticky or easily crushed items in their own dishes.
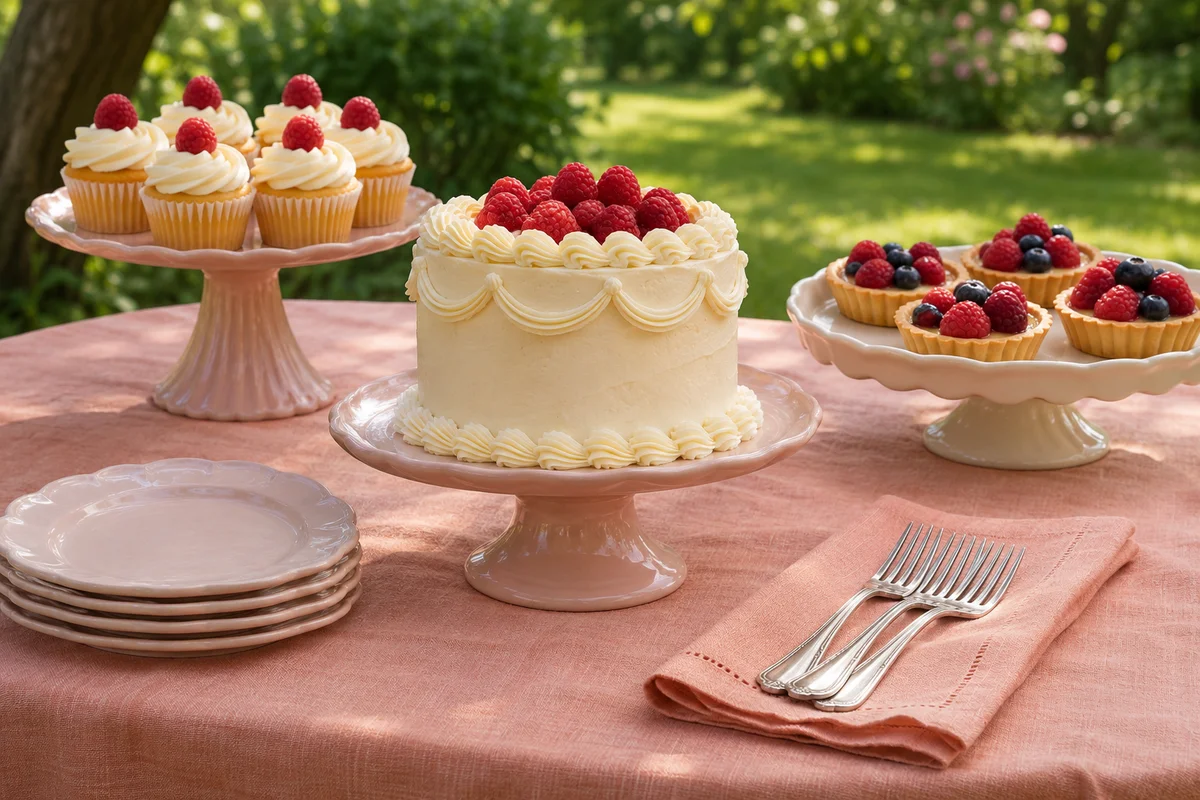
A whole cake is usually easier to cut on a separate serving plate than directly among small sweets. If it is the centerpiece of the celebration, place the board nearby as a supporting display. The small dessert table guide explains how to connect those separate serving areas.
Place bowls and larger groups first
Set any small bowls on the empty board before adding loose food. They establish fixed boundaries and prevent berries, nuts or a spread from migrating into neighboring desserts. Position the bowls so their contents can be reached without brushing against a piped decoration.
Add the largest dessert groups next. Rather than scattering individual brownies across the whole board, place them in a compact group with visible cut edges. Fan cookies loosely so their shapes remain clear. Keep delicate pastries in a single layer unless their structure is designed to support stacking.
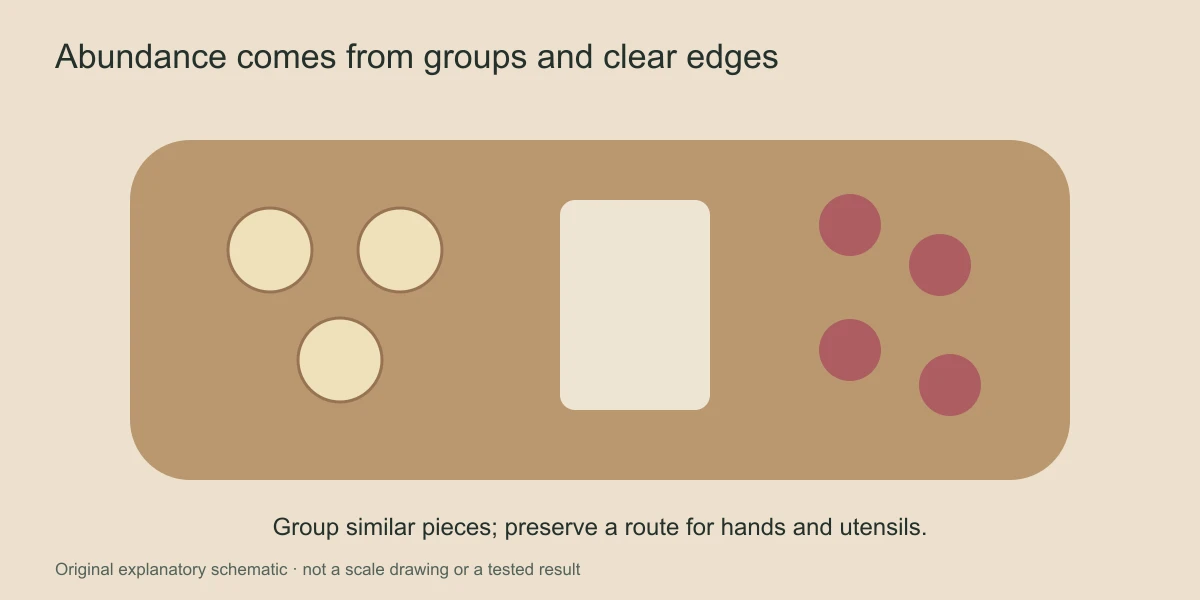
Leave a small lane of visible board between major groups. That space acts like a border, making the selection easier to read. It also gives fingers or a serving utensil somewhere to move without pushing into the next item.
Create abundance through repetition
A repeated shape can make a modest selection feel intentional and generous. Several similar cookies arranged in a short curved row create a stronger impression than one cookie in each corner. The repetition should still leave the individual pieces recognizable rather than compressed into a heap.
Repeat a food color in separated areas if the board feels disconnected. A small group of pale biscuits can balance a dark brownie group elsewhere. Berries can provide a bright accent, but keep them in contained groups instead of using them to plug every narrow gap.
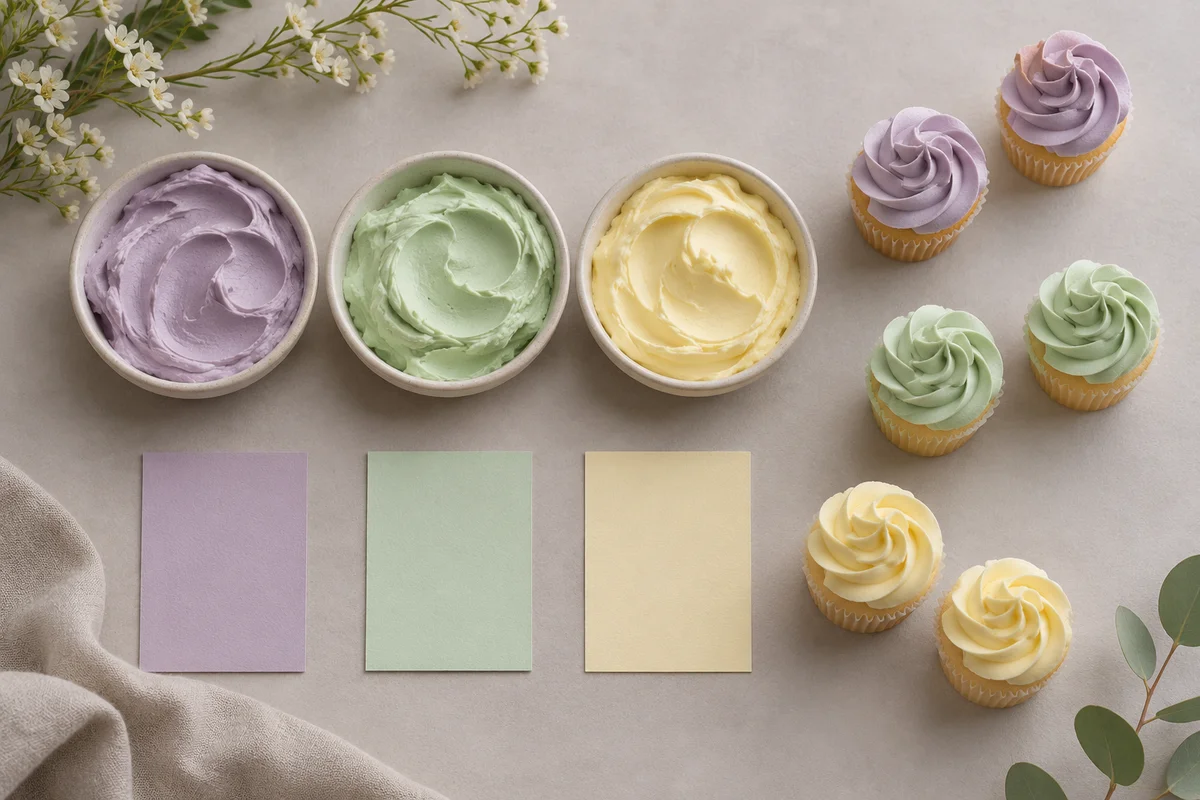
Use the actual food colors as the basis of the palette. Warm wood, cocoa, golden pastry and red fruit can already form a coherent scheme. Our dessert color planning guide offers a method for deciding whether any extra accent is needed.
Keep wet and dry textures from spoiling each other
Fresh fruit, sauces and creamy accompaniments can change nearby crisp desserts. Put wet components in small dishes, or add them close to serving according to the requirements of the food. A dry cookie sitting against a juicy fruit cut surface may lose its texture before anyone selects it.
Separate very crumbly items from sticky coatings. Loose crumbs that are attractive beside a brownie can look messy when they adhere to glossy chocolate or pale frosting. A narrow open lane, a small plate or an individual paper case can provide the boundary without adding a prominent decorative object.
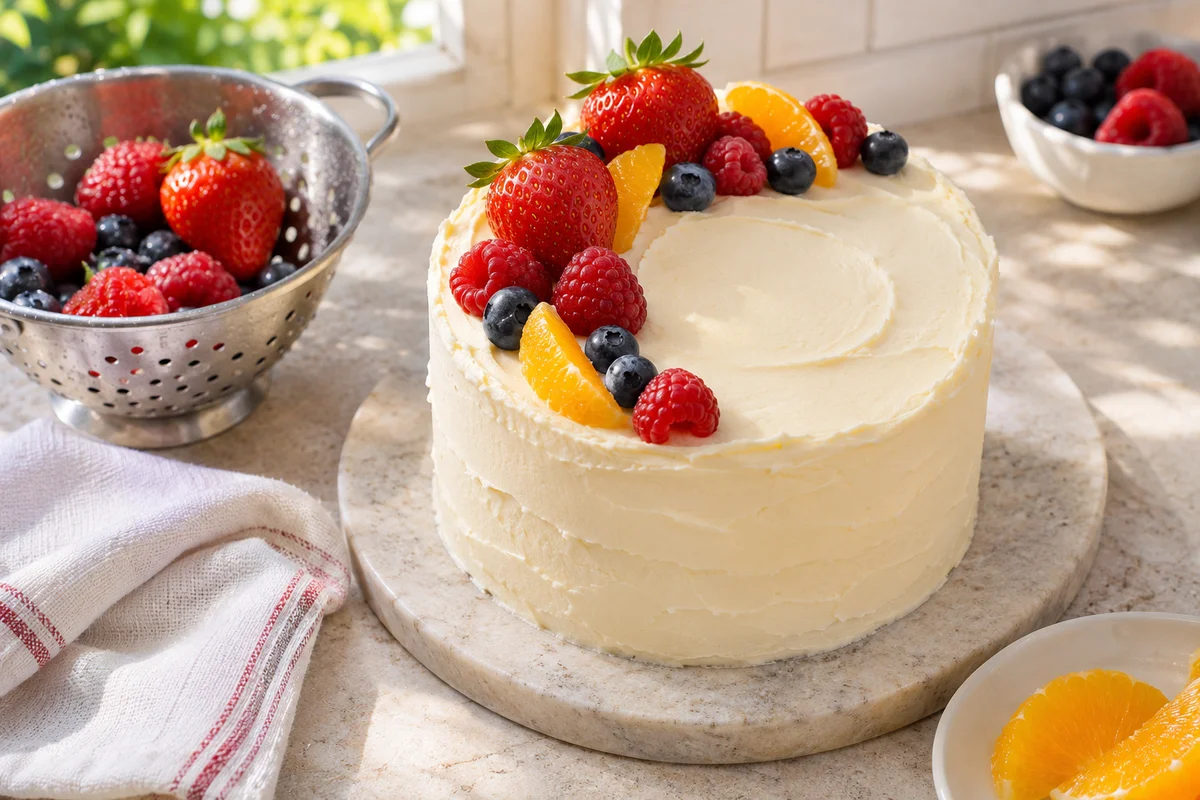
For fruit preparation and moisture considerations, use the fresh fruit decoration guide. Do not assume that a fruit's firm appearance means it will stay dry after cutting or handling.
Plan quantity without forcing an oversized board
Base quantities on the actual menu, portion sizes and how the desserts fit into the occasion. A board after a full meal has a different role from the only food at an afternoon gathering. There is no single reliable number of pieces per person that works for every combination of pastries, cookies and rich chocolate desserts.
You can still plan precisely by counting what you have and deciding how much will be displayed at once. Keep a reserve in suitable storage, then replace a serving group when needed. The board does not need to advertise every portion from the beginning of the event.
The FDA's buffet guidance supports using smaller dishes and replacing used serving dishes with fresh ones. Treat that as a handling decision, not just a styling trick. Follow the storage requirements of the most perishable components rather than judging the whole board by its dry cookies.
Give guests clear choices and suitable utensils
Place a utensil beside food that cannot be picked up neatly. Keep the handle accessible and provide a resting place that does not cover the next dessert. A shared spoon dropped among loose cookies quickly turns a tidy arrangement into a difficult serving area.
Keep ingredient information available when the collection includes nuts or other allergens. A bowl can separate ingredients visually without making the overall board allergen-free. Shared preparation, crumbs and utensils can still create contact between foods. Make only the claims you can support about the actual ingredients and preparation.
Use labels beside the board if similar-looking treats have different fillings. Keep decorative cards and clips out of the food unless they are suitable for that contact. The purpose of a label is to clarify a choice, so readable, accurate information matters more than elaborate lettering.
Scale the arrangement by repeating groups
For a larger gathering, repeat a useful grouping on a second board rather than extending one arrangement beyond comfortable reach. Two smaller boards can create separate serving points and keep the same visual language. Match the main dessert groups and serving pieces loosely; the boards do not need to be exact copies to feel connected.
For a quieter gathering, reduce the number of different desserts before reducing every group to a single piece. A few repeated choices often look more generous than many isolated samples. Keep the board small enough that those groups form a clear composition without surrounding them with unnecessary filler.
Check the board with a real serving movement
- Lift a representative cookie from each main group.
- Check that the motion does not catch neighboring pastries.
- Confirm that bowls and utensils remain stable.
- Look for wet food touching crisp food unintentionally.
- Remove one decorative item if it blocks access.
- Keep reserve food and replacement dishes ready where appropriate.
Look again after several pieces have been removed. A successful board should still read as separate groups, not collapse into a trail of scattered remnants. If a group becomes too small, transfer it to a smaller suitable dish or remove that part of the display as handling conditions allow.
For more formal individual servings, the dessert plating guide applies the same idea at a smaller scale: one clear focal food, useful accompaniments and enough room to eat comfortably.