A small dessert table works best when guests can understand it in a glance: one clear focal dessert, a few supporting choices, and an obvious place to pick up a plate. Dessert table styling becomes harder when every available cake stand, decoration and sweet is added before the space has been measured. Begin with how people will serve themselves, then build the arrangement around that route.
You do not need a matching set of serving pieces or a large room. A sideboard, a sturdy console or one end of a dining table can create a generous display if the desserts are grouped deliberately. The following method is for a modest home celebration, where useful space matters more than recreating a large catered banquet.
Measure the usable table, not just the tabletop
Set an empty plate where a guest will stand and check the reach to the back. A deep table against a wall may have less usable serving space than it appears to have. A pedestal at the back should display something guests can reach safely, or something a host will portion and pass forward.
Account for doors, chair backs and the route to drinks. Someone carrying a plate should not need to squeeze behind another person balancing a cake server. If the table is in a corner, treat the outer edge as the serving side and keep tall arrangements near the back rather than in the middle of that route.
Test the furniture before decorating. Press lightly on the surface and check that stands do not rock. A cloth should lie flat beneath each base; a fold hidden under a narrow pedestal can undo a careful arrangement. Avoid improvised stacks of loose dishes or unstable boxes just to gain height.
Choose one focal dessert and a supporting cast
The centerpiece might be a layer cake, a tart or a small tower of cupcakes. Choose it for its role in the occasion, not simply because it is the tallest item available. If the birthday cake is the moment everyone will gather around, give it a clear background and keep competing decorations away from its top edge.
Then choose supporting desserts with different silhouettes. A round cake, low cookies and a short row of individual desserts create variety without requiring several dramatic centerpieces. Consider flavor and serving effort as well: three desserts that all need cutting and plating can slow a small gathering more than one sliced dessert with a few easy-to-pick-up options.
- Use one item to establish the focal point.
- Choose supporting treats that differ in height or shape.
- Keep a practical reason for each additional dessert.
- Place a suitable serving utensil with every shared dish.
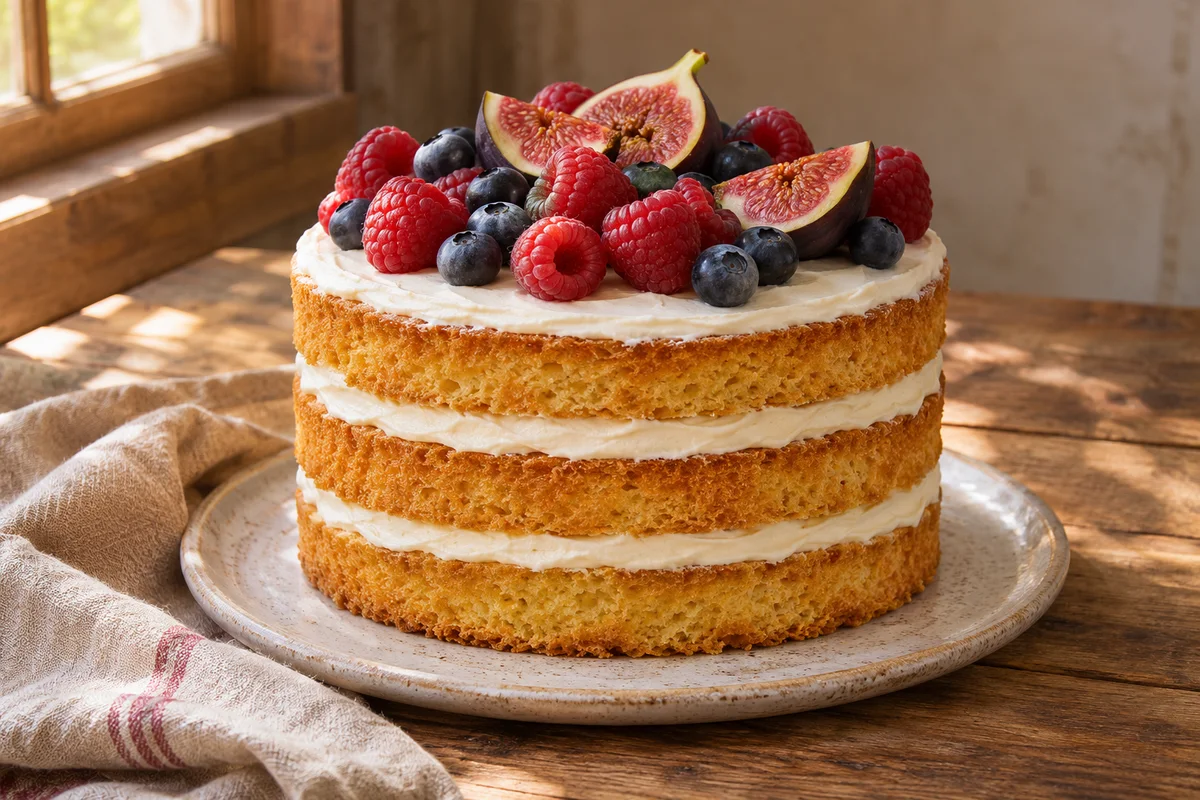
If you want a lightly frosted centerpiece, plan its finish separately with our guide to making a naked cake look beautiful. The table should frame that cake rather than add decoration that competes with its visible layers.
Arrange height as a gentle rise
A useful starting arrangement is a low front edge, medium supporting dishes and one taller focal point farther back. This lets the eye travel across the display while leaving the food accessible. Perfect symmetry is optional. A tall cake on one side can balance a broader group of shorter desserts on the other.
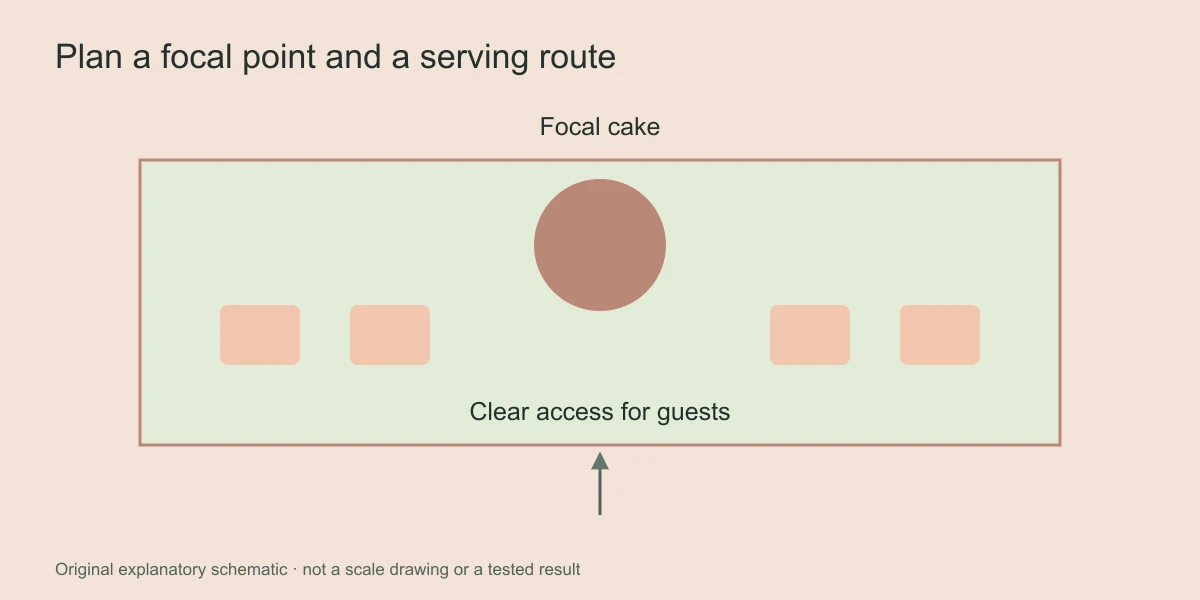
Place the largest empty serving pieces first. Step back to the distance from which guests will approach, then look again from seated eye level. If the cake disappears behind a cupcake stand, move the stand sideways instead of increasing the cake's height. The goal is a clear view, not a contest between pedestals.
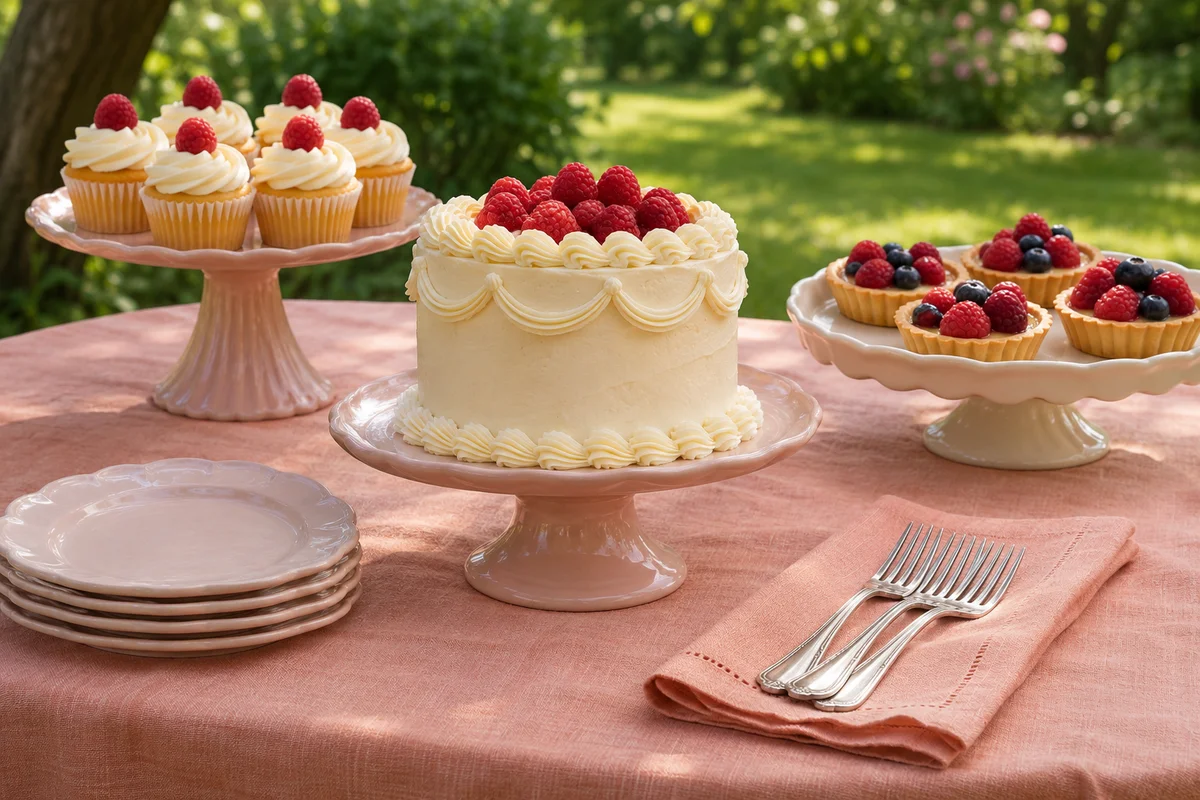
For example, on a compact sideboard you could place a cake slightly behind center, a low platter of cookies to its left and a modest cupcake stand to its right. Leave the front center open for the plate stack and serving movement. This is a layout example, not a prescribed number of portions or a requirement to buy particular stands.
Keep the palette small and let the food contribute
Choose a main color, a quieter supporting color and an optional small accent. Count the color already present in the desserts: chocolate brown, golden pastry and red berries all influence the result. A neutral cloth and simple dishes may be enough to connect an assortment without coloring every frosting.
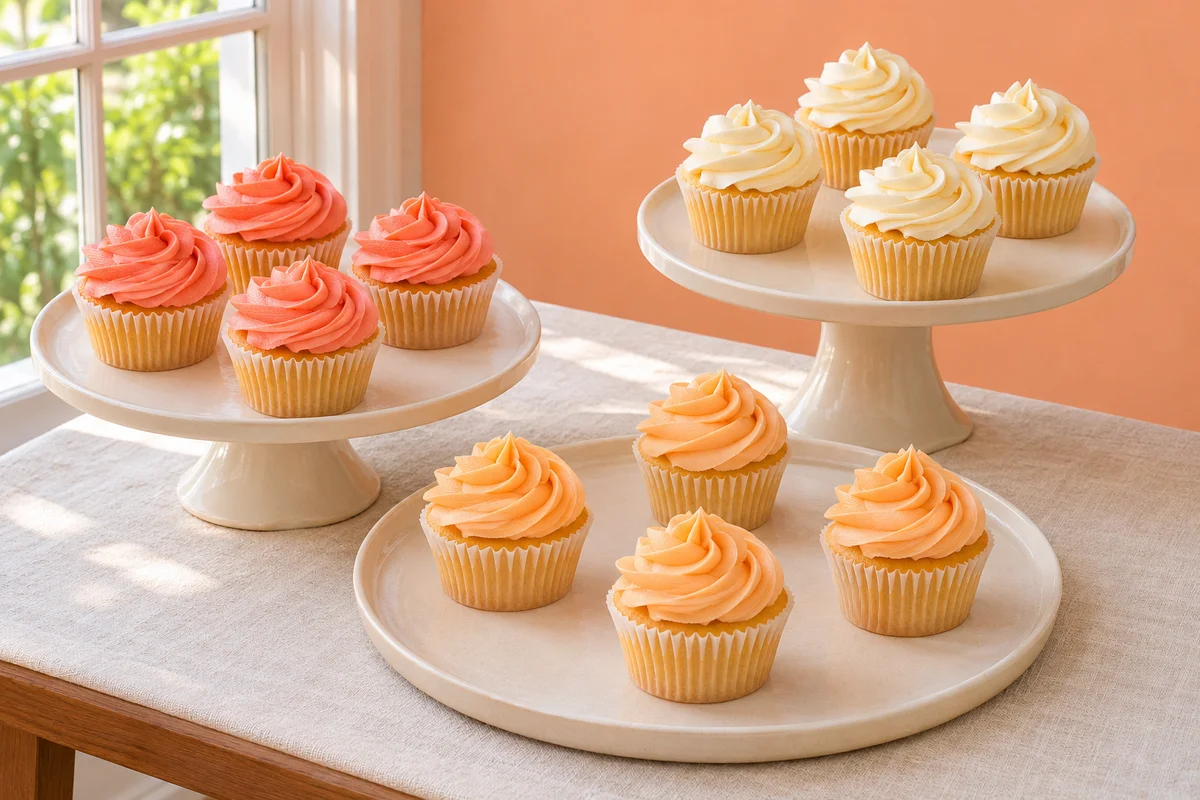
Repeat a color in separated locations rather than concentrating it in one corner. A pale peach cake detail can echo a napkin or cupcake wrapper farther along the table. Our dessert table color scheme guide explains how to plan that repetition without making every item identical.
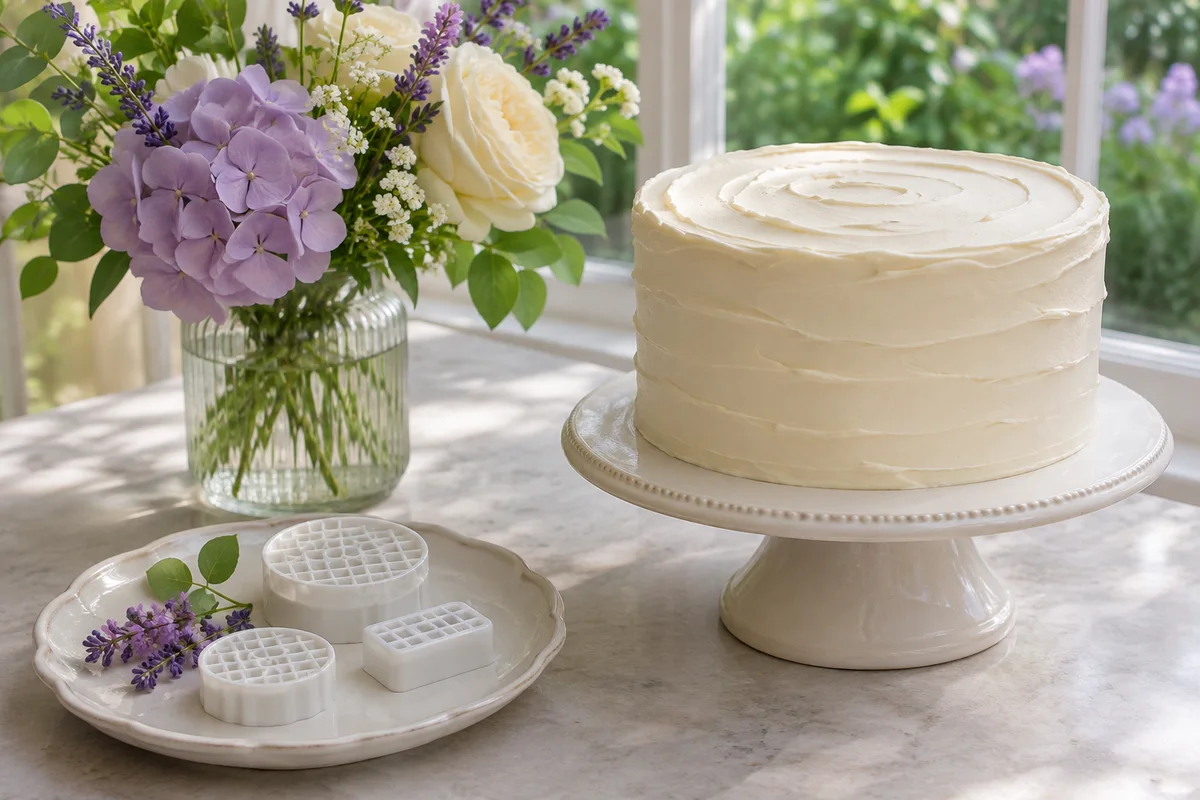
Keep decorative objects distinct from food. A vase can stand behind the display, but loose stems, confetti and ornamental foliage should not be scattered among edible items. If flowers will touch a cake, follow the separate guidance on fresh flowers on cakes rather than assuming that a floral decoration is food-safe.
Build the display in a practical order
- Clear and clean the table, then set out the stable cloth or runner.
- Position empty stands, platters and the focal serving piece.
- Check reach, sightlines and where the serving utensils will rest.
- Place plates, napkins and forks where guests naturally begin.
- Add desserts according to their handling and refrigeration needs.
- Make a final pass from the guest's side before adding minor decorations.
Keep the packing boxes until the serving pieces have found their final positions. If the arrangement needs changing, moving an empty stand is safer than carrying a fully loaded one around other desserts. For cupcakes, adjust the gaps on the stand before adding delicate toppings; the cupcake display guide covers that layout in more detail.
Leave somewhere for a used server to rest without touching the cloth. A small saucer is easy to overlook during styling, yet prevents a spreading patch of icing beside the centerpiece. Keep spare napkins nearby, but do not use them to fill every visible opening.
Plan the service, including refills
A table does not need to hold every portion at once. Keep some items in appropriate storage and replenish with fresh serving dishes when needed. The FDA's buffet guidance recommends smaller serving dishes and replacing them rather than adding new food to partly used dishes. Apply the handling guidance appropriate to your actual desserts and fillings.
Do not treat a dessert's attractive appearance as proof that it can remain unrefrigerated. A buttercream-covered cake may contain a filling with different storage requirements. Plan chilling and serving before the celebration, and choose an arrangement that allows the relevant dish to be removed easily.
Outdoors, also consider direct sun, wind and insects. A shaded location helps the display look better, but shade alone is not temperature control. Keep covers available and avoid placing the table under a branch that drops leaves or pollen over the food.
Adapt the plan to a genuinely small space
If the only available surface is a narrow console, split serving supplies from the food rather than making everything compete for the same strip. Put plates and napkins on an adjacent stable surface, where guests can collect them before approaching the desserts. Keep the cake low enough to cut comfortably instead of raising it merely to imitate a larger display.
For a table that must also seat guests, use removable trays to define the dessert area. The trays can move as a unit when the meal changes course, without requiring someone to pick up every cupcake individually. Check that a loaded tray can be carried safely and that its new resting place is ready before the celebration begins.
Keep a simple packing list beside the setup: server, spare utensils, napkins, covers and containers for leftovers. These practical items need not be visible in the display, but having them nearby prevents an attractive arrangement from becoming difficult to manage.
Make the last edit from the guest's viewpoint
Remove anything that blocks a hand, hides a dessert or adds no clear purpose. A small table often improves when one prop disappears. If a dish looks isolated, move it closer to its neighbors before buying more treats to fill the gap.
Check the arrangement again after the cake has been cut. The display should still work when its central object changes shape. Move the server to an accessible position and tidy the immediate cutting area, while keeping other food handling requirements intact. A well-styled table is useful throughout the celebration, not only for the opening photograph.