Naked cake decorating leaves the sponge and filling visible, so the assembly becomes part of the decoration. A restrained cake can look polished without a thick outer coat, but exposed layers make uneven filling, loose crumbs and a crooked stack easier to notice. Choose an intentional finish before adding fruit: completely bare sides, or a thin, translucent coating known as a semi-naked finish.
For a first attempt, use a modest single-tier cake with matching layers and one principal topping. The aim is a balanced silhouette with clear horizontal bands. A mountain of garnish will not disguise unstable assembly, and repeated scraping can turn a delicate, natural finish into a patchy one.
Choose layers that look good exposed
Start with a recipe intended for layer cakes. Its structure should support the planned filling without needing the outer frosting to hold everything together. A very fragile sponge can still be attractive, but it needs gentler handling and may not suit the height of a taller celebration cake. Keep the recipe's expected texture rather than drying the sponge deliberately to make it easier to handle.
Matching pan diameters help the outline stay consistent. Once the layers have cooled completely, inspect them side by side. Trim significant domes so each filling surface is flat. Remove loose crumbs with a soft brush or clean fingertips rather than rubbing the surface aggressively. Decide which layer has the cleanest outer edge and save it for the most visible position.
Chocolate sponge creates an obvious contrast with pale filling. Golden vanilla layers give a softer, more tonal effect. Neither needs to be perfectly uniform in color, but a heavily broken edge beside an otherwise tidy stack can draw attention away from the topping. Position minor imperfections toward the back; do not build on a layer that is too damaged to support the cake.
Make the filling bands consistent
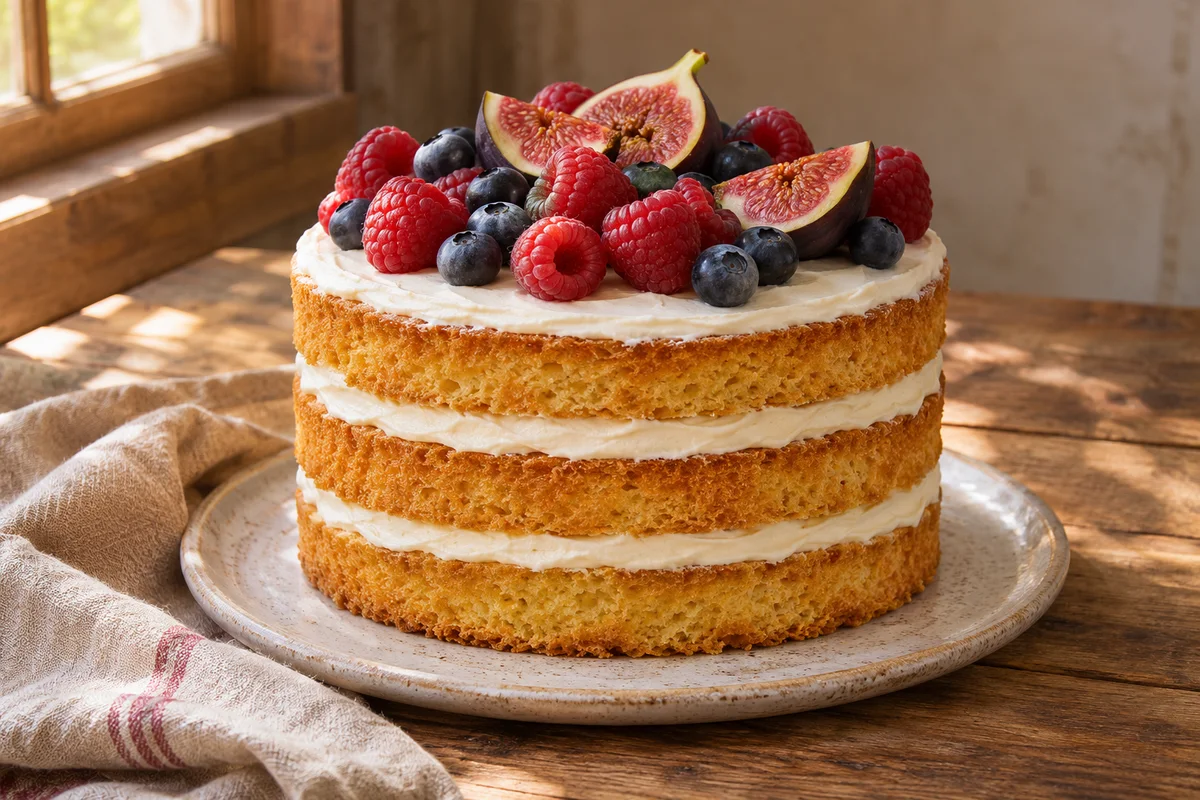
A naked cake exposes the filling at every seam. Choose a filling with sufficient body for your recipe and design, then divide it before assembly. For three cake layers, there are two internal filling spaces; reserve the top decoration separately so the first seam does not consume frosting intended for the second.
A kitchen scale is useful for dividing the planned filling into equal portions, although equal amounts alone do not guarantee a level surface. Spread each portion evenly and inspect the cake from the side. Avoid a high mound in the center or a thick perimeter that leaves a hollow beneath the next layer. For additional assembly guidance, follow our layer-cake stacking method.
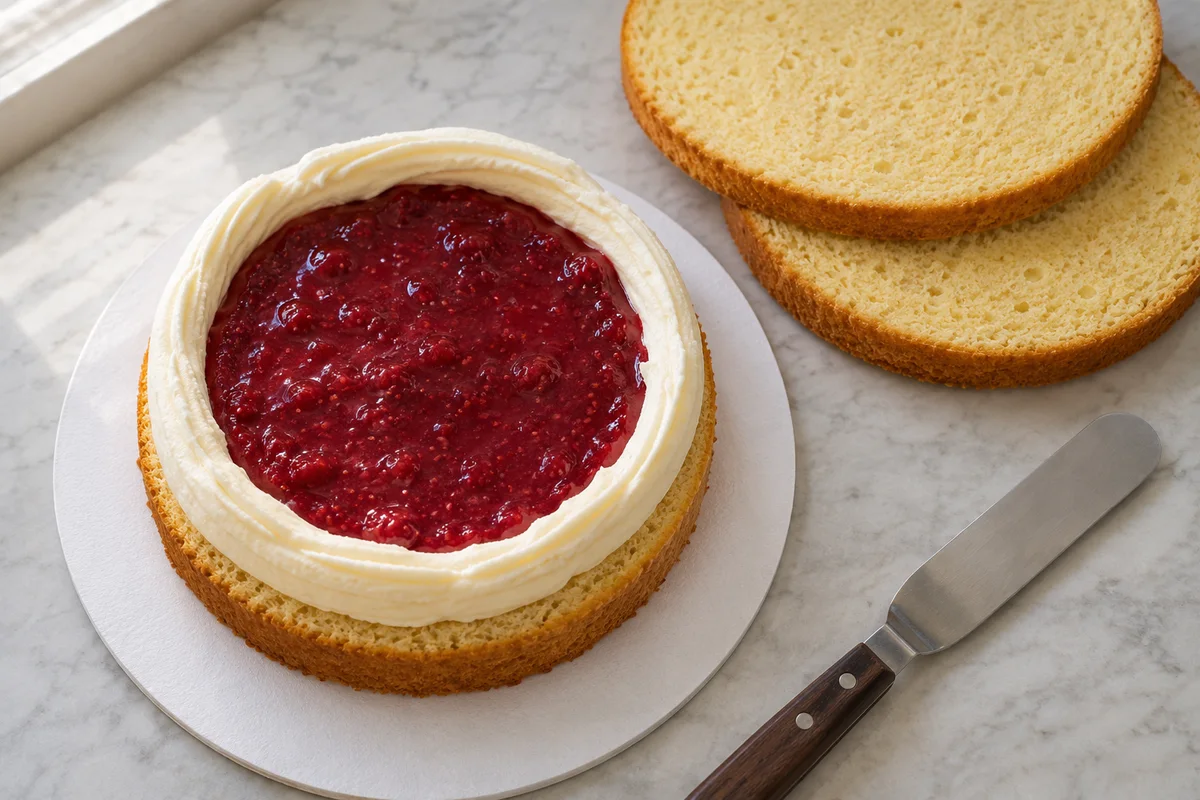
If you include a softer fruit filling, keep it inside a suitable frosting dam rather than spreading it to an exposed edge. A decorative cake is not the place to discover that a jam is much looser than expected. Assemble a conservative filling layer and preserve enough room for the dam to contain it without being forced outward.
Choose bare or semi-naked sides
- For bare sides, spread or pipe the filling neatly between layers, keeping the outer outline controlled. Lift away escaped frosting with the edge of a small spatula. Leave the cake surface itself uncovered rather than scraping frosting across it unintentionally.
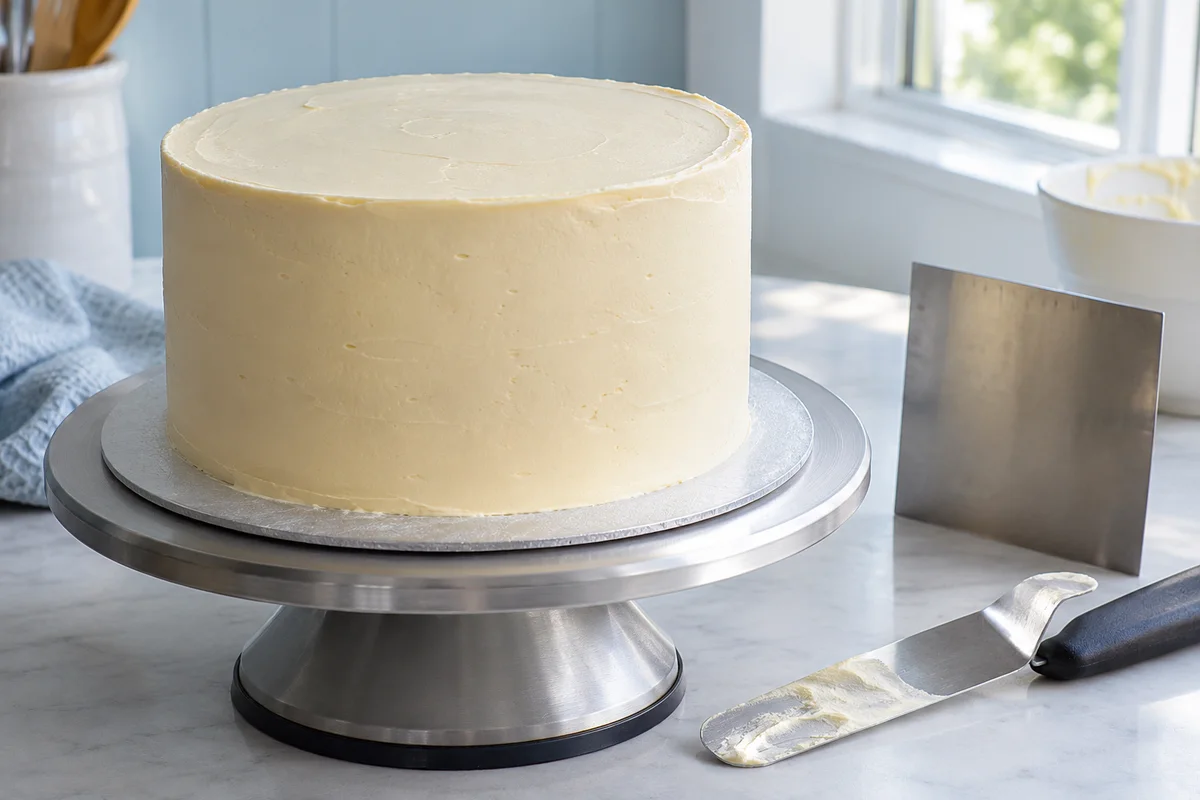
- For a semi-naked finish, add a small amount of buttercream around the outside. Spread it into the gaps between layers first, then skim the cake with a straight scraper or spatula so the sponge remains visible beneath a thin film.
- Stop when the finish is coherent. The goal is a deliberate level of exposure around the cake, not identical patches at every point. More scraping will not necessarily improve the result once crumbs begin collecting in the coating.
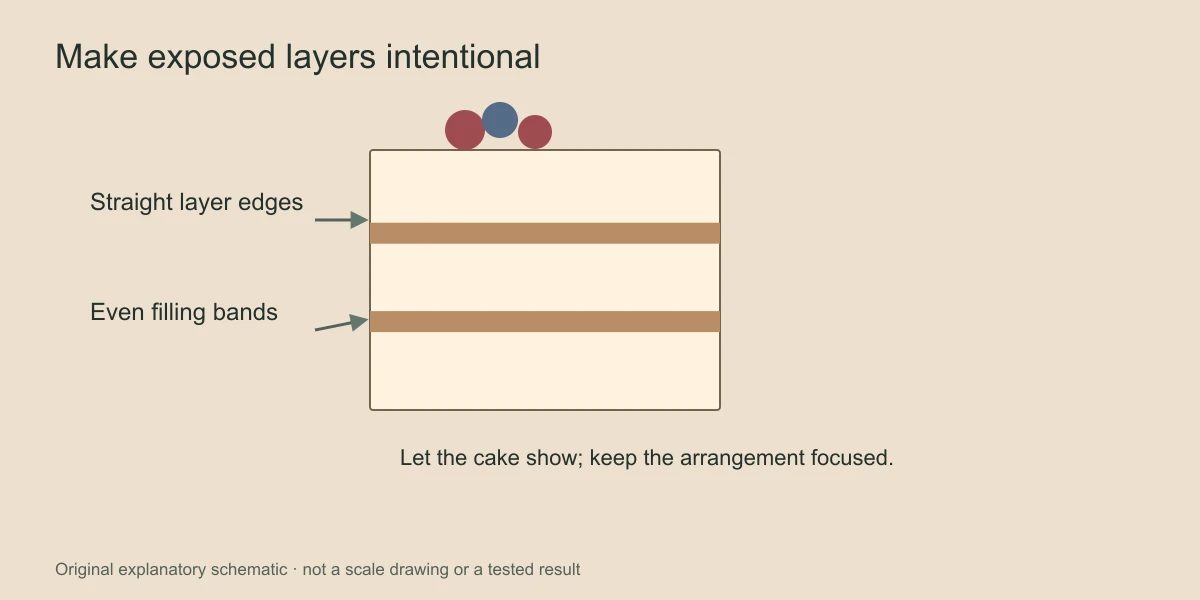
Keep the tool reasonably upright and wipe it between passes. Work lightly: pressing hard into the sponge produces crumbs and dents instead of a thinner, cleaner coat. If a large gap remains, fill that location with a little frosting and skim just that area. Do not repeatedly coat the entire cake to solve one small hollow.
For the top, a thin, even layer with a softly defined edge often suits the exposed sides. A completely sharp top can also work, but it asks for a more controlled frosting application. Read our guide to smooth buttercream edges if that is the finish you want rather than attempting to create it with increasingly heavy pressure.
Arrange fruit with space to breathe
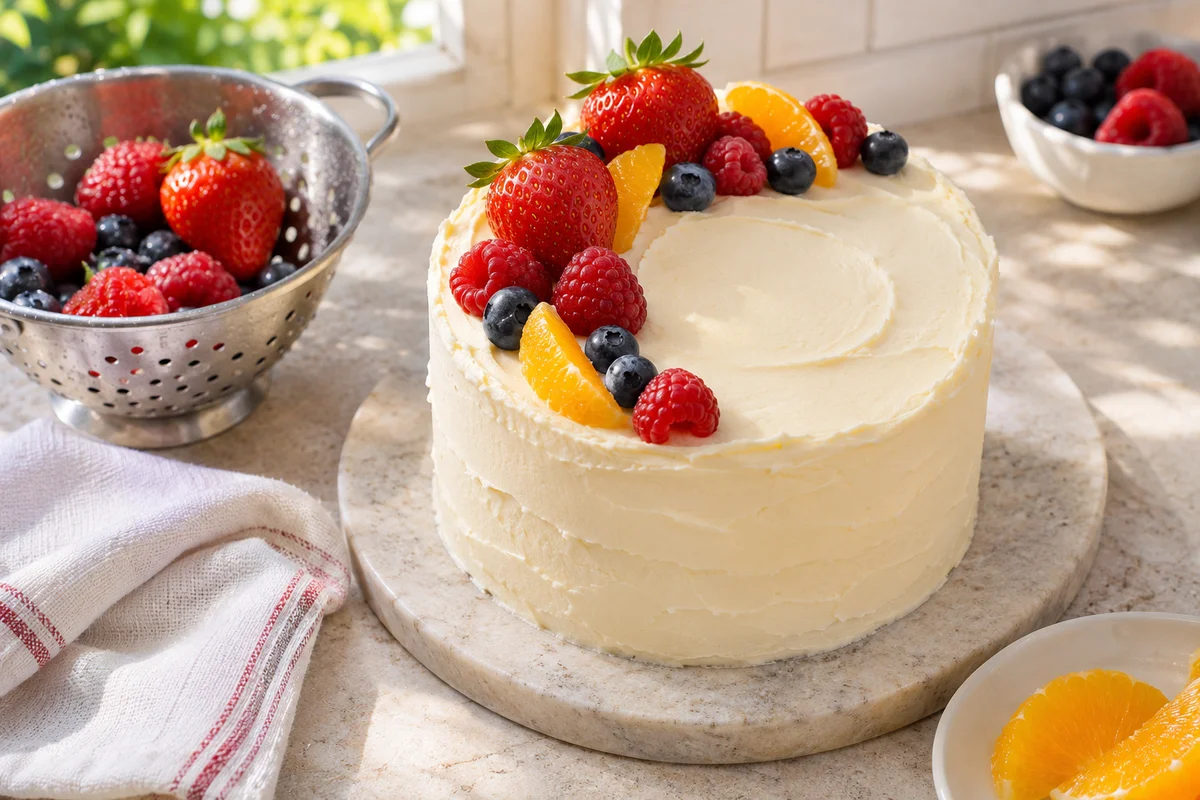
Pick one main fruit or a small related group. Berries provide small repeated shapes; figs create larger focal pieces; citrus segments introduce a stronger graphic shape. Consider the weight as well as the color. Heavy pieces balanced on a thin edge are less dependable than a modest arrangement supported by the top surface.
Plan the arrangement on a separate plate before putting anything on the cake. Build a low cluster, a crescent or a restrained central group. Leave visible frosting between the garnish and the outer edge. A little empty space makes the design look considered and gives you somewhere to place a knife when serving.
Wash and prepare fruit appropriately, then remove surface moisture before placement. Cut fruit may release juice after arranging, so avoid treating a dry-looking slice as a guarantee that it will remain dry. Our fresh-fruit decoration guide explains how moisture and placement affect the finish. Follow the storage requirements of the actual cake and filling.
- Repeat the fruit's color once, perhaps in a small accent on the serving table.
- Keep the largest pieces near the center of a cluster, where the top can support them.
- Turn attractive cut faces toward the viewing angle without stacking them precariously.
- Remove stems, packaging and non-edible accessories as appropriate before serving.
Match the decoration to the occasion
A small family lunch might need nothing more than a neat berry crescent. For a birthday, a single topper can provide the occasion-specific detail while the cake stays simple. A more formal display can use repeated small fruit clusters and a restrained serving stand rather than additional tiers or excessive height.
Fresh flowers require a separate safety decision. A flower looking attractive beside food does not establish that it is edible or suitable for contact with frosting. Do not insert loose florist stems into the cake. Use our fresh-flower safety guide before choosing a floral arrangement; if you cannot verify the material and method, place flowers separately from the cake.
Think about the background as part of the design. A busy printed cloth, an ornate stand and a heavily garnished cake compete with one another. An exposed-layer cake usually benefits from one of those elements taking the lead while the others stay quiet. View the arrangement from the height at which guests will see it, not only from directly overhead.
Check the finish before display
Consider a three-layer vanilla cake with two equal filling bands and a berry topping. If the base looks crowded after arranging the fruit, first remove some of the topping rather than spreading more berries onto the board. If one seam looks thicker than the other, adjust the filling before completing the sides. These two corrections address different problems: one is visual weight, while the other is assembly. Keeping that distinction helps you avoid covering a structural issue with decoration or rebuilding a sound cake just because the garnish needs editing.
Inspect the board for frosting smears and move stray crumbs away from the cake. Check that the stack is centered on its support and the garnish is not pulling the visual balance to one unsupported edge. Photographing the cake straight on can reveal a lean or oversized topping cluster that was harder to notice while working close to it.
Exposed sponge does not gain the same outer coating as a fully frosted cake, so plan assembly and display around the recipe rather than leaving it uncovered unnecessarily. Use suitable covered storage without letting the cover touch the garnish. A clean stack, consistent filling bands and a modest topping will usually contribute more to the finished appearance than one last scattering of decoration.