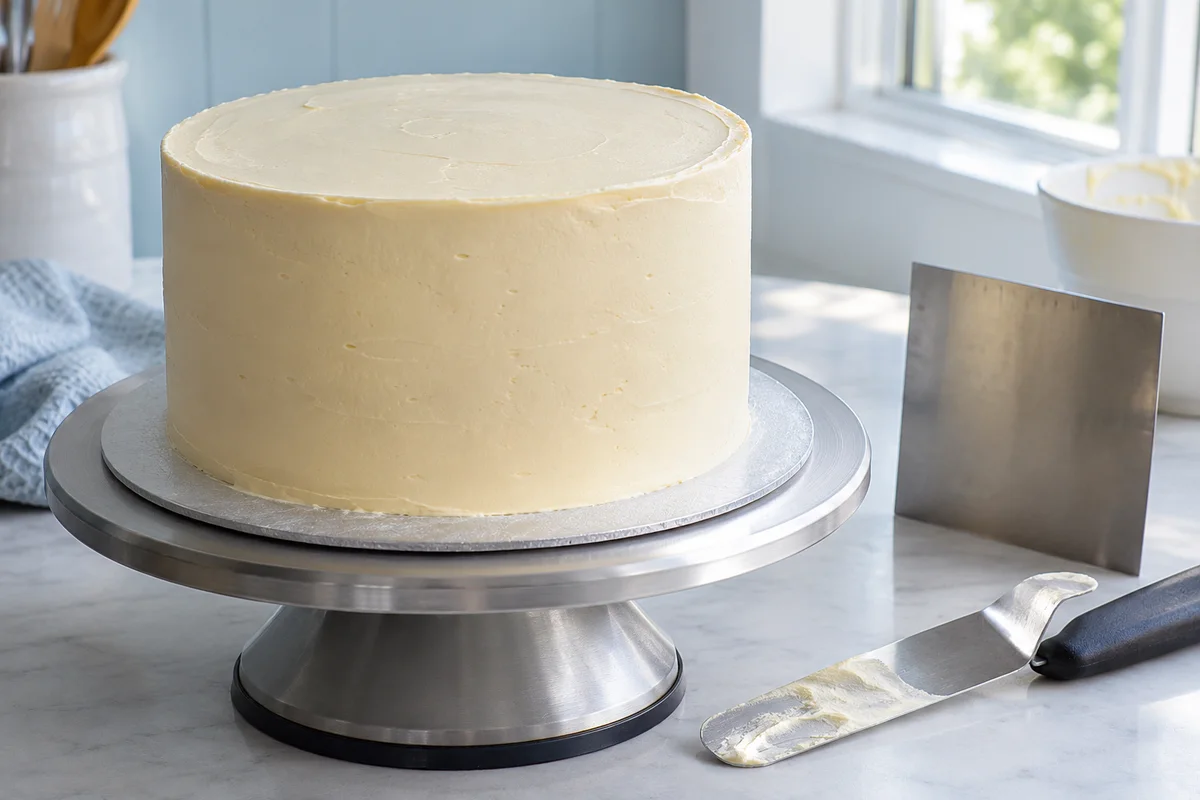
Smooth buttercream edges depend on the cake underneath as much as the scraper in your hand. A tilted stack, loose crumbs or a frosting layer with deep gaps can leave a rough finish even after repeated smoothing. Prepare a straight foundation, seal the crumbs, then treat the side wall and top edge as two separate jobs.
This approach suits a single tier of filled sponge layers coated with buttercream. It does not turn a very soft filling into structural support, and it cannot straighten a cake that is still moving. Correct those problems before spending time polishing the outside.
Check the cake before adding the finish coat
Place the assembled cake on a flat board that can support its weight. Look at the stack from the front, then rotate it and check again. A layer that projects farther on one side forces you to add extra frosting elsewhere to create a straight wall. Level or reposition the cake while those corrections are still straightforward.
Layers should be fully cooled before filling and frosting. Warm cake can soften buttercream, while a fragile layer may tear when pressed. If the layers feel unusually delicate, handle them on supporting boards rather than lifting them by their edges. Let the recipe, filling and handling conditions determine whether chilling is appropriate.
A small turntable makes the movement easier, but its platform must sit level. Check that it rotates without wobbling and that the cake board does not skate across it. The most useful upgrade is a stable working arrangement, not a larger collection of scrapers.
Choose tools that reach the whole side
- A straight cake scraper tall enough to contact the complete side wall.
- A small offset spatula for spreading and pulling the upper lip inward.
- A bowl for clean finishing buttercream and a separate dish for crumb-contaminated scrapings.
- A flat cake board and, if available, a stable turntable.
- A clean cloth or paper towels for drying the tools thoroughly.
A scraper with a bent edge can leave a repeating ridge. Run a fingertip carefully along the working edge before starting, checking for dried frosting or damage. Plastic and metal tools both work; the important features are a clean, straight edge and a comfortable grip.
Apply a thin, complete crumb coat
The crumb coat catches loose cake particles before the visible layer goes on. Spread a small amount over the top, then around the sides, connecting the seams between layers. The coat can remain translucent. Its job is coverage and crumb control, rather than an opaque decorative finish.
Move frosting over the surface instead of repeatedly scraping against bare cake. If you pick up crumbs, deposit that frosting in the separate dish. Returning it to the finishing bowl makes every later pass more likely to scatter brown flecks through a pale coating.
Let the coating become firm enough that a light finishing pass will not pull it away. King Arthur Baking's crumb-coat demonstration explains the purpose of this preliminary layer. Chilling can help some buttercreams set, but it is a handling step, not permission to ignore the filling's storage requirements.
Build a coating with room for correction
Spread fresh buttercream around the cake in generous, connected patches. Start slightly thicker than the final finish you want, because smoothing removes material. You do not need an exact universal thickness: the coating must cover the cake consistently and leave enough frosting to fill shallow defects without exposing crumbs.
Look for low areas before you begin a full circuit. If the cake shows through a patch, add frosting there. A scraper removes high points; it does not automatically fill an empty area just because you keep rotating the turntable.
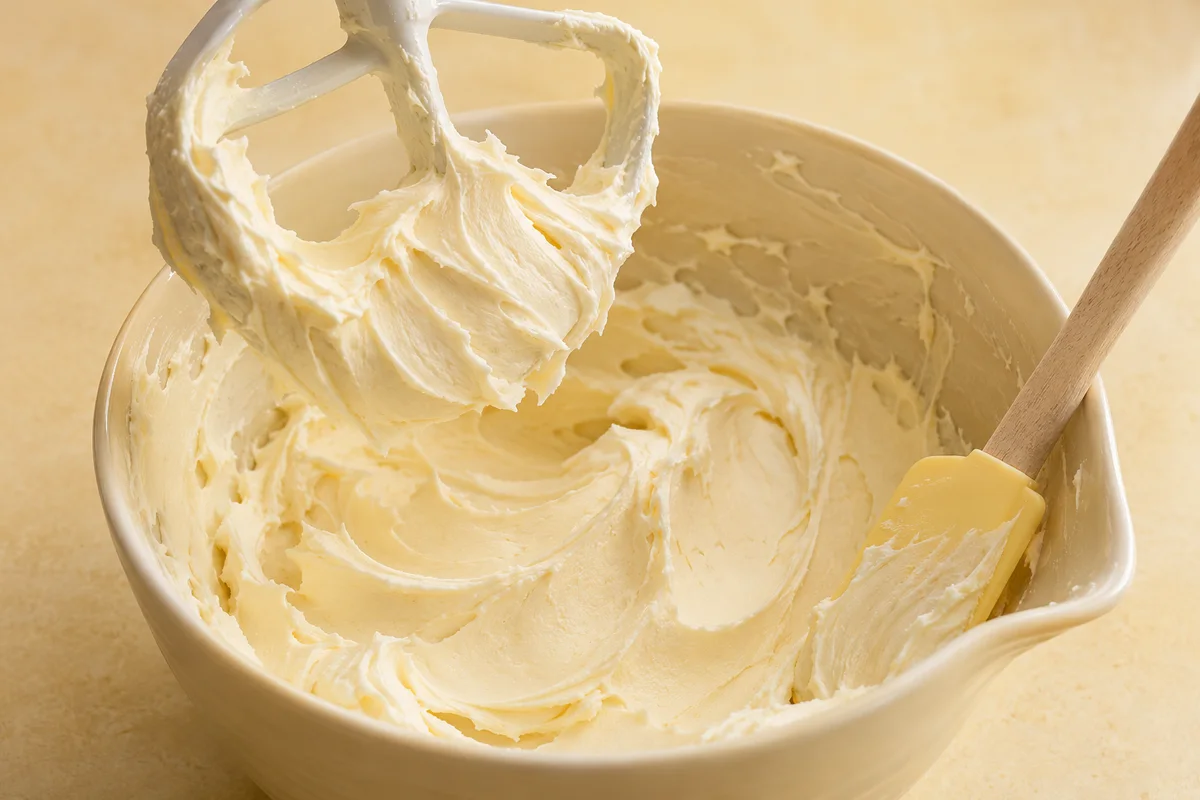
Check the frosting itself by spreading a small swipe inside the bowl. It should move without tearing into dry-looking clumps or slumping into a puddle. For a texture problem, consult smooth American buttercream before using the cake as your test surface. Reserve colored frosting until the base texture is workable.
Make controlled scraper passes
- Rest the lower edge of the scraper on the cake board or turntable surface, keeping it clear of any raised board rim.
- Hold the scraper upright against the cake, with only gentle contact. Tilting the top inward produces a tapered wall.
- Rotate the turntable steadily while your scraper hand stays relatively still. Stop before your arms become awkwardly crossed.
- Lift away gently, remove collected frosting and inspect the wall in good light.
- Fill visible pits with clean buttercream, then make another light pass over the repair.
Work toward fewer deliberate passes rather than a long uninterrupted scraping session. The frosting warms as you handle it, and every unnecessary circuit offers another chance to create a ridge. If your stopping point leaves a mark, restart slightly before it with a clean tool instead of pressing harder across the whole cake.
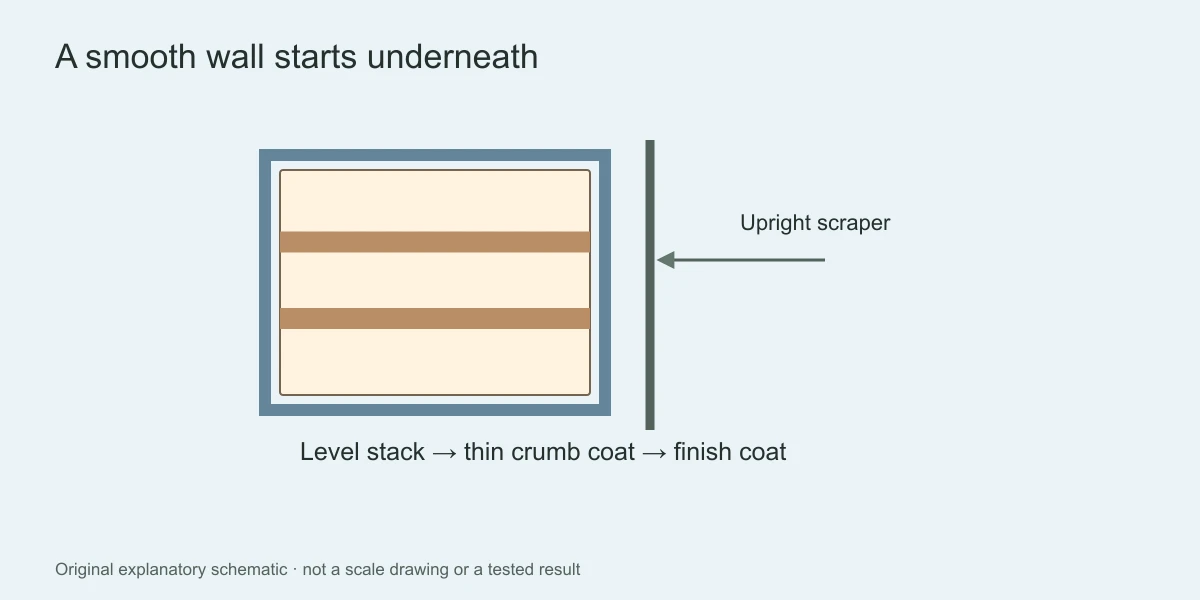
Bring the upper lip inward
Smoothing the side often pushes a small collar of frosting above the top. Leave that collar until the wall looks straight. Then use the offset spatula to draw short portions of the collar inward, toward the center of the cake. Clean the blade between pulls so you do not drag old frosting across the finished surface.
Keep the blade nearly level with the top. Pressing its tip downward digs a trench just behind the edge; lifting it too soon leaves a raised ridge. Work around the circumference in small sections, overlapping the previous pull slightly rather than trying to sweep the entire top in one movement.
For a sharp corner, keep the transition where the side meets the top intact. Once the edge is reasonably clean, stop touching it. A tiny irregularity can disappear beneath a planned border, while repeated corrections may remove so much frosting that the cake shows through.
Match the repair to the mark
| Surface problem | Likely working issue | Focused repair |
|---|---|---|
| Long vertical groove | Dried frosting or damage on the scraper edge | Clean the tool, fill the groove and pass lightly. |
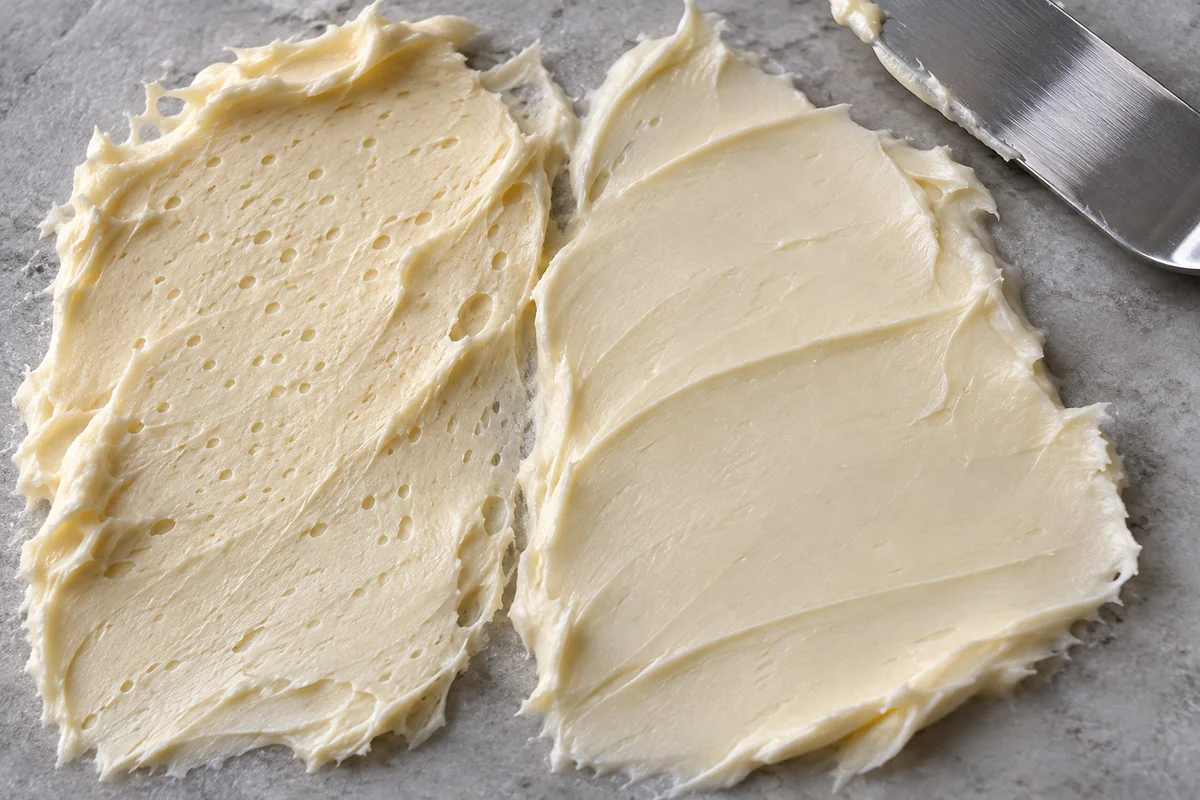
| Shallow pits | Missing frosting or trapped air at application | Press fresh frosting into the pits before smoothing. |
| Visible cake at one point | Uneven stack or coating removed too thinly | Check alignment and rebuild that area. |
| Top edge rolls outward | Upper lip not pulled inward cleanly | Use short inward spatula strokes. |
Do not diagnose every small hole as a recipe failure. Air can be trapped while frosting is spread onto the cake, even when the bowl looks smooth. The separate guide to air bubbles in buttercream helps distinguish mixing problems from application marks.
Work through one uneven section
Imagine that the front looks smooth but a crescent of cake remains visible near the back. Stop rotating and compare that area with the opposite side. If the cake itself projects outward, more scraping will keep revealing it. Decide whether the stack needs correction or whether a slightly thicker overall finish is the sensible choice.
If the stack is straight and the bare patch is simply shallow, press clean frosting into that patch with the spatula. Extend the repair beyond the visible mark so its edges can blend into the surrounding coat. Make one light scraper pass, clean the blade and look again. Do not remove all the new frosting in an attempt to make the repair disappear immediately.
This distinction matters: a coverage problem needs added material, whereas a raised ridge needs gentle removal. Learning to identify which one you are seeing prevents the familiar cycle of scraping, exposing cake and starting over.
Decide when the finish is ready
Step back and view the cake at the height guests will see it, rather than examining every square centimeter from inches away. Check the silhouette, the level top and the consistency of the coating. Those features usually matter more than an isolated pinhole visible only under strong side lighting.
For a practical practice session, decorate one small cake with a single color and no elaborate topping. Photograph each side before and after repairs. Compare which marks responded to added frosting and which came from the tool. That record teaches you more than changing the recipe, scraper angle and coating thickness simultaneously.
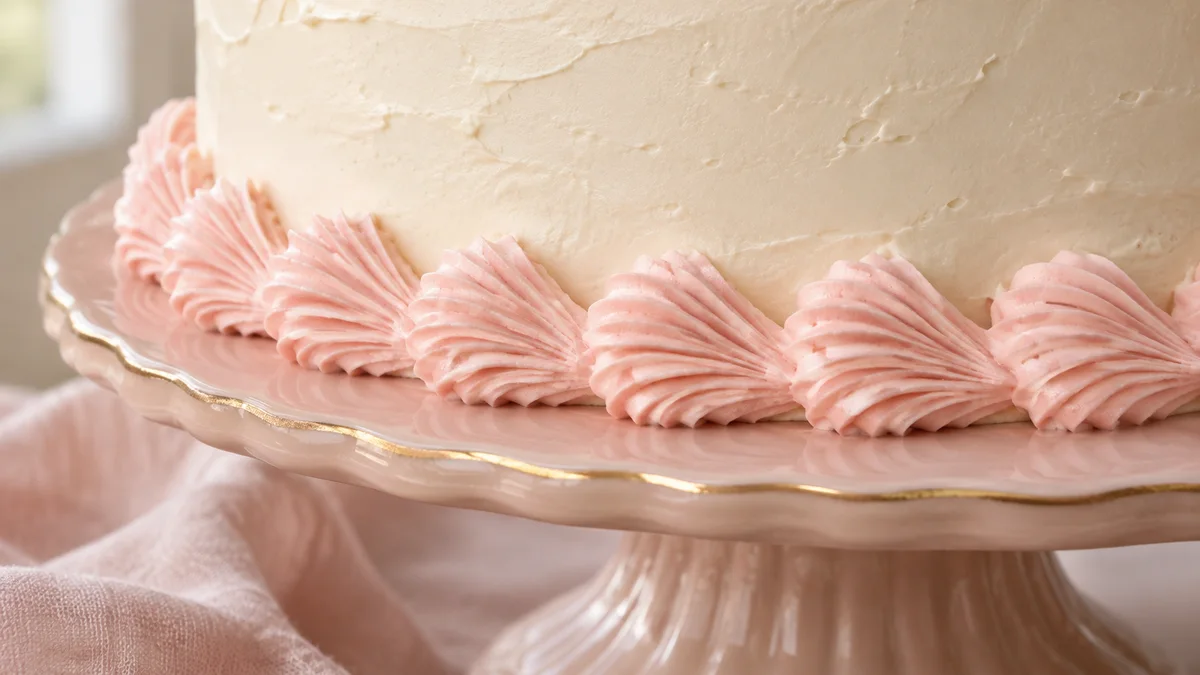
Plan any finishing border only after the edge is stable. A shell border can frame the cake neatly, but should not be used to hide sliding layers or a soft, unstable surface.