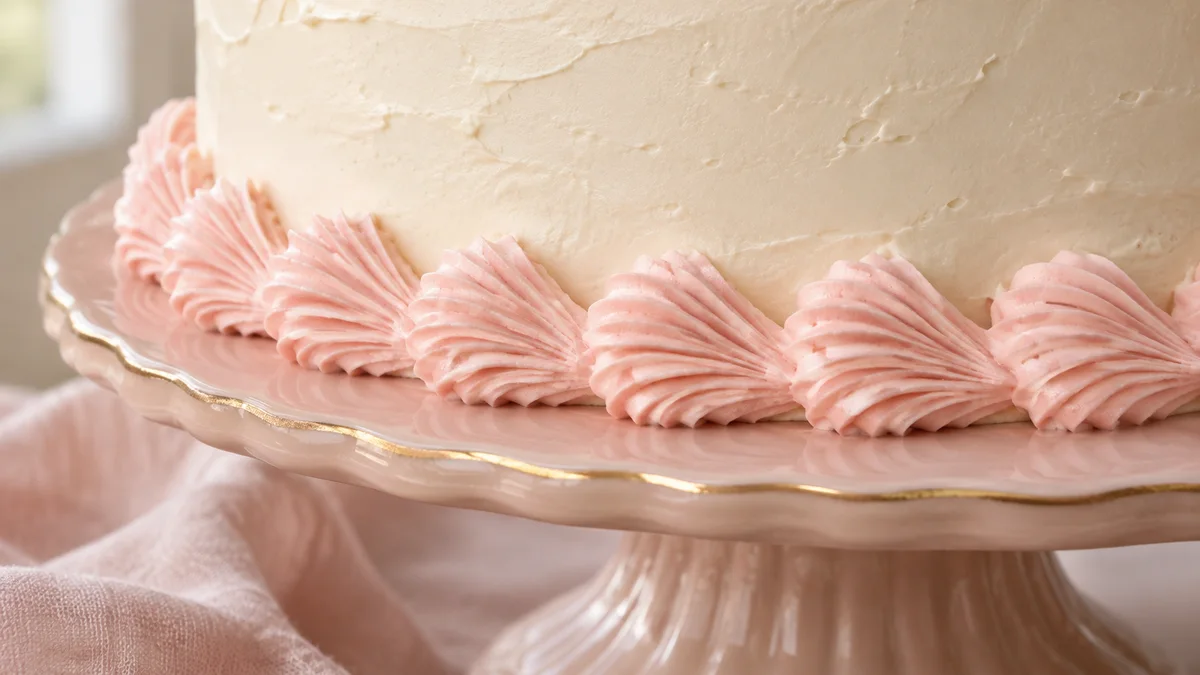
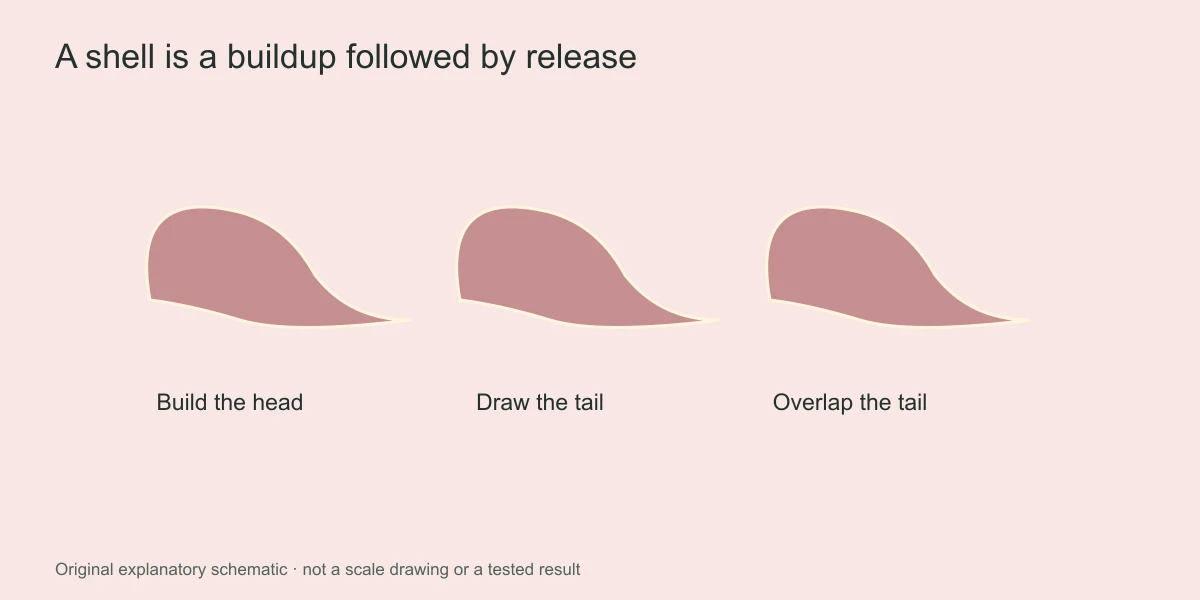
A shell border looks continuous because each small unit overlaps the tail of the previous one. The individual movement has three parts: squeeze to build a rounded head, ease the pressure while drawing a short tail, then stop before lifting. Learning that rhythm matters more than moving quickly around the cake.
Choose one uncomplicated border position for your first attempt. A line around the base of a single cake is easier to assess than several rows on a tall tier. Practice on a flat surface first, then adapt the bag angle and your body position to the cake's edge.
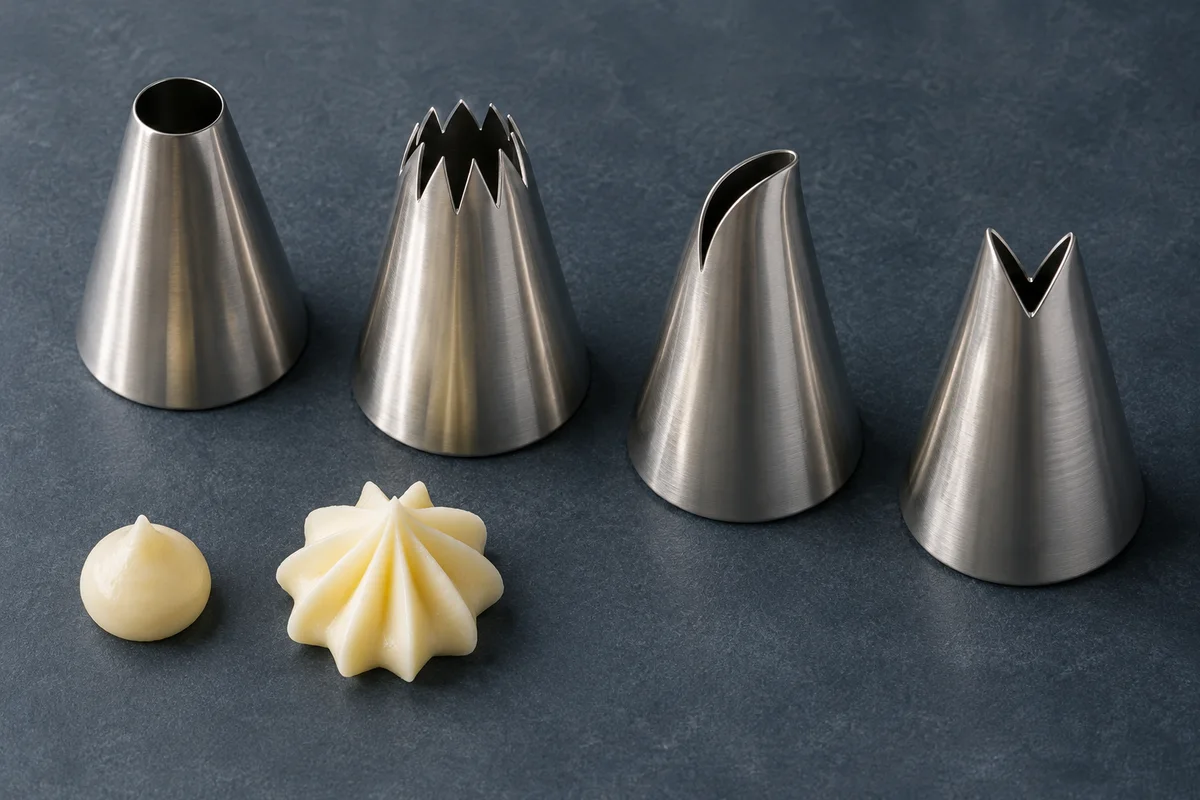
Choose a tip that makes the ridges visible
- An open-star tip sized for the border you want.
- A comfortably filled piping bag, secured above the frosting.
- Smooth buttercream that keeps its ridges after a test squeeze.
- A stable cake board and a prepared, firm frosting surface.
- A clean practice tray and a small spatula for clearing attempts.
A larger star opening makes a bolder shell, while a smaller opening creates a finer border. The number of points also influences its appearance. Test the actual tool instead of choosing by tip number alone, particularly if you are following a demonstration made with another manufacturer's product.
Keep the tool set small while learning. Changing tips after every uneven row can hide whether the real difficulty is pressure, frosting consistency or spacing. The piping tips guide explains how the opening affects the pattern, but the repeated movement remains your responsibility.
Check flow before committing to the border
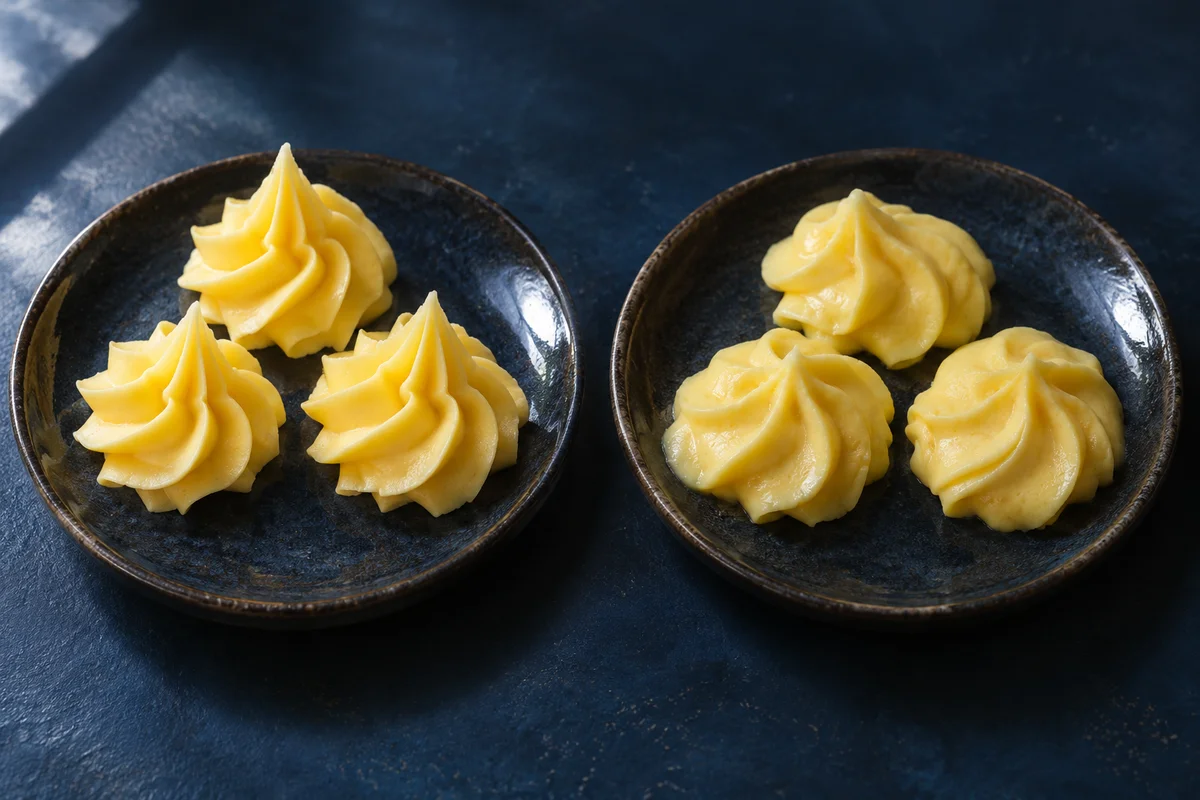
Pipe a short ridged ribbon. The grooves should remain visible, and the frosting should flow without forcing you to squeeze with both hands. An overly soft ribbon may flatten into a smooth line. A very stiff ribbon can tear or make the bag difficult to control.
Start with the consistency intended by your frosting recipe and adjust a small sample if necessary. Temperature can change the feel during a session, especially when a small bag is held continuously. If the first shells have distinct ridges but later ones flatten, check the material before changing your hand angle.
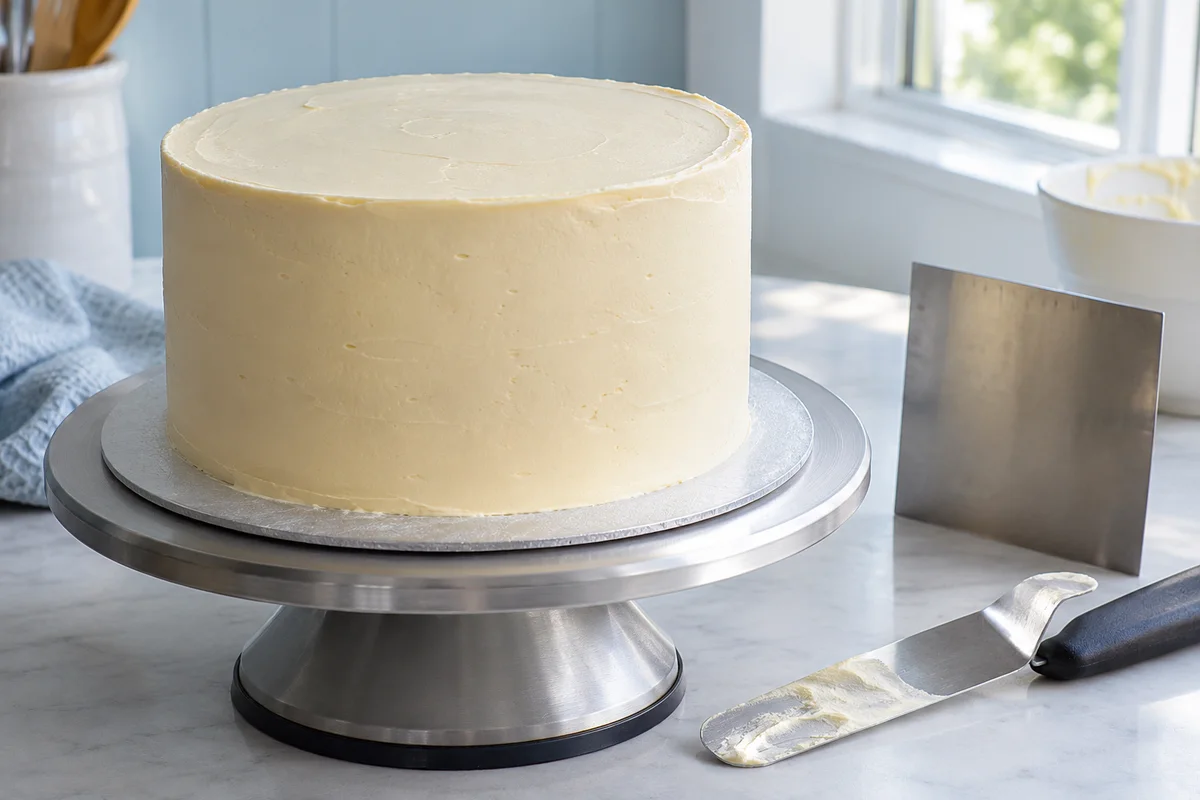
The cake surface also matters. A border should land on frosting that supports it, not on a wet or sliding coating. Complete the basic finish first. Our guide to smooth buttercream edges explains why structural corrections belong before decorative details.
Set the angle for the border position
For a basic shell on a flat practice surface, begin with the bag angled rather than upright. An approximately diagonal position lets the frosting build a head and then travel into a tail. The exact angle depends on the opening and whether you are piping on a horizontal top or near a vertical side.
Orient the tip so the shell points in the direction you intend to travel. Keep the lower edge close enough to the surface for the frosting to attach, but do not scrape the metal through the previous shell. Let your guiding hand stabilize the tip while the upper hand supplies pressure.
At the cake's base, place the cake so you can see the junction between side and board. If that line is hidden behind a tall turntable rim, change your working position before starting. Trying to pipe into an area you cannot see usually creates inconsistent placement.
Build one shell deliberately
- Hold the tip close to the surface at your chosen starting point.
- Begin squeezing without immediately traveling forward, allowing a small rounded head to develop.
- As the head reaches the intended size, move along the border direction.
- Reduce pressure while drawing the frosting into a short tail.
- Stop squeezing, then lift away without dragging through the tail.
Do not make a large upward gesture to create the rounded head. The frosting's buildup supplies much of the shape. If you lift the tip too high, the shell can become a loop or stand away from the surface instead of forming a grounded decorative unit.
Practice several separate shells before connecting them. Compare the width of their heads and the length of their tails. A shell that looks attractive by itself may still be awkward in a border if its tail is much longer than the others.
Overlap the tail without crushing the head
Start the next shell near the end of the previous tail, leaving enough overlap for the two units to read as a continuous pattern. Build its head while keeping the tip clear of the completed shell. The goal is a visual connection, not pressing one decoration flat beneath another.
Keep the same spacing for several units before judging the result. If one shell is slightly small, do not compensate with an oversized next shell. That produces a noticeable alternating pattern. Return to the usual movement and let the small variation remain local.
Rotate the cake between short working sections rather than twisting your wrist farther and farther. Pause when your hand position becomes awkward. Before continuing, check that the direction of the next shell matches the border already in place.
Plan the closing seam
A border around a cake eventually returns to its starting point. Begin in a less prominent area if the design has a clear front. As you approach the end, look at the remaining gap early enough to make small spacing changes across several shells.
Do not wait until one large gap remains and try to fill it with a giant shell. Spread a modest adjustment across the preceding units instead. For a visible top border, a planned flower or another suitable accent can provide a natural finishing point, but it should be part of the design rather than a rushed disguise.
Sketch a practice circle and pipe around it before moving to the cake. This exercise exposes the difference between maintaining a straight row and closing a circular arrangement. Use the circle only as a guide, keeping any marker ink away from frosting intended for eating.
Diagnose the border's rhythm
If the heads vary in size, watch the duration of the initial squeeze. If the tails vary, watch the point where pressure decreases. If every shell leans away from the cake, examine the angle and attachment point rather than adding more frosting to each unit.
For a concrete comparison, pipe a row of six separate shells with a consistent squeeze, then another row with a deliberately shorter tail. Compare which row connects more naturally. Keep the frosting, tip and bag angle unchanged so the different tail length is the only major variable.
When the ridges soften after piping, consult buttercream shape loss. A bag-control exercise cannot solve a frosting that no longer holds the intended structure. Remove only an affected section when a clean local repair is possible; repeatedly scraping a finished border can damage the surrounding coat.
Repair a short section without restarting
Suppose the border is neat around most of the cake, but three shells near the back have merged into a thick strip. First compare that strip with the last shell you piped. If the later frosting is also flattening, pause to restore a workable texture before attempting a repair with the same soft material.
Use a small spatula to lift away only the affected decoration, protecting the base coat as far as possible. Smooth the exposed patch and let it support the new piping. Begin the replacement with enough overlap to connect to the intact border, then match its head size and direction rather than trying to reproduce every tiny ridge.
A local repair becomes much harder if you keep pulling the adjacent good shells away with the spatula. Work from the damaged area inward, cleaning the tool between attempts. If the coat underneath has been torn badly, repair that foundation before adding a fresh border over it.
Questions about a first shell border
Must every shell be exactly the same size?
A consistent overall rhythm matters more than microscopic matching. Aim for similar heads, tails and overlap. Look at the completed line from a normal viewing distance before deciding that one small variation needs repair.
Can the same star tip make other decorations?
Yes. Depending on its opening, it may make stationary stars and rosettes as well. Practice each movement separately, because the shell's squeeze-and-pull action differs from a center-out flower.
Once the border is repeatable, add it to a simple cake with a restrained top decoration. A dedicated practice session lets you develop that control without continually repairing the main cake.