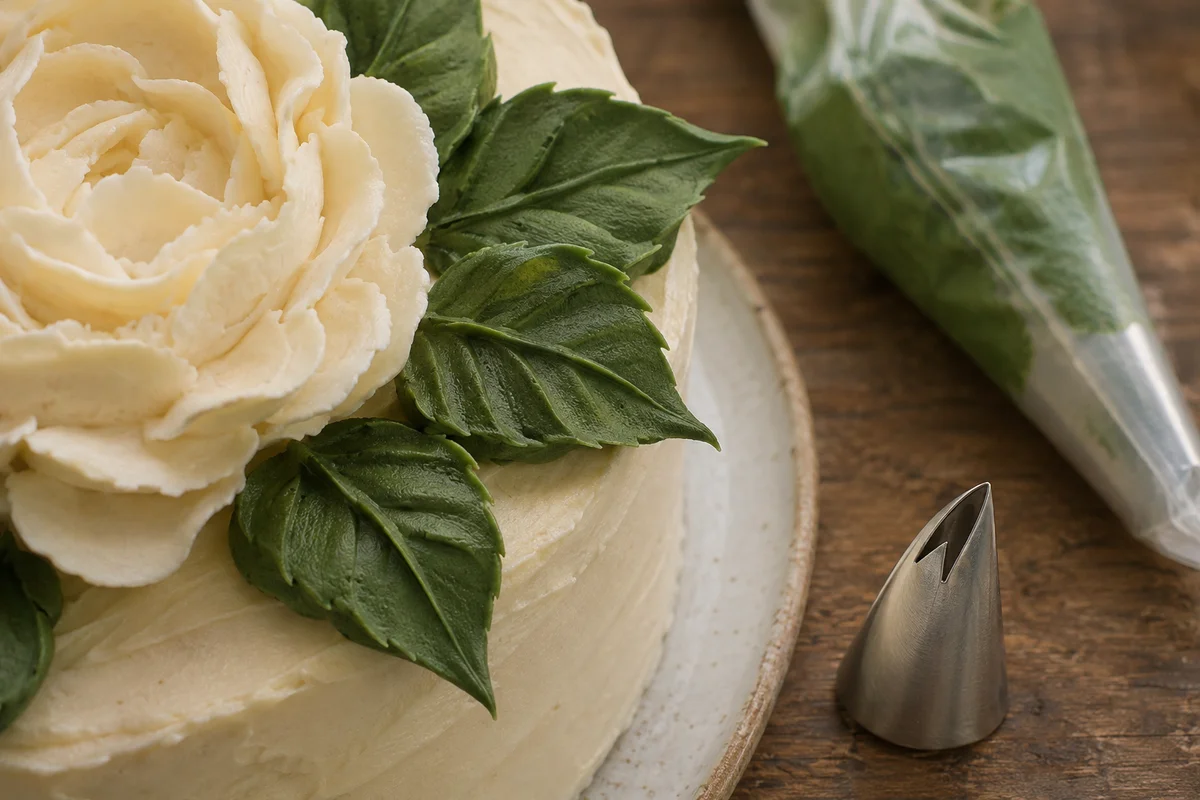
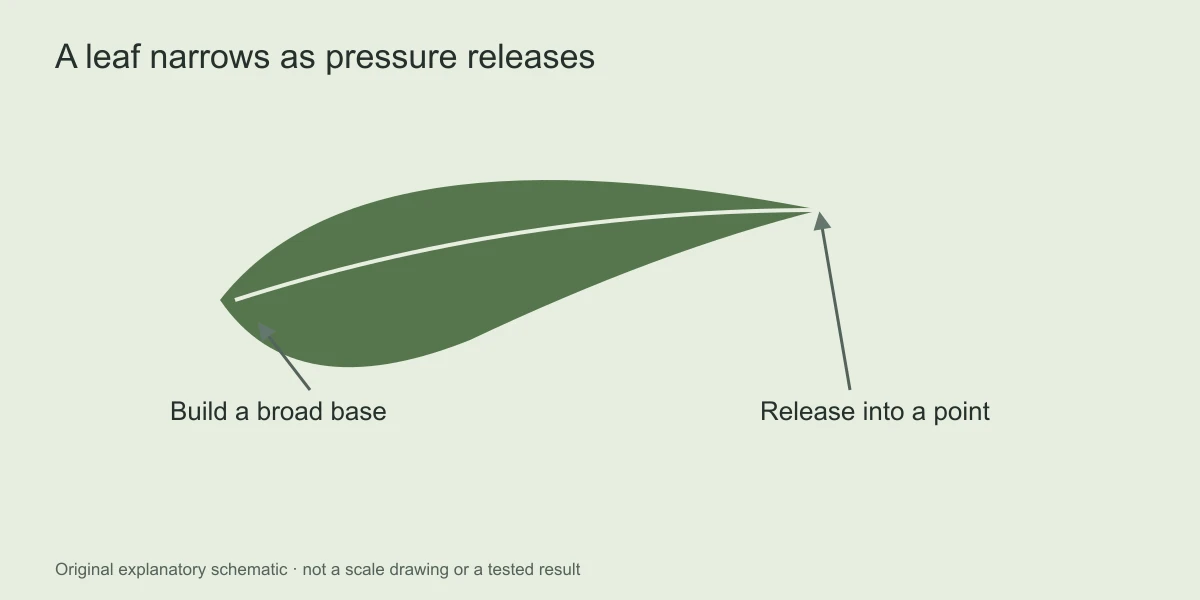
A buttercream leaf gets its recognizable shape from the opening's orientation and a controlled release of pressure. The wide base comes from the initial squeeze; the point comes from easing off while moving away. Pulling abruptly while still squeezing usually produces a broken end or a thick tail instead of a tapered leaf.
Begin with a plain practice surface and a single green frosting. Once you can repeat a broad base, visible ridge and clean point, you can vary the length and angle. Adding several colors before the basic movement is familiar makes it harder to see what your hand is changing.
Understand the opening you own
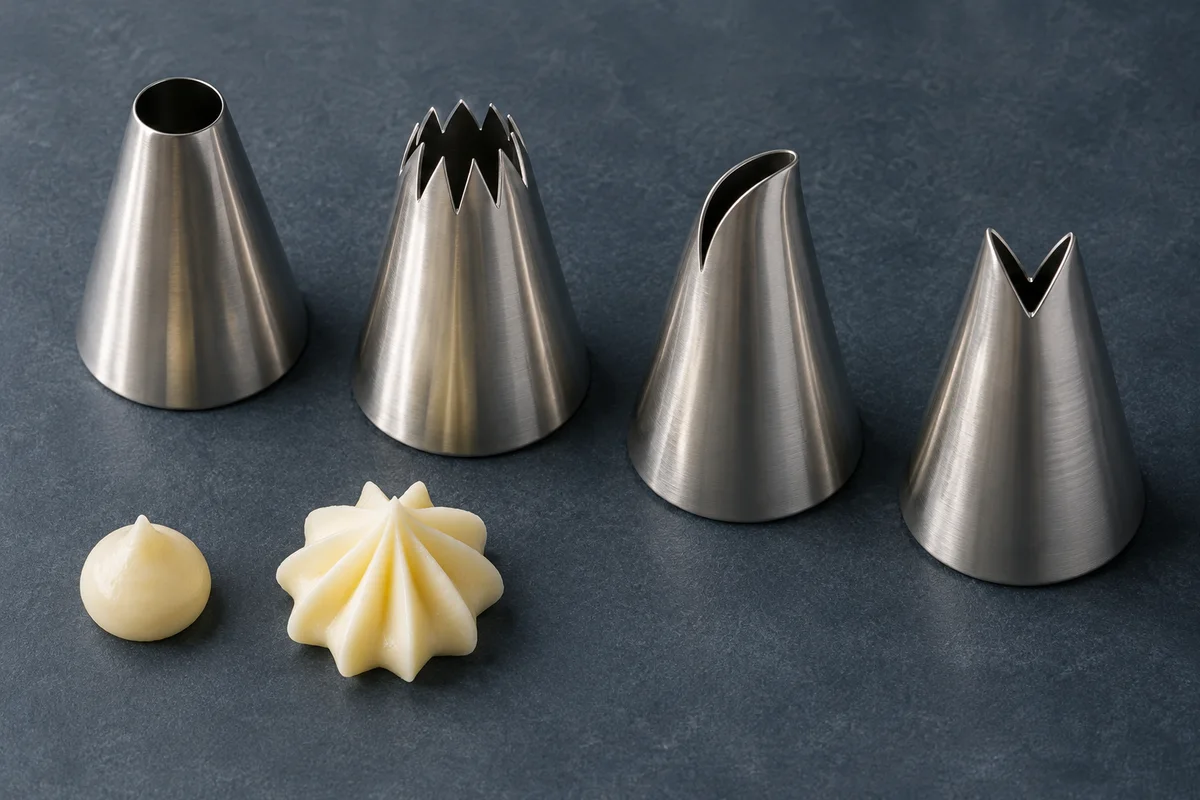
Leaf tips are not all cut identically. Some have a V-shaped opening; others form a divided slit. Their geometry guides the frosting into a folded ribbon, often with a ridge through the middle. Check your manufacturer's demonstration so you know which edge should face the surface.
Rotate the empty tip in good light and identify its points. A quarter turn can change the way the folded ribbon lands. Do not copy the position of someone else's bag without checking whether the opening itself has the same design.
Choose a tip proportionate to the flowers it will accompany. A very small leaf can disappear beside a large rosette; an oversized leaf can obscure a delicate flower. The piping tips guide is useful when comparing leaf openings with the round and star tips already in your kit.
Use a texture that keeps the fold visible
Pipe a short test leaf and observe its ridge. The buttercream should travel through the opening without a struggle and retain the fold after the tip leaves it. Soft frosting can spread into a broad blob; frosting that is difficult to squeeze may break before you form the point.
Review the texture before changing the grip. A bag warmed by extended handling can behave differently from the same frosting still resting in the bowl. Set a small portion aside for testing, rather than repeatedly modifying the full batch while the temperature is changing.
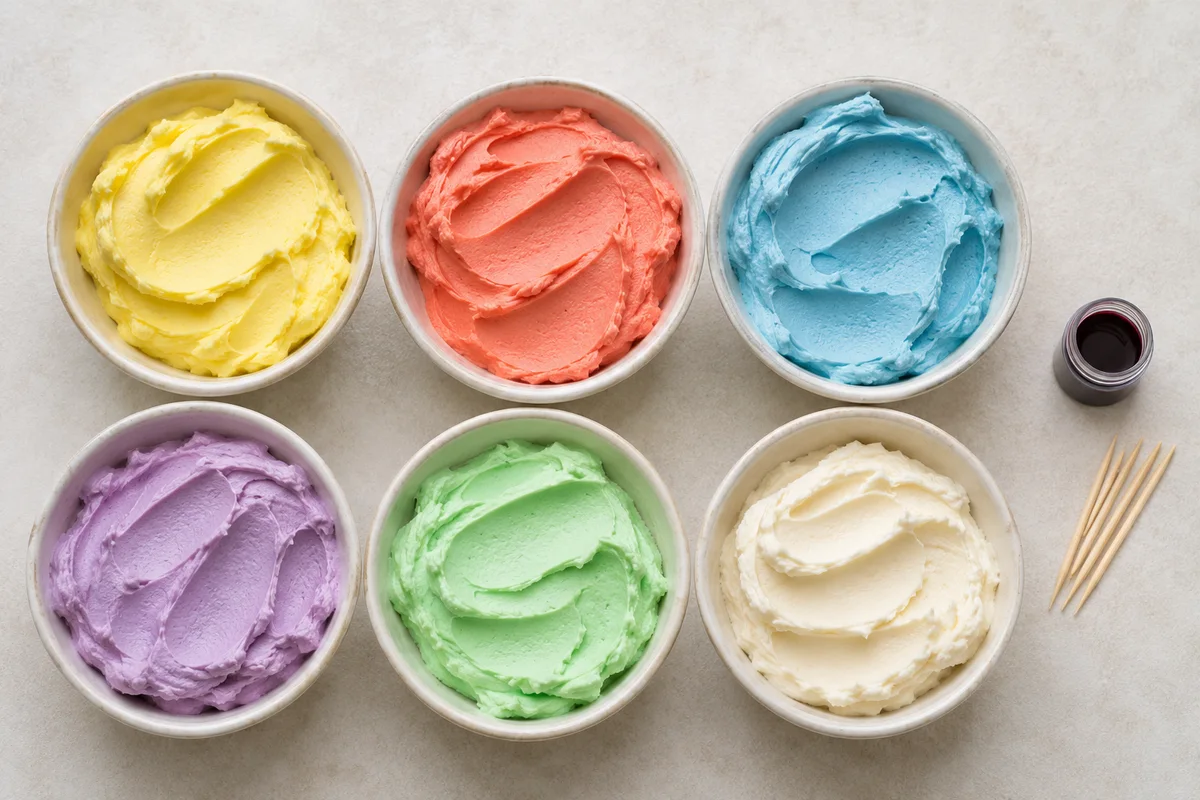
Color the frosting before filling the bag, using a coloring suitable for the recipe. Check its texture again afterward. A subtle variation between two greens can look natural, but poorly mixed streaks are a different issue. The guide to coloring buttercream explains how to build color without treating the piping bag as a mixing bowl.
Prepare the bag and a stable surface
Fit the tip securely and fill the bag with a manageable amount of frosting. Twist the upper part closed so pressure travels toward the opening. Hold above the frosting with one hand; use the second hand to guide the position rather than squeezing from two different places.
Keep the practice sheet flat. If it slips as you pull the tip away, you may mistake the resulting stretched leaf for a pressure problem. A small amount of frosting beneath the corners of a disposable parchment sheet can help anchor it to a clean tray used for practice.
Allow enough space between test shapes to examine their bases and tips. A crowded practice board hides the very features you are trying to learn. Clear unsuccessful practice material away from the next working area, following the handling guidance for your frosting.
Pipe one broad-based leaf
- Position the tip near the surface with its opening oriented according to the tool's instructions.
- Begin squeezing to establish a broad base that attaches to the frosting beneath it.
- Move outward in the direction the leaf should point while maintaining a continuous flow.
- As you approach the intended length, reduce pressure gradually.
- Stop squeezing and continue the outward movement just enough to complete the point.
- Lift clear without pulling the metal back through the finished shape.
Do not begin with a long travel movement before the base has formed. That can create a narrow strip with no visible attachment. Equally, remaining in place while squeezing for too long makes a bulky base that overwhelms a short leaf.
Think of the movement as a transition from buildup to travel to release. The three phases connect smoothly, but practicing them separately can help you identify where an unsuccessful leaf changed shape.
Change one dimension at a time
To make a longer leaf, extend the travel phase without automatically building a much larger base. To make a broader leaf, allow more initial buildup while keeping the same general finishing action. More frosting is not the answer to every size change.
Try three leaves with the same base width and progressively longer bodies. Compare whether their points remain clean. Then try three leaves of similar length with different initial squeezes. This separates length control from width control instead of changing both by accident.
For a gently curved leaf, guide the tip along a shallow arc while continuing the same pressure transition. Avoid bending the path so sharply that the folded ribbon collapses into itself. Keep the first experiments close to the flat surface before attempting lifted or strongly curved effects.
Use direction to connect a floral arrangement
Leaves look more intentional when their bases appear to belong to a flower or a small shared cluster. Pointing every leaf toward a different random edge can make the design read as scattered marks. Begin with a few clear directions and leave some of the cake surface visible.
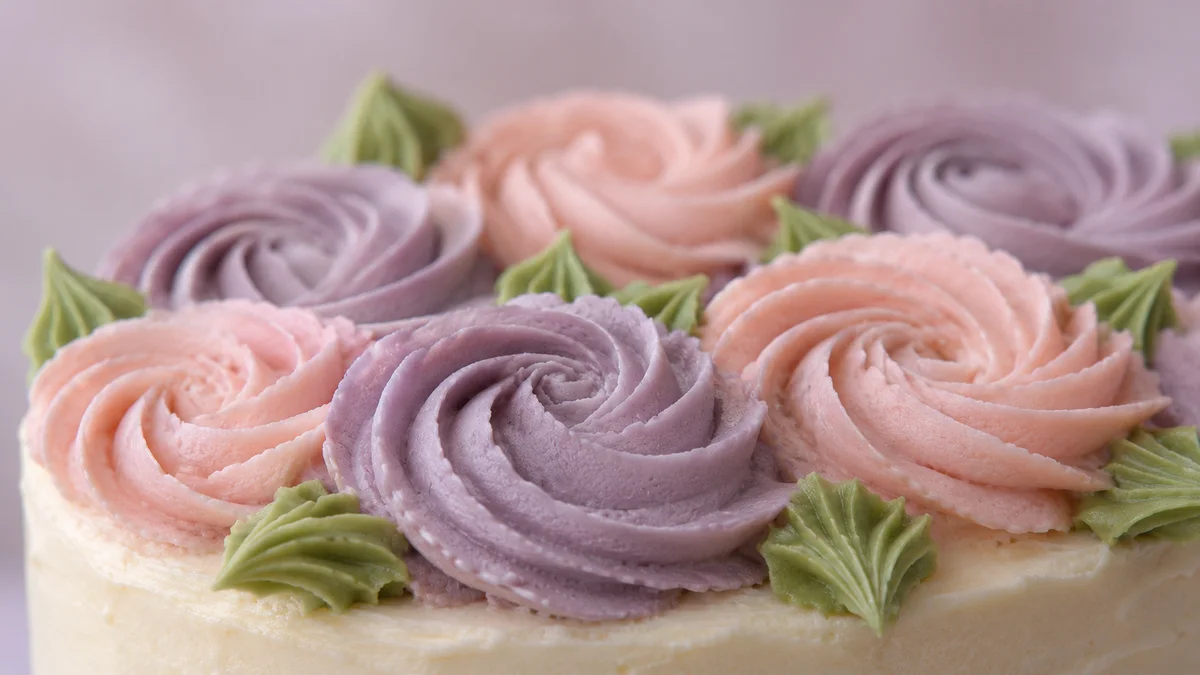
Pipe the flowers first, then place leaves where they can connect or frame those shapes. A pair of shorter leaves near a small flower can provide a different rhythm from one long leaf beside a larger buttercream rosette. Vary placement deliberately rather than assigning the same number to every flower.
Look from the front as well as from above. A leaf that appears separate overhead may hide completely behind a flower at serving height. The most useful adjustment may be moving its base slightly outward, rather than making the whole leaf bigger.
Plan a restrained three-flower cluster
Imagine three rosettes arranged near the top edge of a cake, with one larger flower and two smaller ones. Start by placing a medium leaf beside the larger flower, pointing toward the undecorated area. Add a shorter leaf near one smaller flower, angled differently but still connected visually to the cluster.
Pause before filling every remaining gap. If the green shapes now attract more attention than the flowers, remove one from the plan rather than adding extra petals to compete with it. Repeated colors and a few clear leaf directions often create a more readable arrangement than a dense ring of identical leaves.
This is a composition exercise, not a rule about botanical accuracy. Buttercream flowers are decorative interpretations. Use recognizable attachment and taper to make them convincing without claiming to reproduce every feature of a living plant.
Read a broken or blunt leaf
A blunt point can mean pressure continued after the outward movement stopped. Try releasing earlier. A leaf that breaks halfway along may indicate interrupted pressure, an air pocket or frosting that is difficult to extrude. Test a short ribbon before adding another correction to the flower arrangement.
If every leaf spreads flat after landing, review frosting that loses its shape. If only one attempt fails while the others hold, compare your movement and attachment point first. Not every miss requires changing the recipe.
Finish with a small repeatability check
Pipe a short row using the same tip, color and intended length. Compare the bases, ridges and points. When those features look reasonably similar, practice a second row at a different angle. Repeatability gives you a stronger foundation than one unusually successful leaf surrounded by shapes you cannot reproduce.
Use the broader piping practice routine to combine leaves with stars and borders. Keep practice material separate from frosting reserved for serving, and clean the tip's narrow opening thoroughly after use.