Buttercream can become too soft during coloring even when the color itself is not the only problem. A liquid-heavy product adds moisture, but a long mixing session also warms the frosting. If the batch was already barely firm enough for piping, either change may push it past the point where the ridges hold.
To color buttercream more predictably, start with a workable uncolored batch, choose a coloring intended for icing, and tint a small portion first. Build the shade with measured additions while checking texture. The target is not simply a color in the bowl; it is a color that still behaves properly in the finish you plan to make.
Choose a product intended for your frosting
Gel and paste icing colors can deliver substantial color with smaller additions than many liquid colors. That makes them useful when you want to avoid introducing unnecessary liquid. Products still vary: one brand's concentrated gel and another brand's squeeze bottle may not have equivalent strength or instructions.
Wilton's icing-color guidance recommends gel-based colors and gradual additions. Follow the label for your actual product rather than converting an unfamiliar quantity by eye. As the FDA's decorative-product advisory explains, a dust, paint or decorative product that is only labeled nontoxic is not automatically an edible food coloring.
Check the ingredient list when decorating for a guest with an allergy or dietary restriction. A familiar shade name does not establish the ingredients, and different products within one brand can have different labeling. Keep the container available so the person serving the cake can answer a question without guessing.
Check the uncolored frosting first
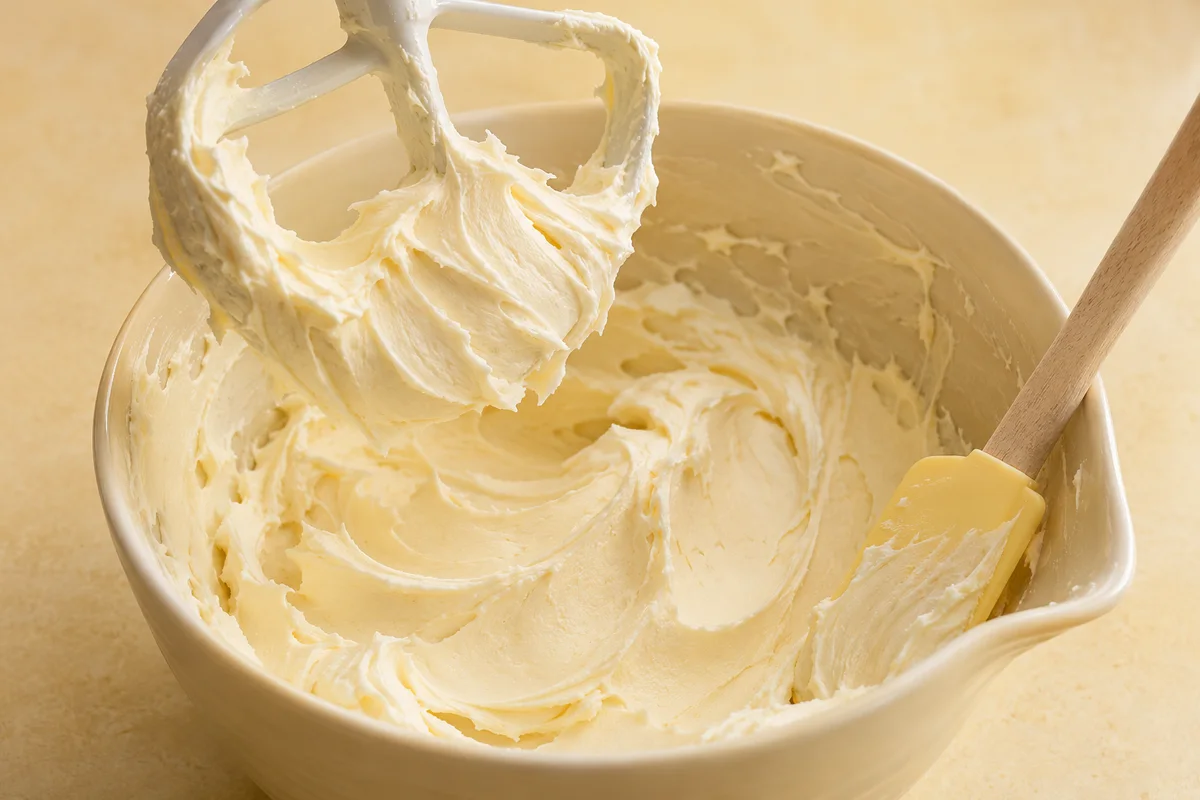
Spread a little buttercream with a spatula and pipe one test shape before adding color. This gives you a baseline. If the frosting already slumps, solve that issue first; otherwise every later change may be blamed on the color even though the structure was weak from the start.
The same starting shade can look different in different buttercreams. Butter's natural yellow tint influences pastel blues, lavender and white-adjacent colors. Compare a sample on a white plate or piece of clean parchment under the light where the dessert will be seen. Strongly colored bowls can distort that judgment.
Keep a small amount of uncolored frosting in reserve. It is useful for softening an overly strong shade or making a clean comparison. Do not use all the base frosting in the first tinting attempt, particularly when the design includes several related colors and you may need to rebalance them later.
Tint a small test portion
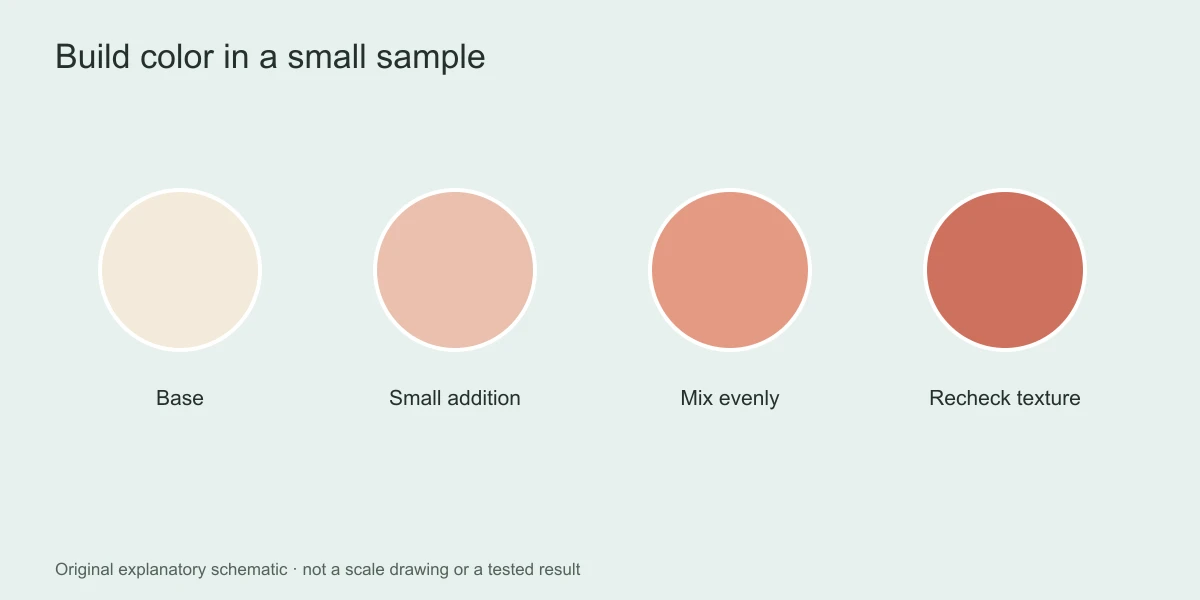
- Place a measured portion of frosting in a clean bowl. Record its amount so a successful test can be scaled with more confidence.
- Add a very small amount of the icing color using the product's dispensing method. Use a fresh clean tool each time you take more color from a jar.
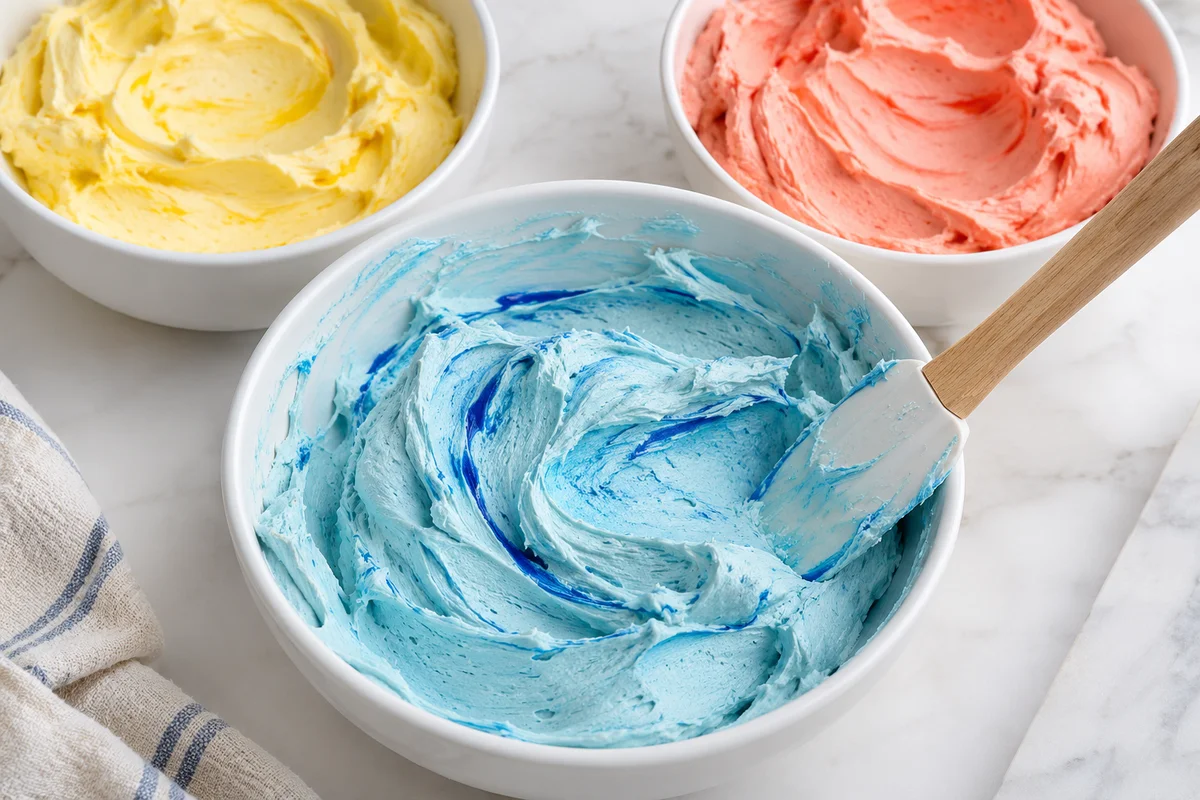
- Mix with broad strokes, scraping the bottom and sides. Check for pale frosting concealed under the colored top layer.
- Spread a thin sample and compare it with a thicker piped sample. The same frosting can look different in a shallow smear and a deep rosette.
- Add another small portion only after the first is fully distributed. Stop once the shade meets the design rather than chasing a brighter version indefinitely.
Scaling a test is easier when you count additions or weigh suitable larger quantities, but do not promise mathematical precision from an uncontrolled dropper. Hold the dispenser consistently and keep notes. The point is repeatability, not pretending that every tiny drop has an identical volume.
Mix evenly without needless whipping
Scraping and folding are often more useful than increasing speed. Color can remain in a concentrated patch against the bowl or in frosting that the beater does not reach. Bring those areas into the mixture before deciding that the whole batch needs more pigment.
A tinting session that lasts longer than expected can make the working portion warmer. Pause and compare its condition with the reserved plain frosting. If both the color and texture are changing, stop adding ingredients until you understand whether warmth is the main reason the mixture has softened.
Do not treat every pale streak as inadequate coloring. An unevenly softened batch can contain areas that mix differently. Our guide to streaky buttercream color separates mixing coverage, temperature and intentional marbling so the correction matches the actual appearance.
Plan deep colors before adding more dye
Black, very dark brown and saturated red can require more planning than soft pastel shades. Repeatedly adding color to an unsuitable pale base can affect taste and texture before the shade looks right. Check the coloring manufacturer's advice and any usage limits rather than assuming there is no practical stopping point.
When flavor and design permit, a darker frosting base can reduce the gap between the starting color and the target. Wilton suggests chocolate buttercream for certain deep shades. That changes the flavor and allergen discussion, so do not make the substitution invisibly when the dessert was promised as vanilla.
For a design needing a large pale area and a few dark details, consider tinting only the small detail portion deeply. This reduces the amount of strongly colored frosting needed. A narrow border or a handful of accents can carry the palette without turning the entire cake into a highly saturated coating.
Respond when the frosting softens
| What changed? | First check | Next decision |
|---|---|---|
| Texture softened after long mixing | Working temperature | Restore a suitable condition before changing proportions. |
| Texture loosened after a large liquid-color addition | Color product and quantity | Test a firmer compatible base in a small portion. |
| Shade became too strong | Reserved plain frosting | Blend a measured sample to judge dilution. |
| Color looks patchy | Bowl corners and underside | Scrape and fold thoroughly before adding more color. |
Do not automatically thicken every colored frosting with extra powdered sugar. That changes sweetness and can lighten the shade, encouraging another round of coloring. Diagnose warmth or excess liquid first. The American buttercream guide explains how to establish a consistent starting texture.
Keep a multi-color palette consistent
Plan enough of each shade for the whole visible section. Running out halfway around a cake often creates a harder color-matching task than the original tinting. Include a small repair allowance, especially for the dominant coating color. If two separately tinted bowls must be combined, blend them together before starting a continuous border rather than alternating bags along the same visible run. Reserve any leftovers in clearly labeled containers, with the recipe and preparation date, so a later decorating session does not rely on a mystery bowl of pink frosting. Color notes support consistency; they do not replace safe storage instructions.
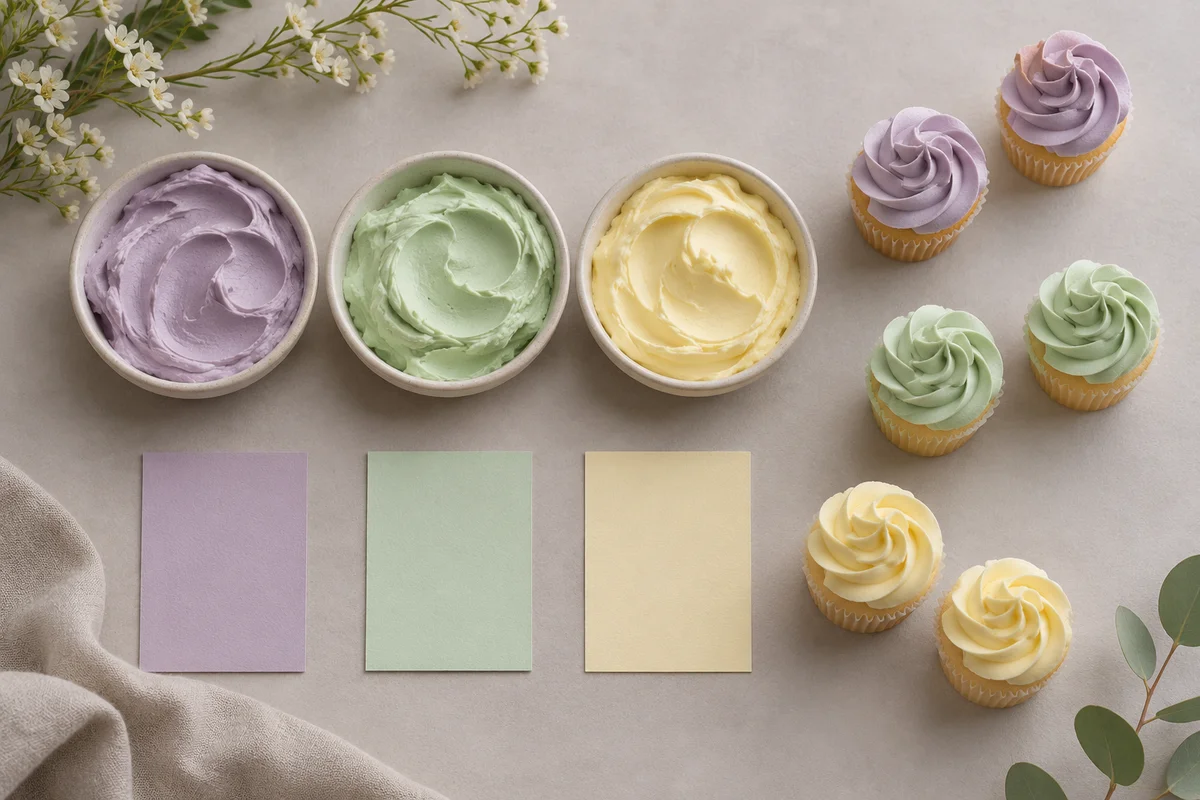
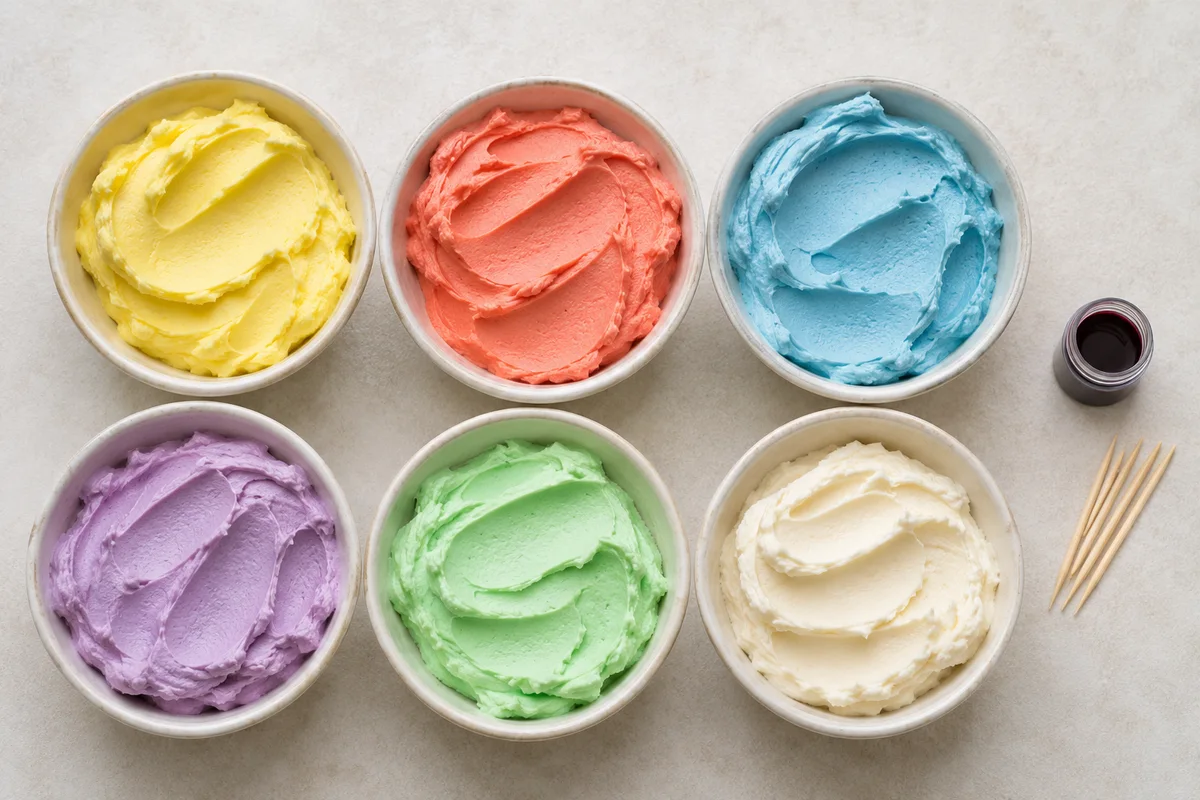
If the cake needs three related colors, prepare enough base frosting in one batch before dividing it. That keeps the initial texture and natural tint more consistent. Label each bowl, reserve clean spatulas and avoid dipping a tool carrying one shade into another bowl by accident.
For a lavender, mint and cream palette, begin with the lightest tint and leave one portion plain. Evaluate the three samples together rather than perfecting them separately under different lights. The relationship between the colors often matters more than whether one matches a screen exactly. See our dessert color-scheme guide for planning those relationships.
Before coating a two-tone cake, check that both portions have comparable working texture. A soft color beside a much firmer color can smear or scrape differently even when their shades are attractive. Test a small adjacent swatch so the handling difference is visible before it appears across the whole cake.
Save the shade notes with the recipe and photograph the sample in neutral light. Record the base frosting, approximate amount and coloring product. That is a useful starting record for a future batch, but not a promise that a different brand, ingredient temperature or lighting setup will reproduce the shade automatically.