A two tone buttercream cake can have a softly blended transition or a crisp division between its colors. Decide which effect you want before mixing the frosting. A blurred boundary can look beautiful when it is intentional, but the same blur looks like a mistake when the design depends on two clean bands.
Keep the cake shape and decoration simple enough for the colors to do the work. Two thoughtfully chosen shades on a stable, evenly coated cake usually create a stronger result than several extra colors, a complicated border and an ambitious topper competing on the same surface.
Choose the relationship between the colors
Begin with a small sample of each color placed side by side on a white plate. Look at them in the light where you will decorate and, if practical, where the cake will be displayed. A shade that looks delicate under cool kitchen lighting may appear much warmer beside candles or a cream tablecloth.
Colors need not occupy equal areas. A light upper section with a narrower dark band at the base can feel grounded, while a soft gradient makes the surface feel less divided. Choose the proportion on paper first. Marking a rough height split before frosting is more useful than deciding which color should be dominant after both are already on the cake.
| Color pairing | Suggested treatment | Detail to watch |
|---|---|---|
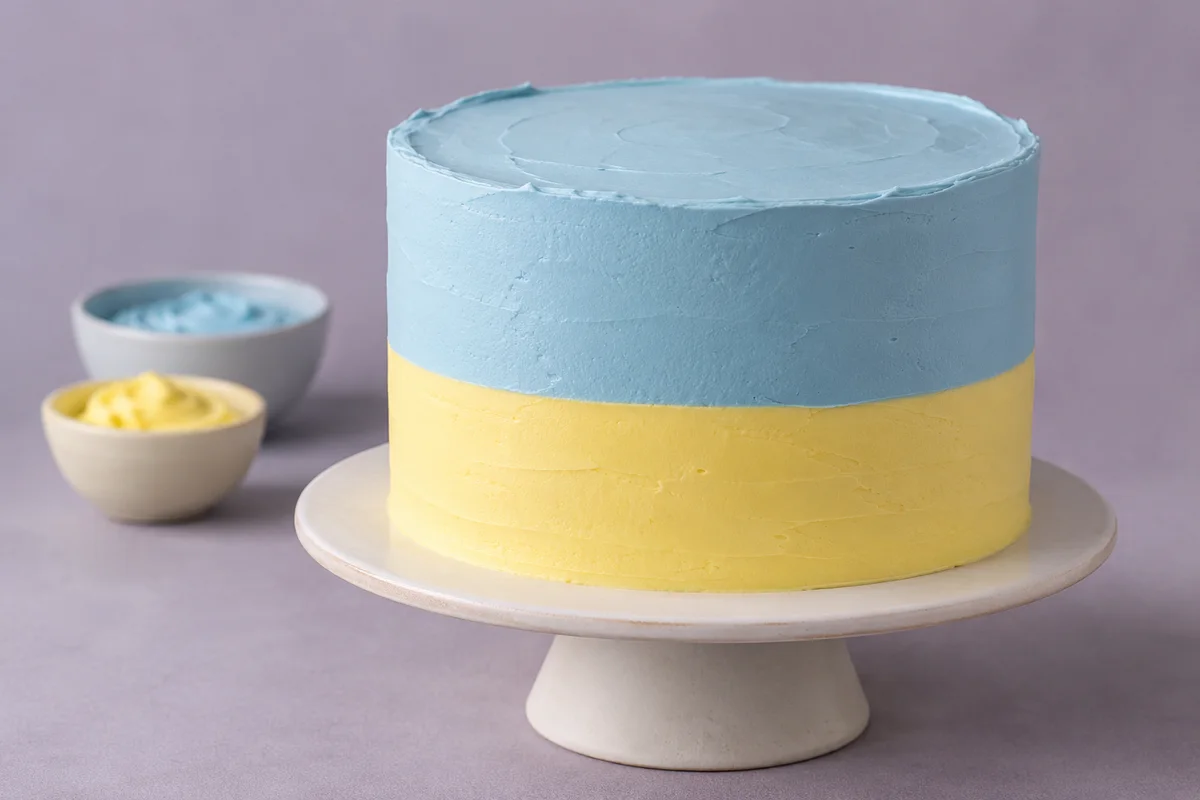
| Pale blue and lemon yellow | Two clear bands | Avoid repeated blending that creates an unintended green seam |
| Lavender and ivory | Soft transition | Keep enough contrast to make the fade visible |
| Blush and berry pink | Related-color gradient | Reserve unblended portions for repairs |
| Mint and cream | Narrow accent band | Repeat mint sparingly in the decoration |
These are design suggestions, not fixed recipes for producing food colors. The starting shade of the buttercream and the concentration of the coloring product affect the result. Make small trials rather than assuming that an equal quantity of two different colorants will produce equal visual strength.
Prepare matched frosting portions
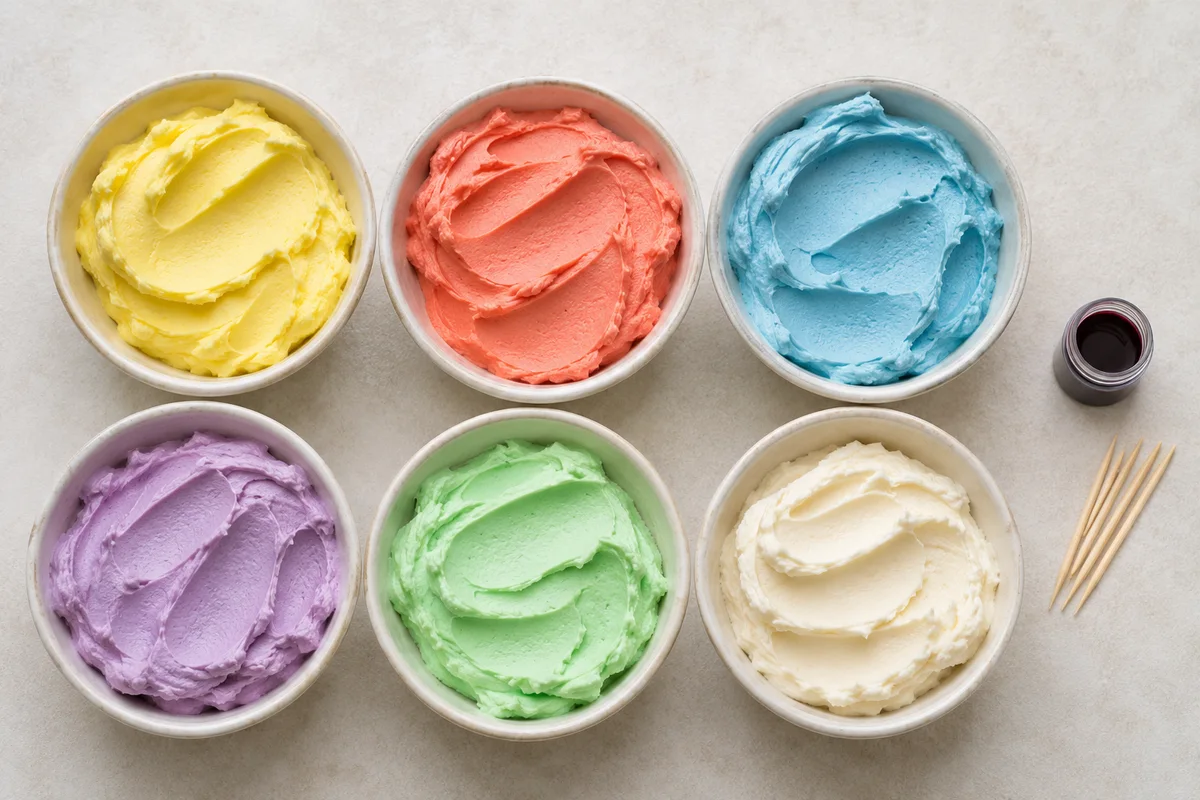
Make one base batch suitable for the cake, then divide it into portions. Starting with a common batch makes it easier to keep the two colors similar in texture. If one bowl is soft and the other is stiff, the scraper will move them differently and the join can become uneven even when their colors work well together.
Use food coloring appropriate for the frosting and follow the product directions. Add it gradually and mix each portion thoroughly before judging whether more is needed. Concentrated gel products can limit the amount of extra liquid compared with dilute liquid colors, but concentration and suitability vary by product. Our buttercream coloring guide explains that decision in more detail.
Keep a little uncolored base frosting and a small portion of each finished shade separate for repairs. Do not scrape mixed frosting back into either clean color bowl. Once the shades mingle on a tool, that frosting belongs in a separate container; returning it to the original batch makes every later repair slightly less predictable.
- Compare both bowls at a similar working temperature.
- Use separate spatulas or clean the same spatula completely between colors.
- Prepare enough of each shade for its planned coverage, plus a modest repair portion.
- Check that both samples spread without tearing or slumping before coating the cake.
Build a stable, even base
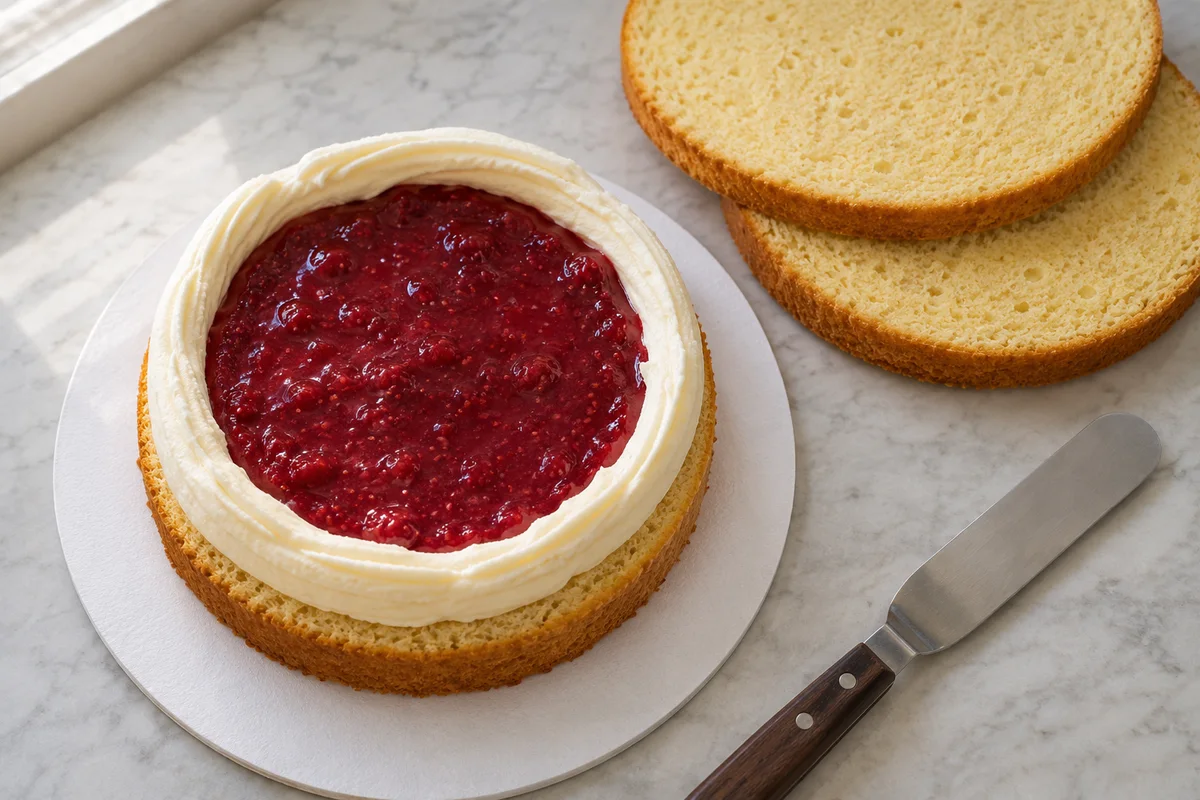
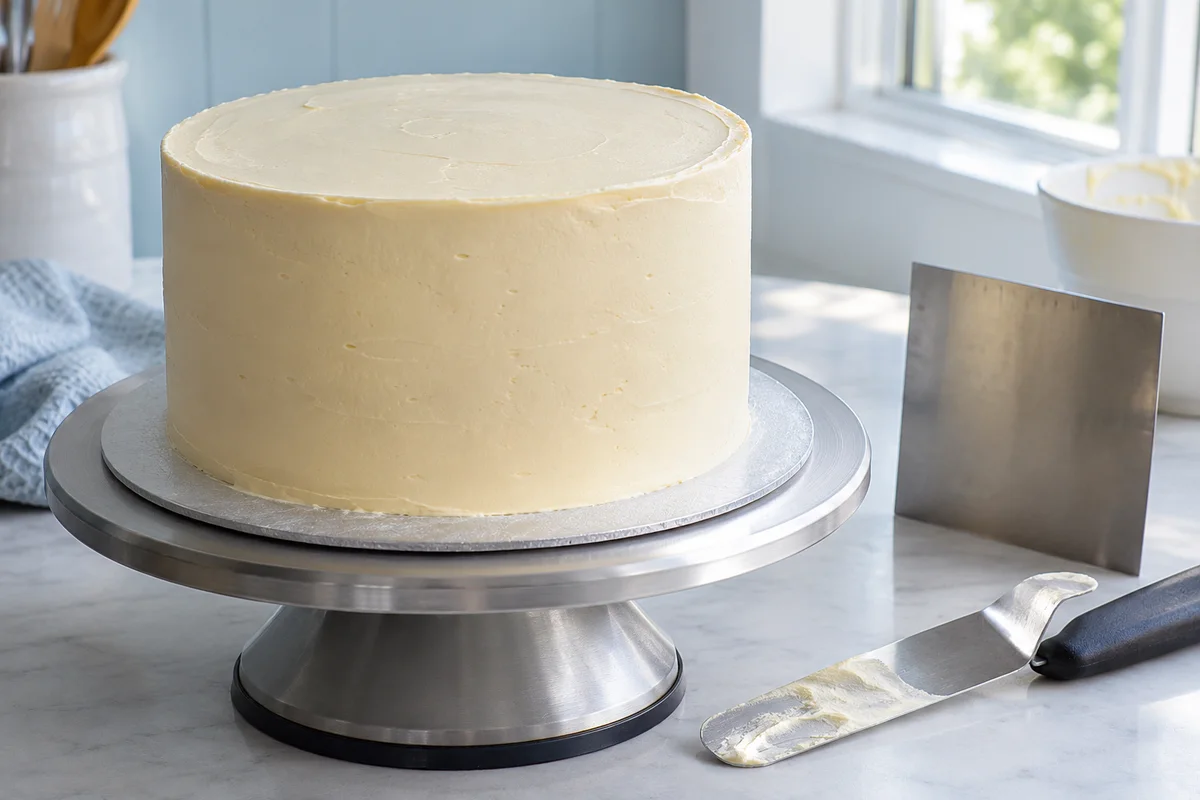
Assemble the cake with level layers and restrained filling. Apply a thin crumb coat and allow it to become suitably firm for your frosting before adding the colors. A lumpy underlying coat makes it difficult to judge whether a ridge belongs to the base or to the join between the colored sections.
Use the stacking and filling method if the cake moves under gentle pressure. For the outer shape, our smooth-edge guide covers scraper control. Solve those foundation issues before working on the color boundary, because the boundary becomes less distinct each time you scrape it unnecessarily.
Set the cake on its final rigid support or a suitable decorating board. Identify a front and a back. The back gives you a place to begin and end a scraper pass, but it should still be finished neatly. A deliberate starting point helps keep the most noticeable overlap away from the intended main view.
Make two clearly divided bands
- Plan the boundary height. Use the cake's proportions as a guide and make a few light frosting reference marks around the side. The division should follow a level line around the cake rather than drift upward as you turn it.
- Apply the lower color. Spread a consistent layer over its intended area. Keep the upper edge close to the planned boundary, with enough frosting to fill small gaps when it is smoothed.
- Add the upper section. Place the second color above the first with similar overall thickness. Bring it toward the join gently instead of dragging it far into the lower color.
- Smooth with restraint. Hold a clean straight scraper reasonably upright and make a controlled pass around the side. Remove collected frosting from the tool before the next pass so you do not paint a mixed stripe over the clean sections.
- Repair locally. Fill a low patch with the matching reserved color, then smooth only as much as necessary. Do not keep adding frosting to the entire cake to repair one small section.
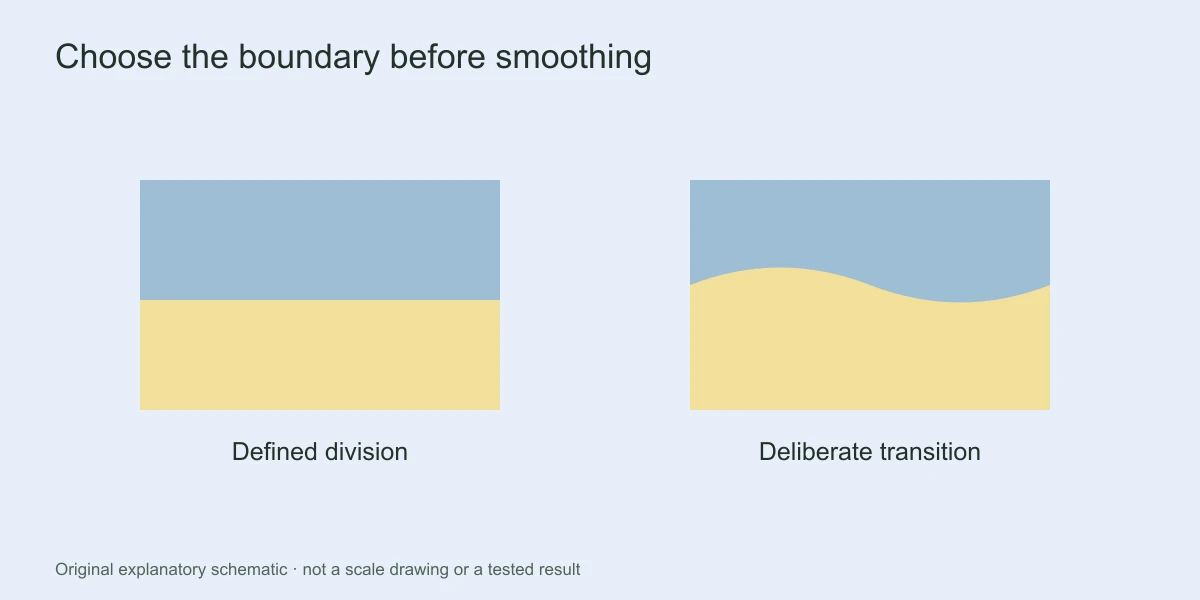
A freehand join may retain a fine transition line rather than looking machine-cut. If an extremely graphic boundary is essential, practice the technique on a smaller cake before making it the centerpiece of a celebration. Do not introduce craft tape, unknown plastic sheets or other non-food materials against the frosting as an improvised masking system.
Check the boundary at the back as well as the front before finishing the top. A line that looks level in one photograph can rise noticeably on the opposite side. Make any height correction while the colors are still workable, using small matching additions. Moving the top decoration afterward cannot straighten a drifting band around the side.
Create a softer two-color transition
For a blended effect, allow a narrow meeting zone between the two shades. Apply the colors in their main areas first, then use the scraper to soften that zone with a limited number of passes. The gradient should occupy a chosen band rather than spreading until the entire cake becomes one muddy color.
Related shades, such as light and deeper pink, are forgiving because the blended area remains within the same color family. More contrasting pairs deserve a separate mixing test. Put a little of each shade together on a plate and blend them before committing to the cake. If the intermediate color is unattractive, choose a sharper division or another pairing.
Repair streaks without spreading them
If a streak crosses into the wrong band, first inspect the scraper and spatula. A contaminated tool can recreate the streak every time you attempt a repair. Clean the tool, remove the affected surface frosting carefully and add a small amount of the correct reserved shade. Keep the repair shallow so you do not uncover the crumb coat.
If one section pulls while the other smears, stop and compare frosting consistency rather than changing colors. Extra food coloring is not the answer to a texture mismatch. When the problem is uneven mixing within one bowl, consult our guide to streaky buttercream color before returning to the cake.
Finish with a detail that repeats the design
Imagine a pale-blue upper band with a lemon-yellow base. A small group of yellow dots on top can connect the two areas without adding another color. Alternatively, leave the top plain and use a tidy border in one of the existing shades. Keep any added detail away from the boundary if it would interrupt the clean line you worked to preserve.
Inspect the cake from its main viewing height, clean the board and remove stray frosting from the stand. Check that the two colors remain recognizable at a distance. Store and display the cake according to the actual frosting and filling requirements; a neat color division does not change the handling needs of the ingredients underneath it.