Uneven buttercream color is often a mixing-coverage problem rather than a shortage of dye. A concentrated streak may remain against the bowl, beneath the beater or inside a piping bag that previously held another color. Adding more pigment can make the average shade stronger while leaving the original stripe in place.
First decide whether the variation is in the bowl, only in the piped frosting or mainly on the cake after chilling. Those locations point toward different checks. Use a clean spatula to spread a small sample, and compare it with a freshly piped line before changing the recipe.
Identify the pattern you are trying to fix
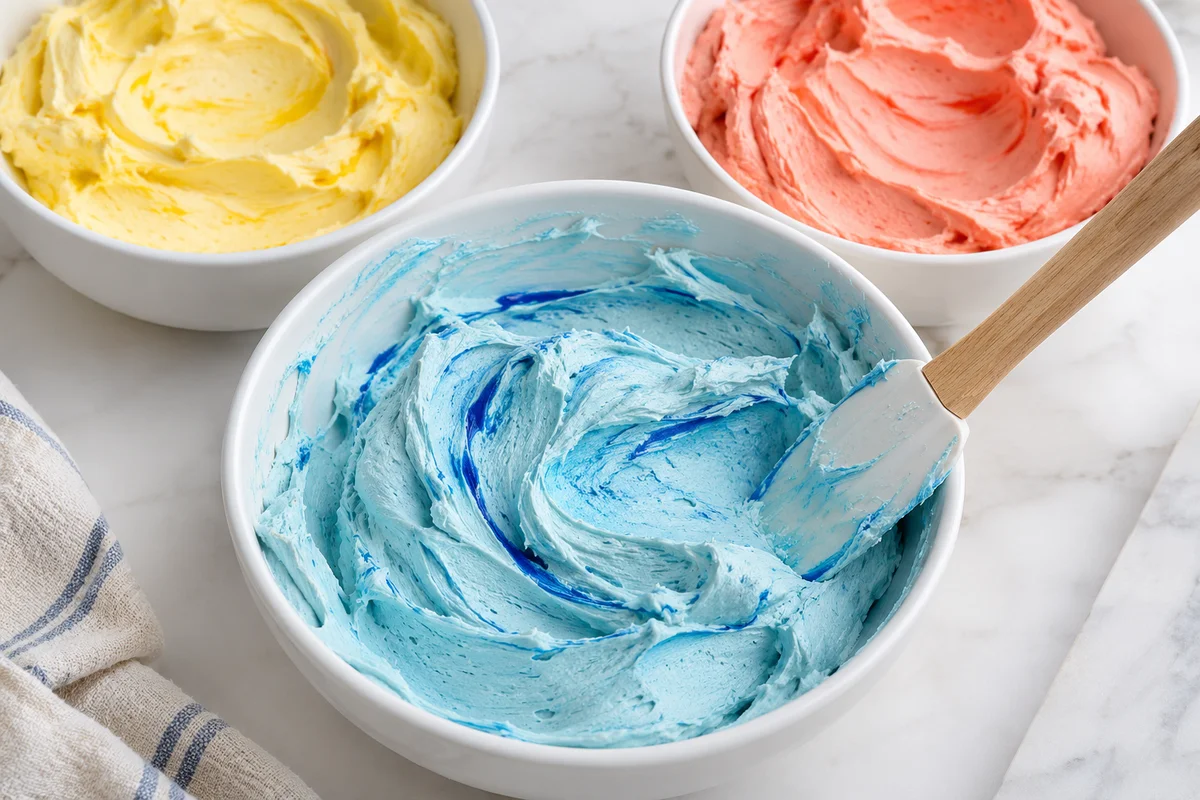
A pale ribbon through otherwise colored frosting suggests an incompletely mixed area. A very dark line can be concentrated coloring that never dispersed. Tiny darker wet-looking spots, a broken texture or streaks appearing after condensation deserve a different investigation from a simple uncolored pocket.
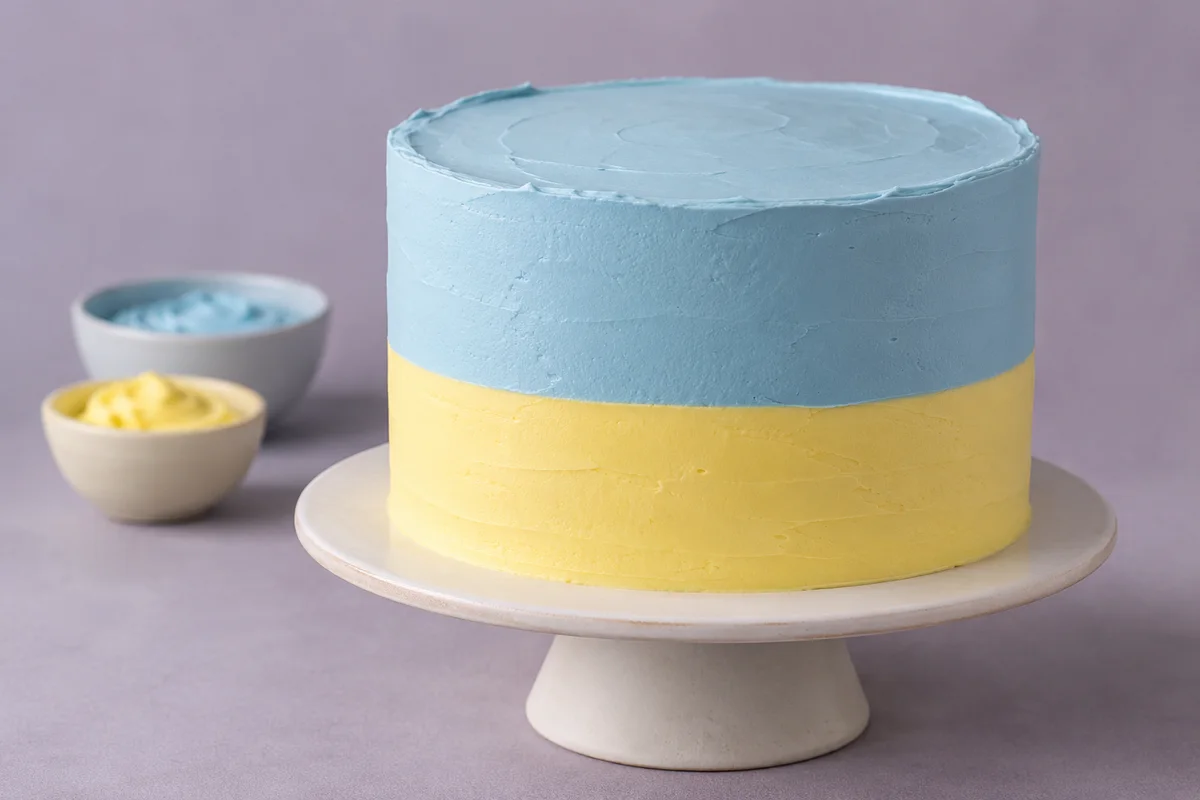
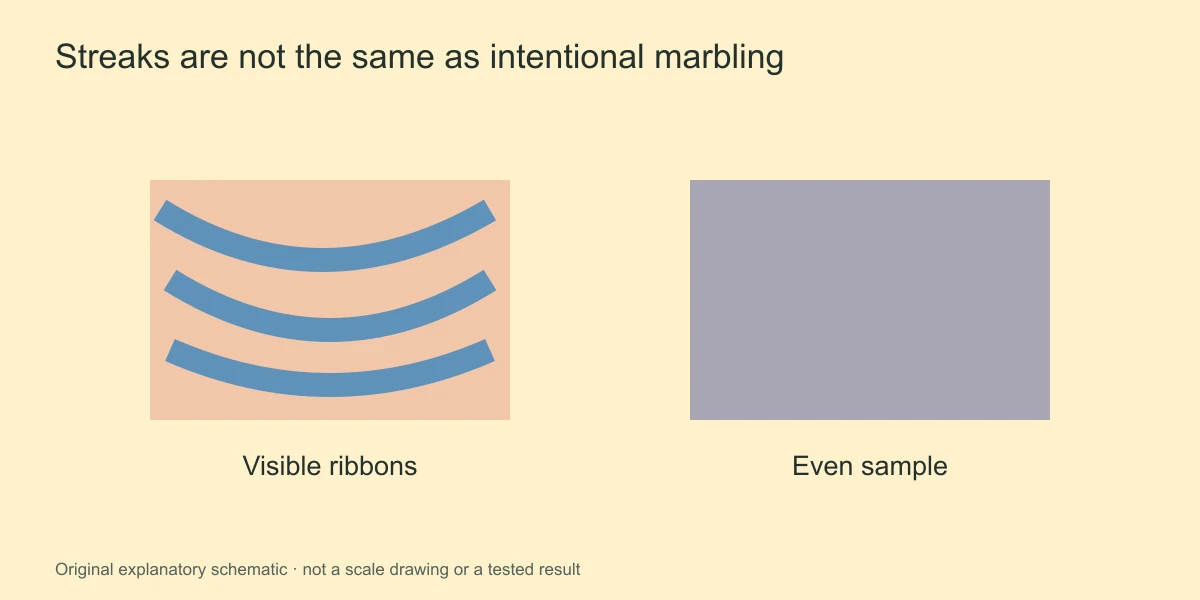
Check whether the effect is actually unwanted. A two-tone bag or intentionally marbled cake should contain controlled variation. Repairing that mixture until it is completely uniform would remove the design. Decide what the finished decoration is supposed to look like before diagnosing every contrast as a defect.
For a deliberate color boundary, use the two-tone cake guide. This article focuses on a bowl or decoration intended to be one consistent shade, where unexplained streaks make the finish look accidental.
Inspect the overlooked parts of the bowl
Stop the mixer and look around the bottom curve, sides and underside of the attachment. Frosting at the edge can escape the main mixing action, especially when the batch is small for the bowl. A uniform top layer does not prove the lower mixture contains the same shade.
Scrape the overlooked frosting into the center and mix with broad controlled strokes. Press a thin sample against the bowl to reveal pale pockets. Rotate the bowl and repeat the inspection rather than increasing speed while the same untouched material remains against the side.
A flexible spatula that fits the bowl's curve can help collect a broad area. A narrow tool may only draw thin channels through the mixture. The aim is complete distribution, not aggressive whipping. Extra air introduced during a prolonged color correction can create a second finishing problem after the streaks improve.
Check temperature and texture together
Cold lumps or an unevenly prepared frosting can distribute color differently from a fully uniform base. If the bowl contains firm pieces, adding more coloring will not make those pieces combine. Establish a smooth workable mixture before trying to perfect its shade.
A frosting that looks broken, greasy or curdled needs its structural issue assessed separately. King Arthur Baking's buttercream troubleshooting explains why temperature can matter to recovery. Match any correction to the actual frosting formula rather than treating all uneven color as insufficient stirring.
Compare the suspect portion with clean uncolored frosting from the same batch if available. If both contain uneven texture, the color is exposing an existing preparation problem. If only the tinted portion changed, review the product, quantity and length of the tinting session.
Review the coloring product and addition method
Use a product explicitly intended for the food application. Concentrated gels, liquids and powders are not all handled in the same way, and a product intended for a different medium may not disperse as expected in buttercream. Follow its label rather than assuming every decorative color is interchangeable.
Wilton's icing-color instructions recommend suitable gel-based colors and controlled additions. A small concentrated deposit still needs thorough distribution; a stronger product reduces the amount required but does not eliminate the mixing step.
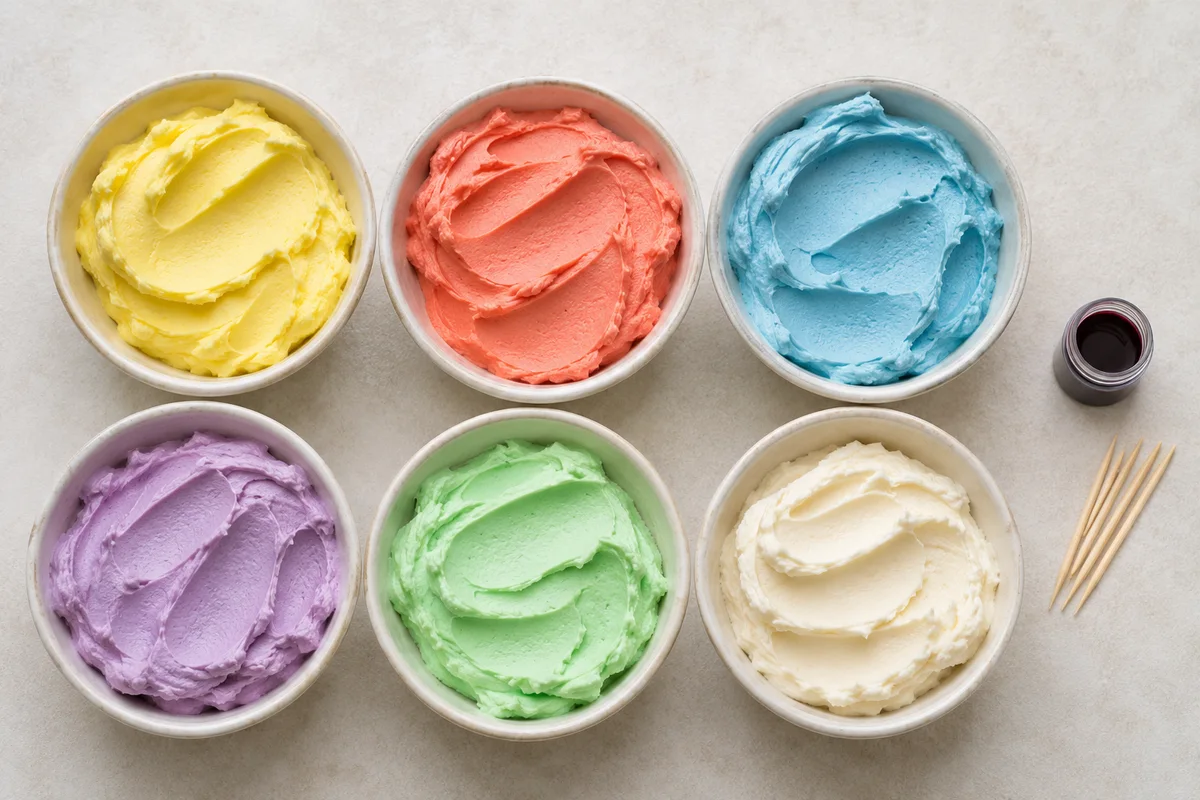
Do not add a large puddle of pigment and expect a few turns of the beater to disperse it evenly. Introduce a small amount into a manageable portion and inspect it. Our buttercream coloring guide explains the planned tinting workflow, while this correction sequence starts from an existing uneven batch.
Repair a measured portion first
Take a small portion that contains the unwanted variation and place it in a clean bowl. Keep a reference spoonful unchanged. Scrape and fold the sample until you can judge whether improved mixing coverage alone removes the streak.
If the sample becomes uniform, repeat that controlled method on the rest rather than adding another dose of color. If the texture remains visibly uneven, follow the recipe's preparation or recovery guidance before further tinting. If the mixture becomes consistently darker than intended, compare a measured addition of compatible plain frosting in a separate sample.
Do not dilute the entire batch before estimating how much frosting the project needs. Lightening a strong color can increase the total quantity considerably. A reserve of properly labeled matching base frosting gives more flexibility than an improvised mixture from a different recipe.
When the bowl is even but the piping is streaky
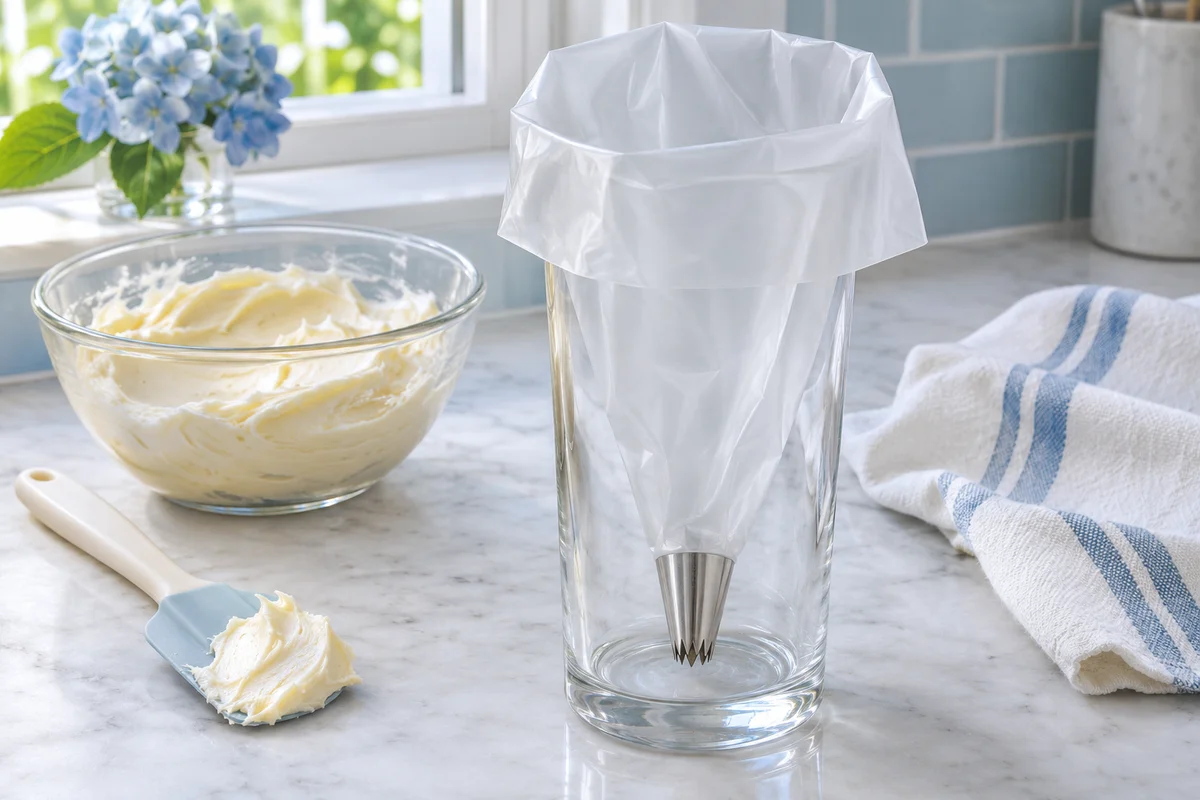
Inspect the bag and tip. A bag reused from a stronger shade can retain a colored film along its sides, producing a stripe as the new frosting passes through. The bowl may be completely uniform while the first decorations still show the previous color.
Use a clean bag and clean tip when the design needs a consistent single shade. If intentionally striping a bag, treat the result as a planned two-color technique rather than a random carryover. Purging an uncertain amount onto a plate is less predictable than starting with equipment suited to the intended finish.
Check the first short test line before decorating the cake. If it differs from the bowl smear, investigate the bag before recoloring the batch. The piping-bag setup guide helps keep this stage controlled and reduces contamination between colors.
Let location guide the next check
| Where variation appears | First check | Focused response |
|---|---|---|
| Pale pockets in the bowl | Unmixed sides and bottom | Scrape and fold before adding color. |
| Dark concentrated ribbons | Undispersed coloring | Work a measured sample until distribution improves. |
| Only the piped line | Residual color in bag or tip | Test with clean equipment. |
| New spots after chilling | Surface moisture and frosting condition | Separate condensation from original tinting. |
Distinguish lighting from actual color variation
A useful diagnostic comparison uses three marks on a clean white plate: a smear from the upper bowl, a smear from the bottom and a short line from the bag. Keep their thickness reasonably similar. If the first two differ, mixing coverage is the priority. If they match but the line differs, the equipment or intentional bag striping deserves attention. If all three match while one side of the cake looks darker, examine lighting and surface moisture before recoloring anything. This small comparison protects a large finished batch from unnecessary changes and gives a clear reason for the next action.
A curved cake reflects light differently across its surface. One side may appear lighter under a window, especially when the finish is glossy. Compare a sample under neutral consistent lighting and turn the cake before deciding that its two sides actually contain different colors.
Photographs can exaggerate that difference through exposure or white balance. A phone image taken under a warm kitchen lamp is not a reliable target for matching a bowl beside a cool window. Choose a practical viewing condition and judge the palette there.
Questions about an uneven finish
Should I microwave frosting to disperse the color?
Not as a universal fix. Melting a portion changes its temperature and structure, and the result depends on the formula. Diagnose mixing coverage and product suitability first, then use only a recipe-appropriate recovery method.
Can I leave the frosting until the color evens itself out?
Time does not mix an untouched pale pocket into a colored batch. Follow appropriate storage requirements and physically distribute the ingredients. Do not leave a perishable frosting warm simply because you hope its shade will improve.
Before another attempt, note the base frosting, color product, amount added and location of the first streak. A record saying “only the first bagful striped” points toward a very different correction from “pale frosting remained at the bowl bottom.” That distinction prevents unnecessary changes to an otherwise workable recipe.