Most piping bag mess begins before the first decoration: the opening is cut too large, frosting reaches the outside of the cuff, or the bag is filled so high that it cannot close. Prepare the fitting first, support the bag while filling and leave enough empty material above the buttercream to control pressure.
A tidy bag is easier to hold as well as easier to clean. Keeping frosting inside the working portion lets your upper hand squeeze consistently, instead of sliding along a greasy surface or catching material leaking from the top. The setup takes a little attention but saves interruptions during every later border or flower.
Choose a bag for the job
Disposable and reusable bags can both work for cake decorating. Choose products intended for food use and follow their instructions for filling, cleaning and temperature limits. A reusable bag should be intact and clean, including its seam and narrow end. A disposable bag should not already have a stretched or damaged opening.
Size the bag to the work rather than automatically selecting the largest one. A small quantity of frosting in a very large bag leaves awkward folds around your hand. An undersized bag filled nearly to the rim leaves too little room to close it. For detailed practice, a comfortably held portion is more useful than carrying an entire batch.
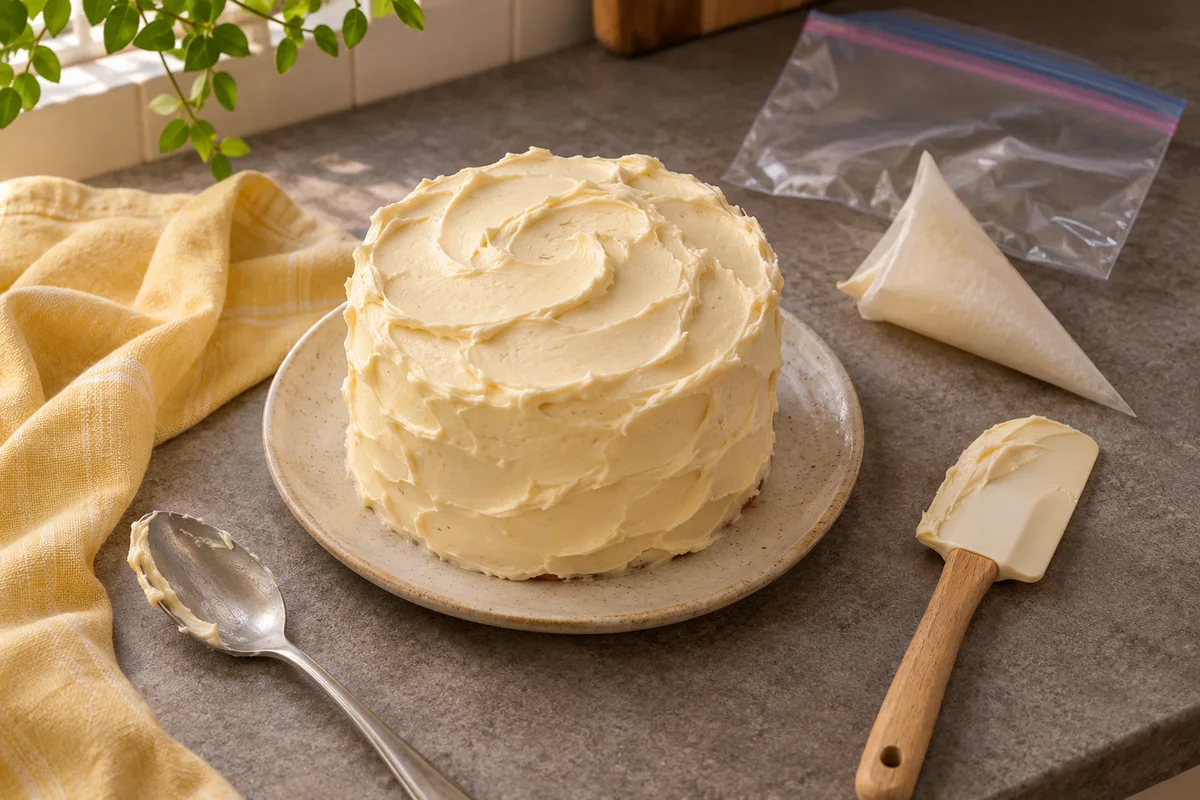
A sturdy food-storage bag can make a simple line when a tiny corner is cut, but its seams and shape are not necessarily suited to substantial pressure or fitted tips. The guide to decorating without professional tools explains where that substitution is useful and where a proper piping bag is a better choice.
Fit the tip before adding frosting
Drop the tip into the empty bag and assess where its working opening will sit. Cut conservatively so the bag supports the tip without covering the part that shapes the frosting. Remove a little more material only if the actual fit requires it. A hole that is already too large cannot be made smaller by squeezing harder around the tip.
For a compatible coupler, follow the maker's instructions for placing its base inside the bag, seating the tip and fastening the outer ring. Not every large tip fits a standard coupler. Check compatibility before filling, because discovering the mismatch afterward leaves you handling a frosting-covered fitting.
Inspect the opening for dried frosting or small obstructions. A blocked tip makes the bag feel unusually resistant and can lead to a sudden burst when the blockage moves. Resolve that problem while the equipment is still easy to handle.
Support the bag instead of chasing the opening
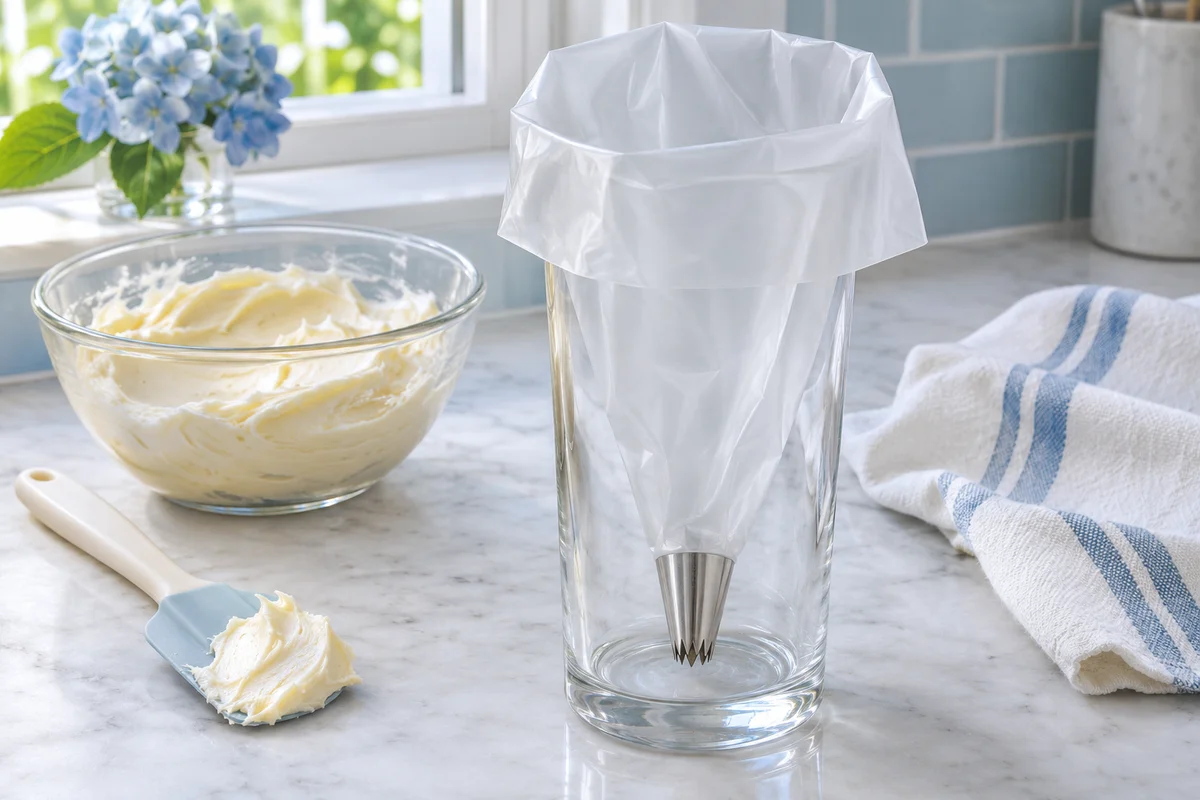
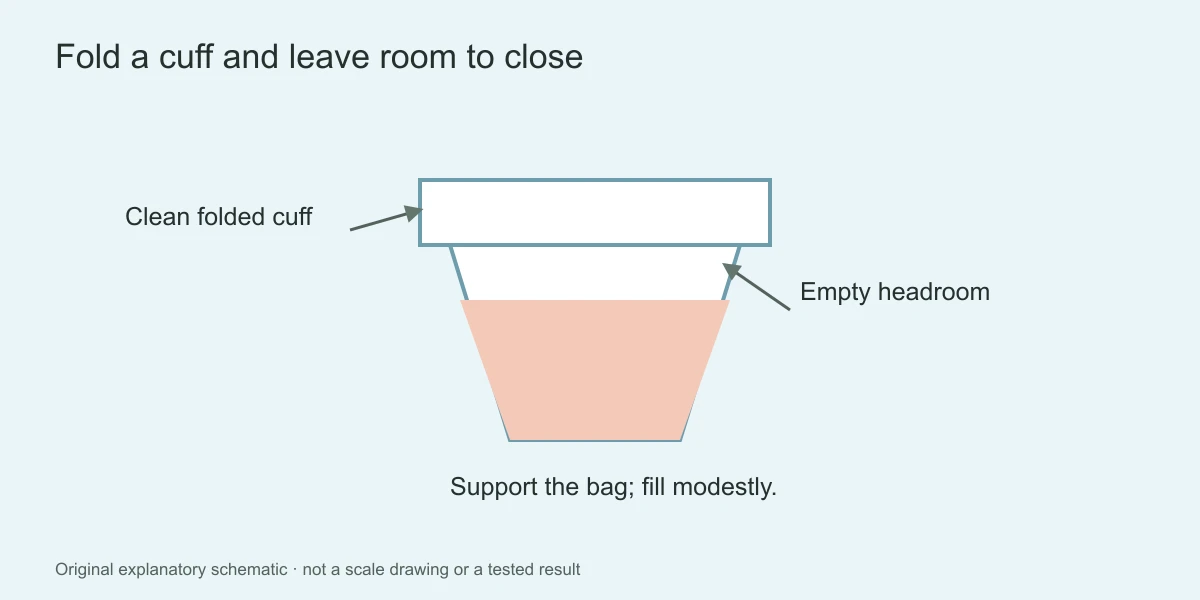
Fold the open end outward to make a generous cuff. The cuff protects the outside of the bag and gives you a clean area to unfold after filling. Keep the fold stable rather than rolling it so tightly that you lose the space needed for the spatula.
A tall, stable cup can support the bag while you spoon in frosting. Let the narrow end sit inside the cup and turn the cuff over its rim. Choose a cup that stays upright when lightly pressed; a narrow, top-heavy container can tip as you scrape the spatula against the bag.
You can also hold the folded cuff over one hand if that feels comfortable. Keep your fingers out of the path where the spatula deposits frosting. Whichever method you choose, position the frosting bowl close enough that you are not carrying each spoonful across the whole counter.
Fill with small, controlled portions
- Use a small spatula to collect a manageable portion of buttercream from the bowl.
- Lower the spatula into the center of the bag rather than smearing frosting across the cuff.
- Scrape the frosting off against the supported inside wall.
- Add another portion only while there is ample empty bag above the filling.
- Withdraw the spatula carefully, keeping its coated edge away from the bag's exterior.
- Lift the bag from its support and unfold the cuff without dragging it through loose frosting.
A partly filled bag may look less efficient, but it is easier to twist and control. Reloading a clean, comfortable bag once is often simpler than trying to pipe an entire design while frosting escapes from the top. Large bags can also become heavy enough to make a small decorative movement tiring.
If frosting gets on the outside, clean that area before gripping it. Do not push the smear toward the open top and hope it will stay there. The next squeeze can spread it farther across your hands and the working surface.
Move frosting toward the tip gently
Close the upper part loosely and press the filling downward with controlled pressure. The aim is to remove large empty spaces between portions, not to beat or knead the frosting inside the bag. Guide the frosting from above rather than squeezing randomly along its length.
Before decorating, pipe a short test line onto a separate practice surface. An initial pocket of air may interrupt that line. Once the flow is continuous, check the texture and opening. Do not use the first test squeeze over the cake, where an unexpected sputter can leave a difficult mark.
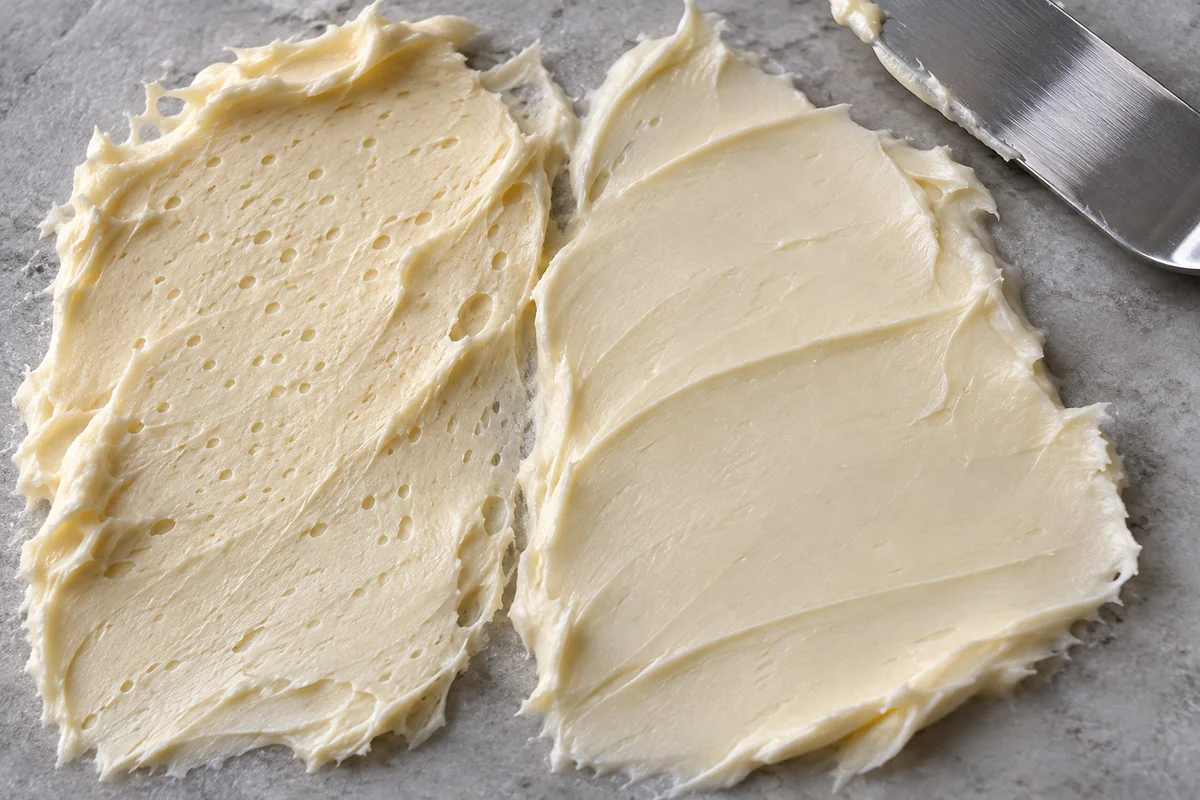
Small holes throughout the buttercream are a different issue from one empty pocket in the bag. If they persist after a continuous test line, review air bubbles in buttercream. Filling technique can reduce large gaps without correcting every mixing problem.
Twist above the frosting, not through it
Gather the empty material above the filling and twist it closed. Hold that area with the pressure hand so the frosting moves toward the tip when squeezed. A clip can help keep the upper material organized if it is suitable for the bag, but it does not replace a controlled grip.
As the bag empties, move your hand downward and renew the twist. Keeping the original grip at the very top leaves increasing slack, which can make the bag feel less responsive. Your guiding hand should steady the direction rather than compensate by squeezing the lower section.
Reload without coating the outside
Set the bag into its support before reopening it. Unfold enough material to make a clean cuff, then add a modest amount of frosting. Wipe the spatula and any contaminated surface before re-establishing the twist. Avoid holding the working tip against a dirty counter while organizing the top.
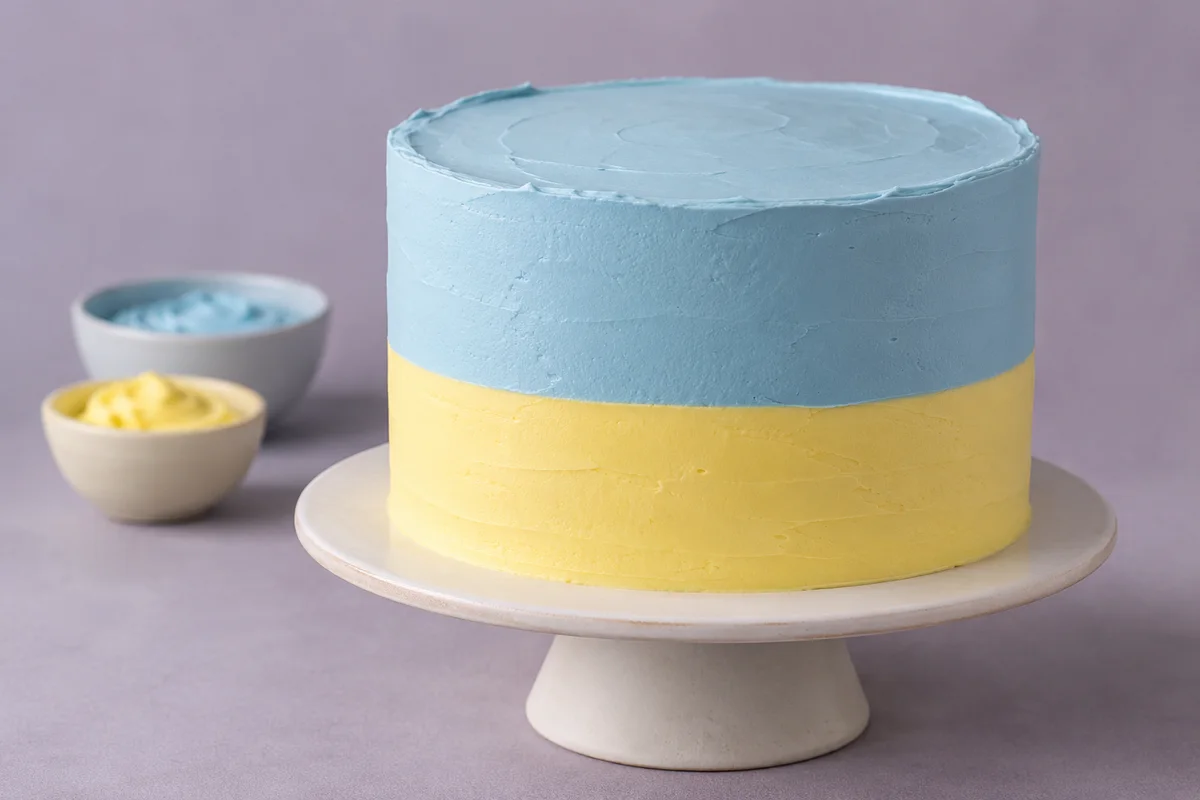
For a two-color project, prepare separate bags or a specifically planned filling method. Pushing a new color into a bag coated with the previous one can produce streaks instead of an intentional two-tone effect. Keep an uncolored or cleanly colored reserve in the bowl for future corrections.
Recognize an overfilled bag early
Suppose you have already filled a bag almost to its rim and cannot twist it securely. Transfer some frosting back into a clean bowl using a clean utensil, provided it has been handled appropriately for serving. Do this before starting the border, rather than trying to pin the open end shut with your elbow or another improvised grip.
Re-form the cuff, clean the exterior and close the bag over the smaller portion. Pipe a test line. If the bag now responds without frosting moving upward, the earlier problem was loading and closure, not necessarily buttercream consistency. Keeping that distinction clear prevents needless recipe adjustments.
Clean and store the equipment properly
Remove reusable tips and couplers before washing, following their care instructions. Pay attention to small ridges and openings where frosting can remain. Dry components before storing them, and discard damaged disposable bags instead of attempting to patch them for another pressurized use.
Keep practice frosting separate from material reserved for eating when it has contacted a practice board, hands or repeatedly used tools. For the frosting remaining in the bowl, follow the recipe's storage requirements and our buttercream handling guide. A tidy piping bag is useful equipment, not a substitute for safe food handling.