Fresh fruit cake decoration becomes soggy when surface water and escaping juice reach a finish that cannot absorb them cleanly. The problem often begins before the fruit touches the cake: wet berries, freshly cut citrus or fruit tossed with sugar can carry more free liquid than the decoration can accommodate.
Choose the fruit for its condition as well as its color. Prepare it with clean tools, dry the outside thoroughly and add wet or delicate pieces close to the appropriate serving stage. You cannot make every fruit behave like a dry sugar decoration, but you can design around where its moisture is likely to go.
Choose fruit for the decoration's job
Whole berries can provide small accents without exposing as much cut flesh as slices. Firm fruit pieces may hold a clear shape, while very ripe fruit can release juice or collapse under its own weight. Inspect the actual batch rather than assuming that every strawberry, peach or raspberry behaves identically.
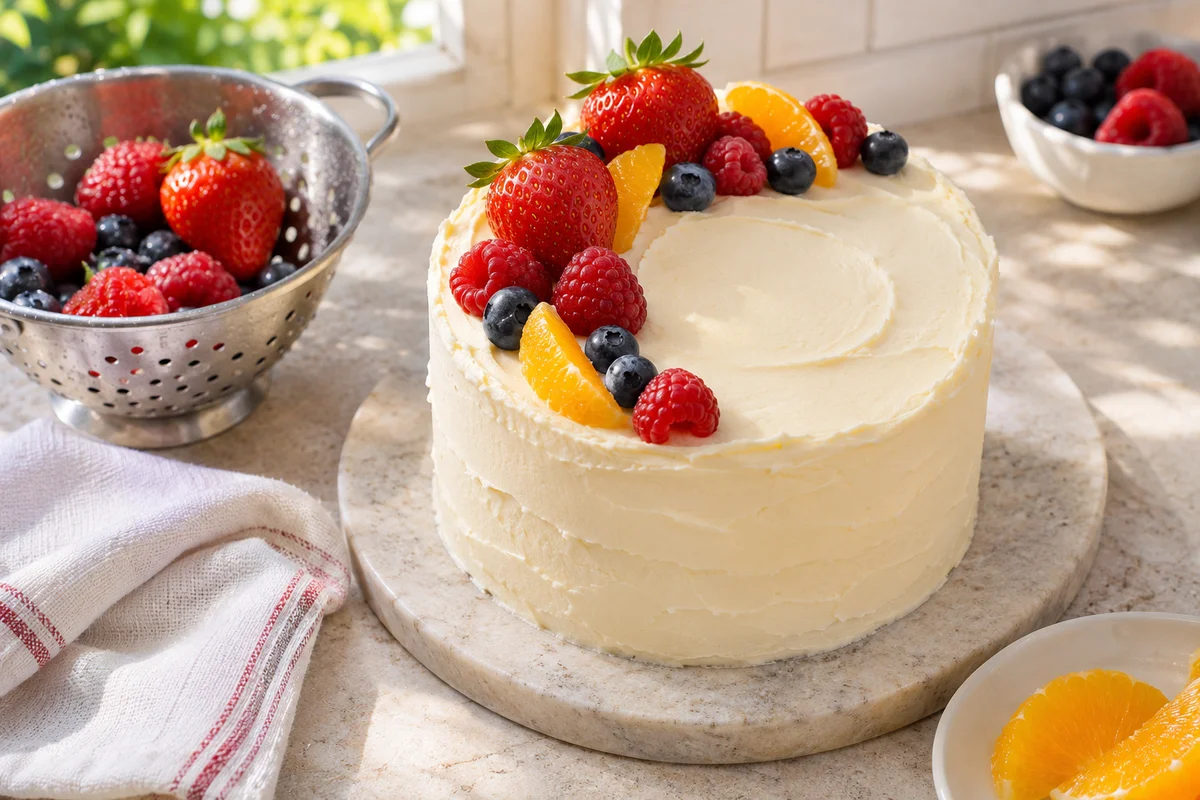
Think about the scale of the cake. A large mound of fruit creates more weight and contact area than a narrow crescent. A few well-positioned pieces can communicate a generous seasonal theme without covering the entire buttercream surface. The strongest design may use fewer pieces than the fruit bowl initially suggests.
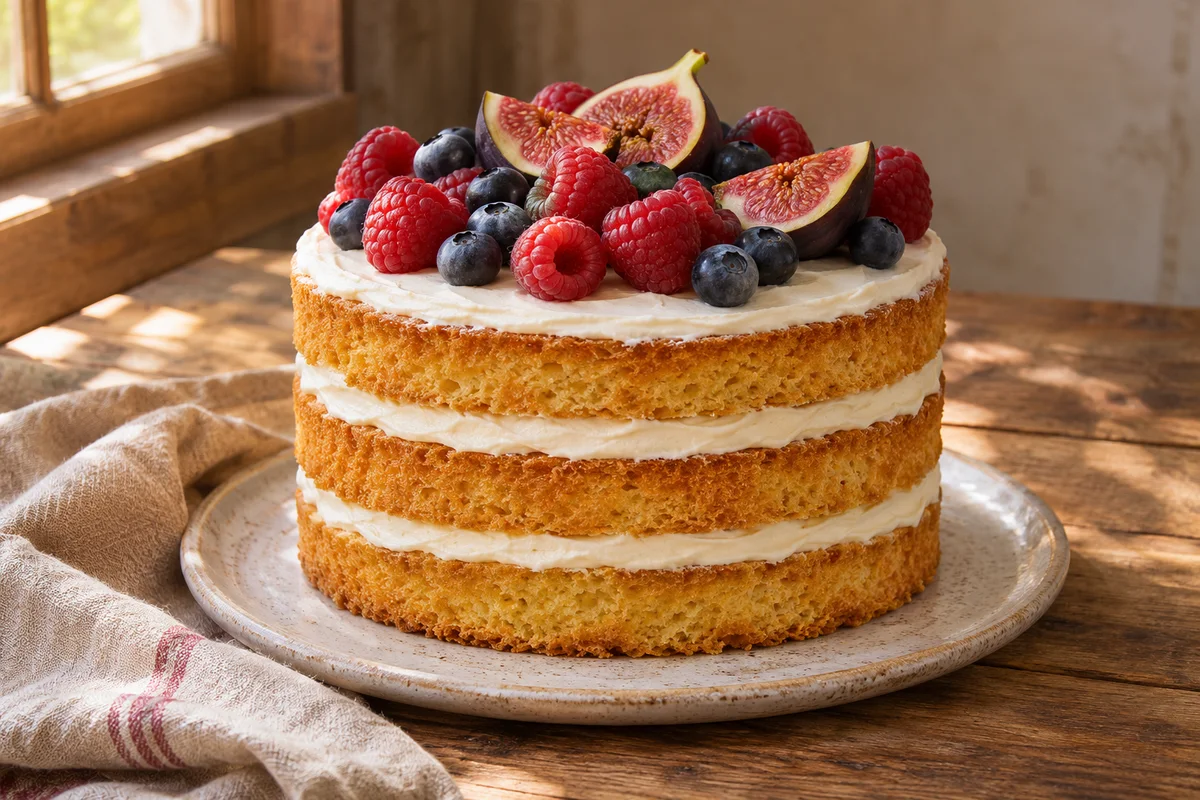
Match flavor with the cake and frosting too. Tart berries can balance a sweet finish, while a mild fruit may disappear beside intense chocolate. Choose combinations for eating, not only a photograph. For an exposed-layer design, our naked-cake guide explains how to keep the topping proportionate to the visible sponge and filling.
Wash before cutting, then dry
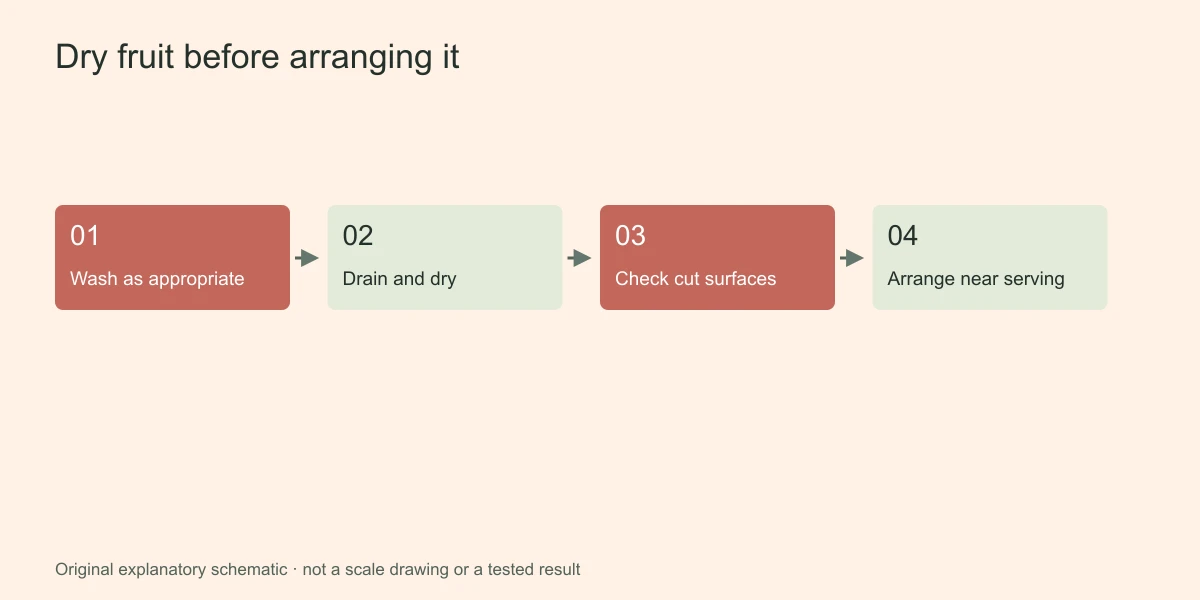
FDA produce guidance recommends rinsing fresh produce under running water, without soap or detergent, and drying it with a clean cloth or paper towel. Wash before peeling or cutting so surface contamination is not carried inward by the knife.
Start with clean hands, utensils and a clean preparation area. Keep fruit away from raw eggs and dirty packaging. Remove damaged portions as appropriate and discard produce that looks rotten; a decoration is not a useful place to disguise fruit whose condition is questionable.
Spread rinsed fruit in a single layer on a clean towel rather than leaving it in a wet colander while you frost the cake. Turn suitable firm pieces gently so trapped water drains away. Handle fragile berries with care, because crushing them while drying creates a different source of liquid.
Manage exposed cut surfaces
Cut fruit closer to the stage when it is needed rather than making an elaborate tray long before decorating begins. Use a clean sharp knife so slices remain tidy and fewer pieces are crushed. Make cuts deliberately: a clean half can be easier to arrange than many thin slices that curl or slide.
Place freshly cut pieces cut-side down on a clean absorbent surface for a brief check of free juice, then move them with clean utensils. Do not squeeze fruit dry or leave it out for an uncontrolled extended period. The aim is to remove surface liquid, not dehydrate a perishable ingredient.
Keep juicy citrus segments and very soft stone fruit away from vulnerable cake edges where runoff would be especially visible. If their flavor is important, consider serving them alongside the cake or using a suitable recipe-developed filling instead of forcing every ingredient into the top decoration.
Control contact, weight and placement
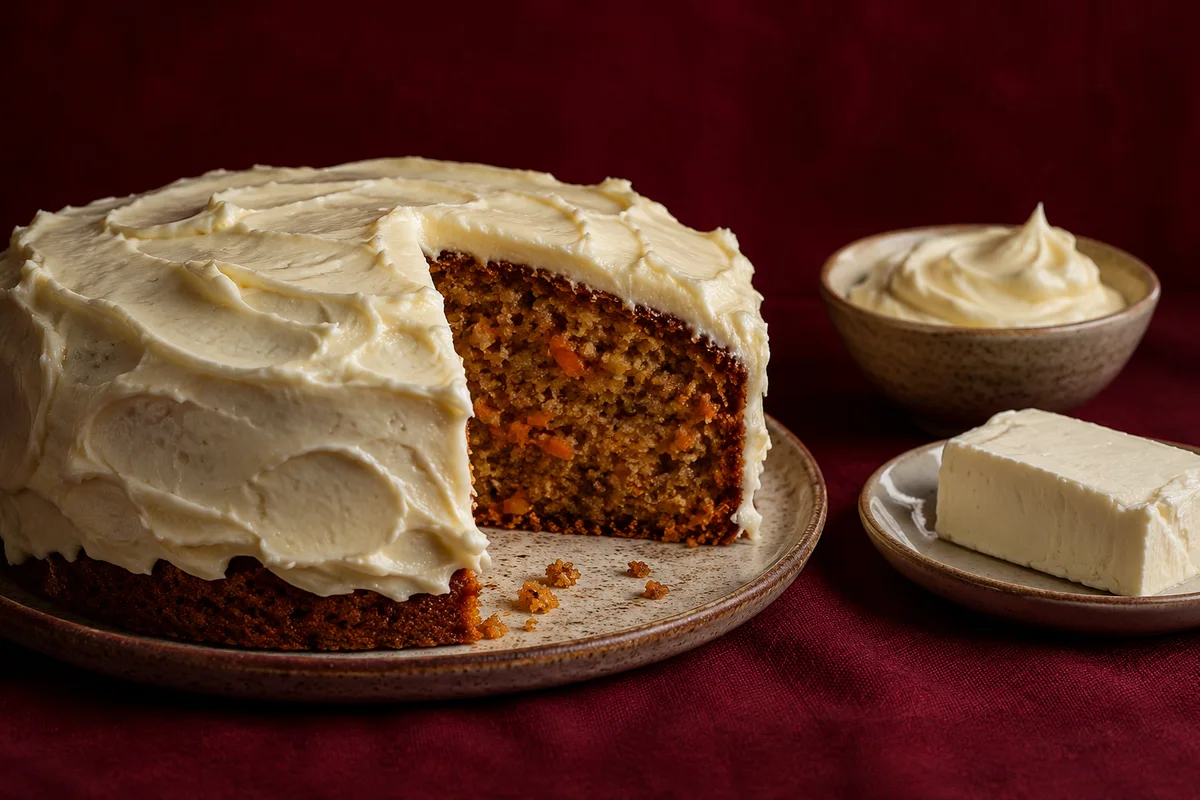
Before placing fruit, check that the cake coating is stable enough for the planned weight. A soft cream cheese frosting and a firmer buttercream do not support the same arrangement in the same way. Consult the cream cheese frosting guide if the decoration repeatedly sinks or pulls through the surface.
Build the arrangement from a few secure anchor pieces, then add smaller accents around them. Keep the heaviest pieces low and avoid balancing a large wedge on a narrow piped ridge. A broad top can support a modest grouping more comfortably than a fragile edge designed mainly for a clean outline.
A barrier can be part of a specific dessert design, such as a compatible chocolate element under a small fruit accent. It is not a universal waterproofing treatment, and it does not change refrigeration requirements. Consider whether the barrier makes the cake harder to cut or introduces an unexpected flavor before adding it.
Use a controlled decorating sequence
- Complete the cake coating and any piped details that need an uninterrupted surface.
- Inspect prepared fruit for free water, damaged pieces and a workable size.
- Arrange a small sample beside the cake to settle the color balance and likely footprint.
- Place the main pieces with clean utensils, keeping wet cut surfaces away from exposed cake edges where possible.
- Add small accents, inspect for juice and stop before the decoration becomes top-heavy or crowded.
A trial arrangement beside the board is especially helpful with a mixed-fruit design. You can change the balance without repeatedly lifting fruit out of frosting and leaving marks. Once the fruit is on the cake, correct the smallest possible area rather than dragging a wet piece across the finished surface.
Understand what glazes and sugar can change
A fruit glaze may provide shine or help a particular design look finished, but use a product or recipe intended for the application. Follow its instructions and consider its temperature before it touches buttercream. A warm glaze that softens the coating solves one visual problem by introducing another.
Do not assume that glaze makes a fruit-topped cake shelf-stable or seals every cut surface against all leakage. It is part of a recipe and presentation choice. Likewise, tossing fruit in sugar can encourage juice to collect rather than keeping the decoration dry, so reserve that treatment for dishes designed to include the resulting syrup.
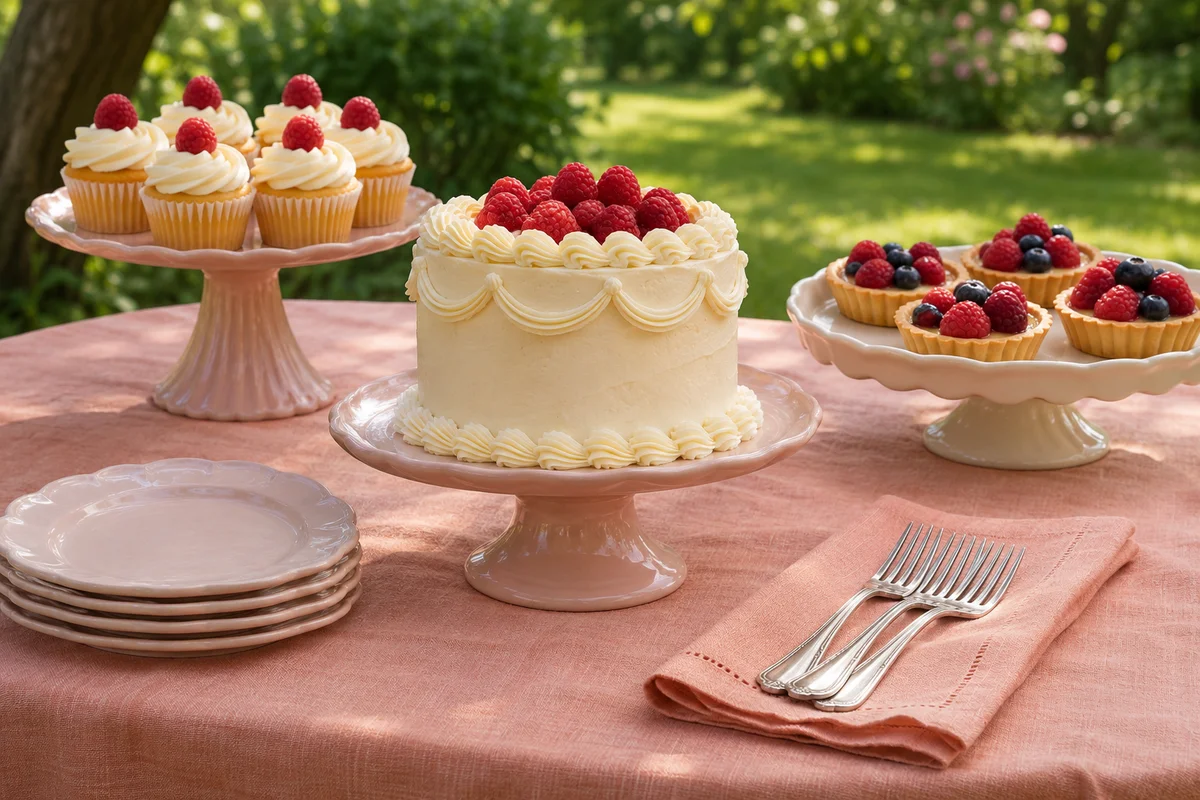
For a dessert table, keep shiny glazed fruit consistent with the surrounding finishes. A single glossy focal dessert may be enough; every cupcake does not need an identical wet garnish. Our small celebration table guide helps coordinate the arrangement without overloading each item.
Troubleshoot the visible problem
| Problem | What to inspect | Practical change |
|---|---|---|
| Water rings around whole fruit | Water trapped after rinsing | Dry contact points more carefully before placement. |
| Colored juice running down the side | Damaged fruit or exposed cuts near the edge | Use sound pieces and move juicy cuts inward or serve separately. |
| Fruit sinking into frosting | Weight and coating texture | Reduce the mound and reassess the frosting. |
| A messy top after repeated changes | Too much arranging directly on the cake | Plan the grouping on a separate clean surface first. |
Condensation can look like fruit moisture, particularly when an entire cold cake enters a humid room. If droplets appear across areas without fruit, read the frosting-condensation guide before blaming every bead of water on the garnish.
Plan serving time without guessing shelf life
Think about portioning while you arrange. A heavy cluster covering the center may make the first clean cut difficult, while a small crescent leaves a clear place for the knife. If each slice is meant to receive a fruit accent, you can finish individual portions at serving instead of stacking all the garnish on the whole cake. This is particularly useful when the topping contains several juicy components. It also lets the server keep the remaining fruit protected rather than leaving every portion exposed while guests decide what to take.
Fruit handling and cake storage must remain compatible. Cut produce and perishable frostings need appropriate cold handling; a dry-looking surface is not a safety test. Follow the storage needs of the most perishable ingredient and avoid a long unrefrigerated display merely to preserve a photograph-ready arrangement.
FoodSafety.gov advises prompt refrigeration for perishable foods and sets general exposure limits according to the ambient temperature. Use those safeguards alongside the actual cake recipe, not a made-up promise that every fruit-topped cake stays safe for a fixed number of days.
For a gathering, prepare a small topping plan and keep suitable backup fruit under appropriate storage. If a piece becomes damaged during setup, replace that piece rather than rebuilding the whole cake. Choose a design that can be served cleanly after inspection, with the fruit's natural texture and the cake's finish both still recognizable.