The best cupcake display ideas make the cupcakes easy to see and easy to lift. A crowded stand may look full in a photograph, but guests should not need to brush one frosting swirl with their sleeve to reach another. Begin by choosing the serving footprint, then arrange the colors and shapes within it.
Think of the display as a collection of small groups rather than a single pile. Repeated spacing gives mixed cupcakes a sense of order, while a few changes in height stop the arrangement from looking flat. You can achieve both with ordinary platters, provided their size and stability suit the table.
Choose the layout before choosing the stand
Decide whether guests will approach from one side or move around the table. A stand against a wall has a front and back; a central table is viewed from several directions. An arrangement designed only for a photograph can leave awkward gaps or inaccessible cupcakes when someone approaches from the opposite side.
On a narrow surface, a flat platter may be more practical than a tall tiered stand. It keeps every cupcake visible from above and reduces the risk of bumping a pedestal while serving. On a wider table, a moderate raised stand can add variety without forcing guests to reach over other food.
Before loading a stand, check that it sits firmly and that each tier leaves enough vertical clearance for the frosting. A large swirl can fit on a tier but still be scraped by the plate above when the cupcake is lifted. Test the movement with one cupcake before completing the arrangement.
Use gaps as part of the design
Set the first few cupcakes down with enough space to grip their wrappers. The right gap depends on wrapper width, frosting overhang and the shape of the serving dish. There is no useful universal measurement that suits every cupcake. Test the reach with your fingers rather than filling the tray edge to edge.
Keep the outer row comfortably inside the rim. A paper wrapper hanging over the edge makes the arrangement feel precarious, especially on a stand that someone may rotate. If a platter looks empty, bring the cupcakes into a more deliberate cluster rather than scattering them across the entire surface.
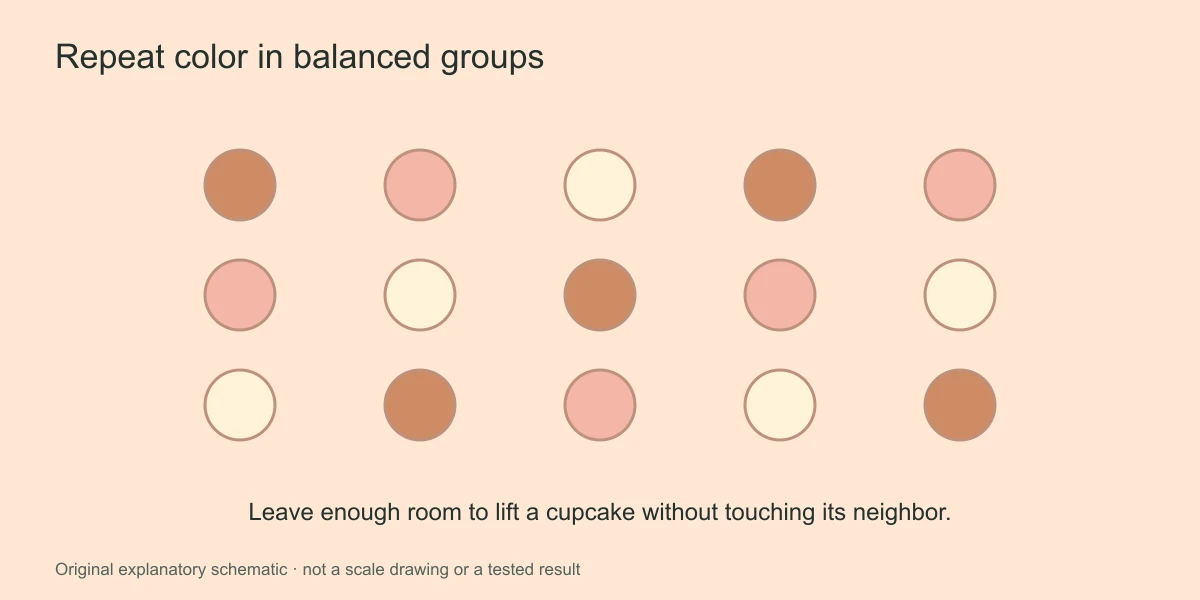
Use the same visual gap within a group even when the dish is irregular. A row that follows a platter's curve can look tidy without becoming a rigid grid. Leave slightly more breathing room around a cupcake with an unusually wide decoration so its neighbors do not appear squeezed.
Pick one organizing rule for mixed colors
When several frosting colors are involved, choose a pattern before placing the whole batch. You might group each color on a separate platter, alternate colors around a circular stand, or create a gentle progression from pale to deep. Any of these can work; mixing the rules randomly is what usually makes the display difficult to read.
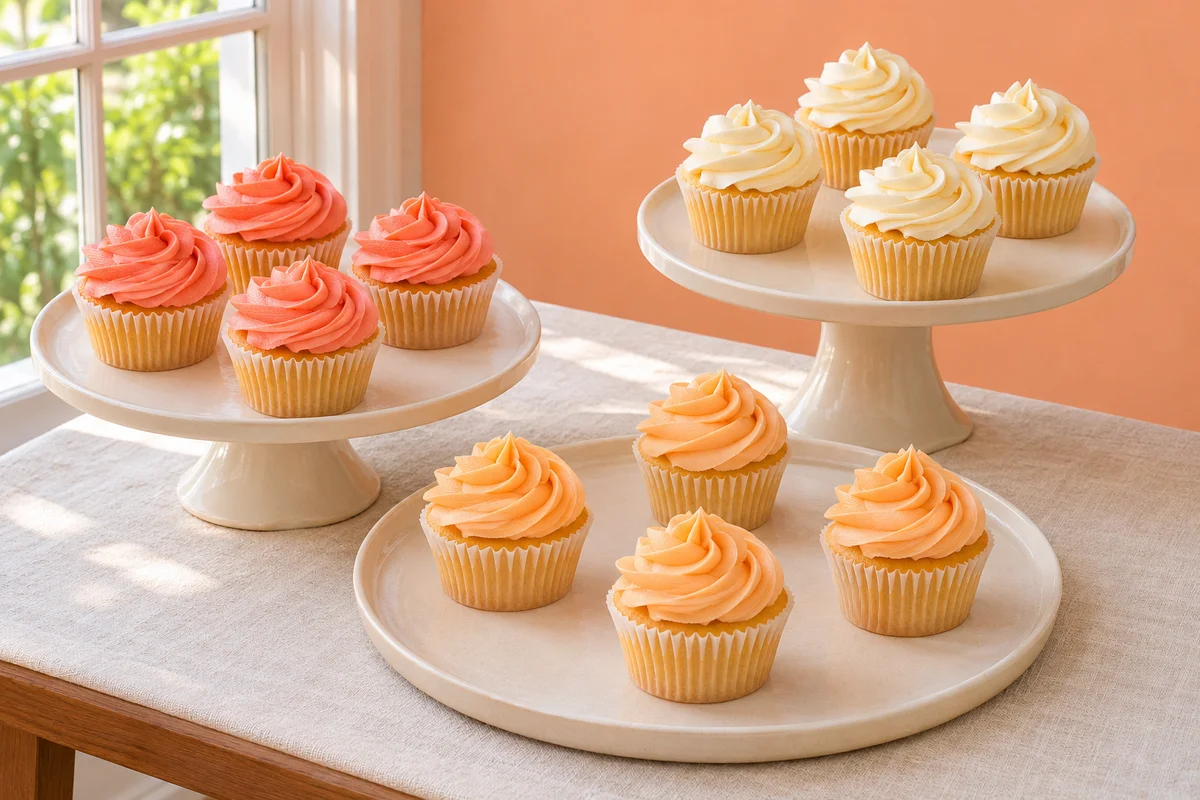
For a coral, ivory and peach collection, one option is to give each color its own small group and repeat ivory in more than one location. The neutral repetition helps connect the groups. Another option is to alternate coral and peach while using ivory as a quiet border on the outer row.
Decide using the actual frosting, not only a digital swatch. The wrapper, cake and lighting affect the appearance of the color. If you are still planning shades, use our guide to a cohesive dessert table palette, then choose the arrangement that makes those shades easiest to appreciate.
Let the piping shapes create controlled variety
A tray does not need a different piping design on every cupcake. Repeating one shape across a color group gives the eye something predictable. If you want variety, change one feature at a time: the color, the piping shape or the garnish, rather than all three on each cake.
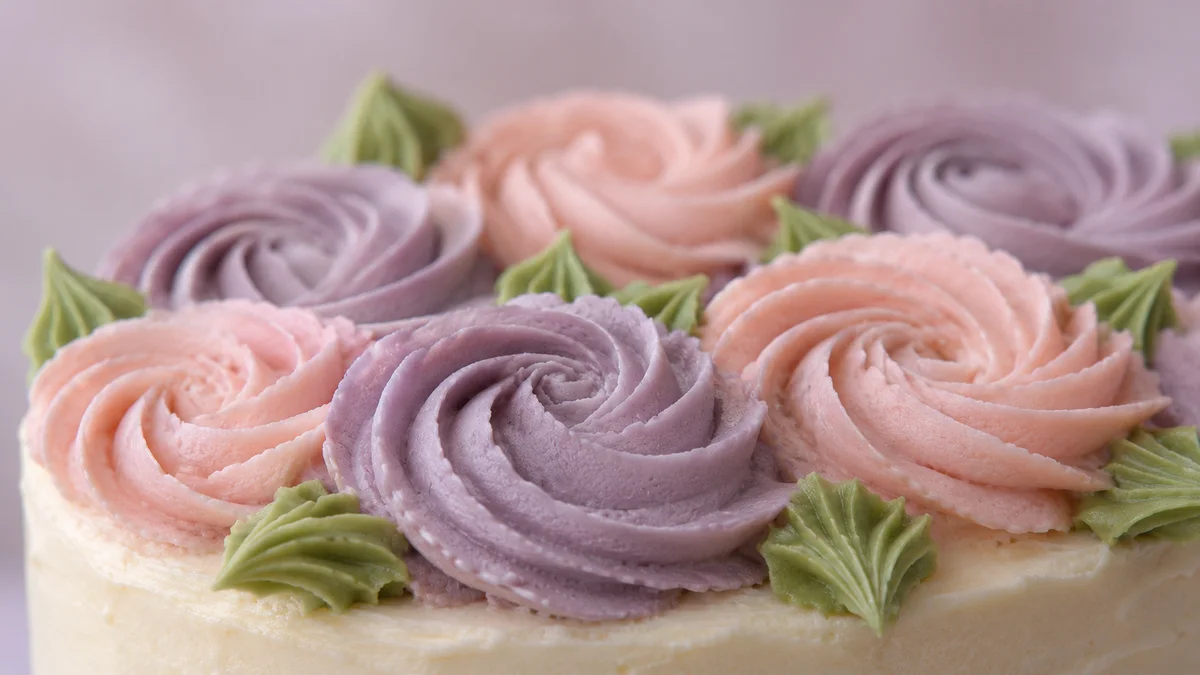
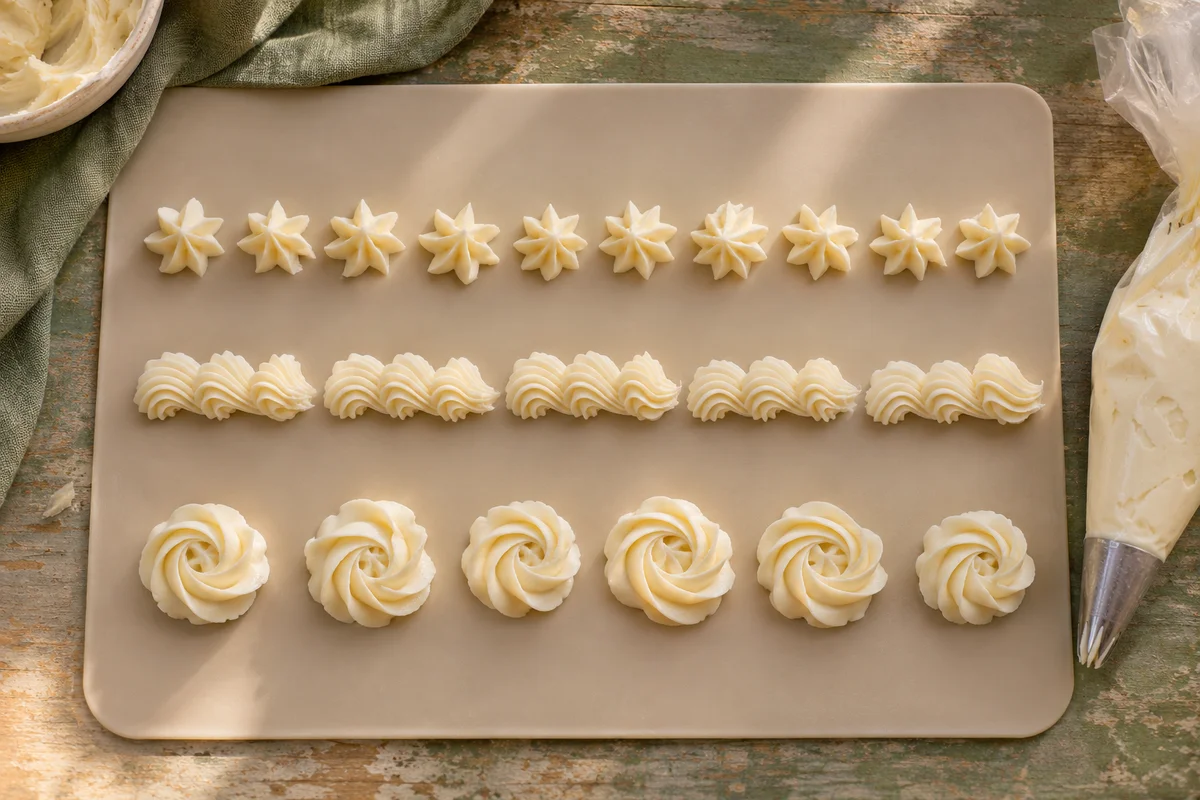
For example, low buttercream rosettes can sit alongside taller swirls without competing when they are grouped separately. Keep taller decorations away from a low shelf or the underside of another tier. A small piped star can repeat a detail from the centerpiece without copying the entire cake design.
- Repeat a shape within each group to create a clear rhythm.
- Use occasional contrasting shapes as accents, not on every cupcake.
- Keep fragile details away from the busiest serving edge.
- Check that wide frosting decorations do not touch neighboring cakes.
If the piping is inconsistent, display similar heights together rather than forcing the shortest and tallest swirls into a strict alternating row. For the next batch, a short buttercream practice session can make the finished collection more even before styling begins.
Build a balanced arrangement in stages
- Place the empty serving dishes in their final positions.
- Choose which dish will carry each color or flavor group.
- Set a few cupcakes at the key positions around each dish.
- Fill between those positions using consistent gaps.
- Check the view from the front, sides and normal standing distance.
- Move any cupcake that is difficult to pick up without contact.
Balance is about visual weight, not identical counts on both sides. A tall, dark stand holding deep-colored cupcakes can appear heavier than a wider white platter of pale cupcakes. Move the darker group slightly inward, or give the opposite side more open space, before assuming that you need another serving dish.
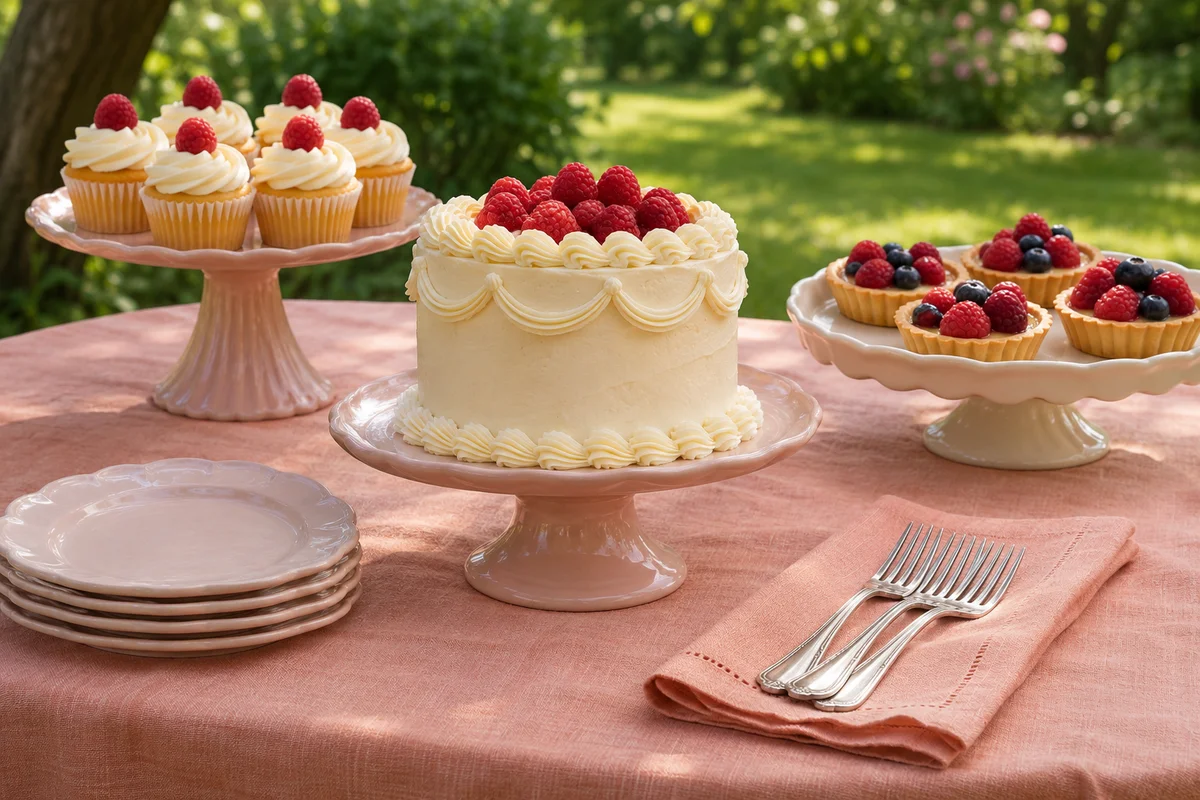
Try not to make every platter the same height. A flat front platter and one modest raised stand create a gentle change that is easier to serve than several competing towers. For a display sharing space with a cake, use the broader principles in our small dessert table styling guide.
Make flavors and serving practical
If similar-looking cupcakes have different flavors, keep them in defined groups. Small, legible labels placed beside the dishes can help guests identify them without picking each one up. Do not insert decorative labels into the food unless the materials and intended food contact are suitable.
Keep relevant ingredient information available, particularly when nuts or other allergens are involved. Separate plates and utensils do not automatically establish an allergen-free preparation. Describe what you actually know about the cupcakes rather than relying on a color code as a safety claim.
Follow the storage and serving requirements of the filling and frosting you used. Reserve a suitable place for any backup cupcakes, and bring out manageable groups as needed instead of loading an unnecessarily large display at the start.
Match the arrangement to the occasion
For a seated afternoon gathering, a low platter passed around the table can be more welcoming than a decorative stand that everyone must approach. Arrange the cupcakes with their decorated tops fully inside the platter's footprint, leaving room for the person carrying it to hold the edges. A shallow serving dish is easier to pass than a tall pedestal.
For a small birthday buffet, divide cupcakes between a visible serving platter and a protected reserve. The visible platter can echo the birthday cake's colors without surrounding it so tightly that cutting becomes awkward. Move the cupcakes far enough aside to leave a real working space for the knife and server.
If the party is outdoors, choose a broad, stable base rather than a delicate high stand. Consider covers and the route from storage to the table before deciding how much to display. A practical arrangement that can be replenished neatly is more useful than a fragile tower that only works while nobody touches it.
Keep the display attractive as cupcakes disappear
A good arrangement should survive the first few selections. Avoid a design that depends on every cupcake remaining in one exact position. Several independent clusters are easier to maintain than a detailed picture made from dozens of individually placed cakes.
As a platter empties, remove the nearly empty dish or bring the remaining cupcakes into a smaller group if their handling conditions permit. Keep loose wrappers, used napkins and serving debris away from the display. A clean rim and accessible gaps contribute more to a polished result than adding another decorative prop.
Before guests arrive, take one final view from the serving side. Check reach, clearance and the path back to plates and drinks. Once those practical details work, the colors and piping can do their job without anyone having to navigate around them.
← Back to Dessert Styling