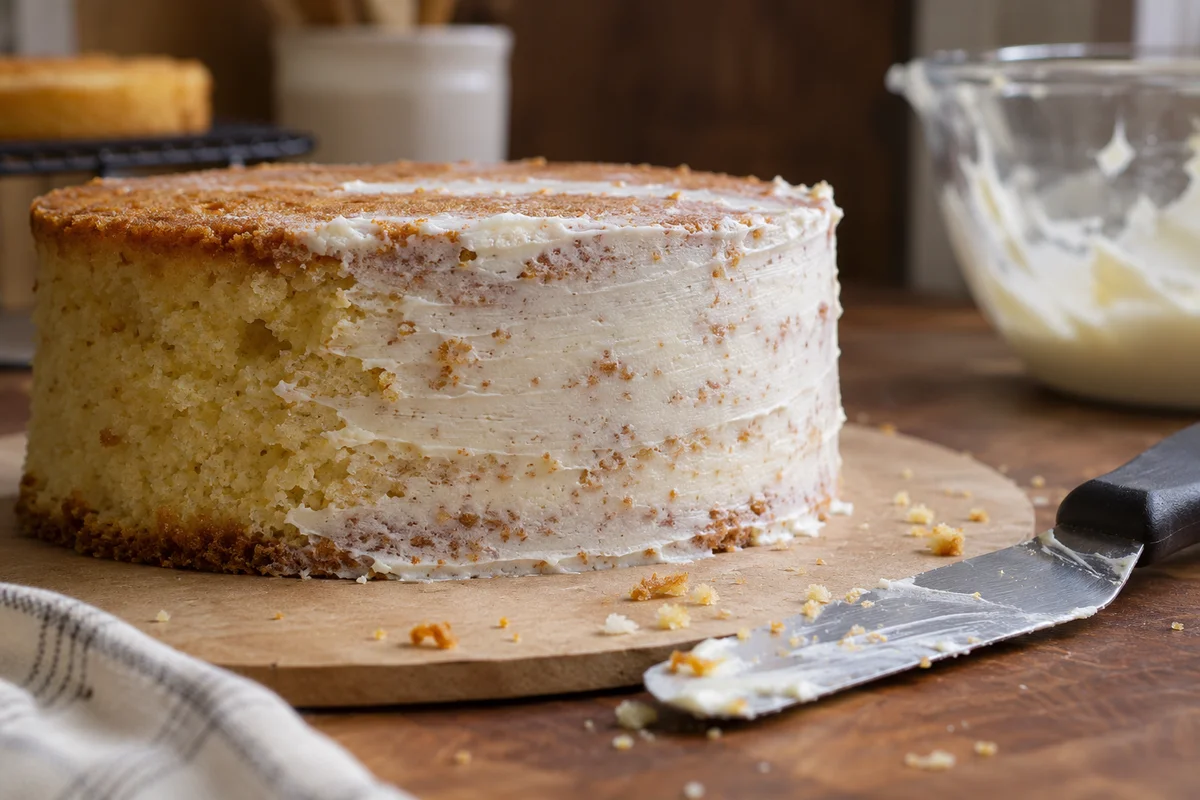
Cake crumbs in frosting usually mean the coating is pulling at the sponge faster than the surface can tolerate. The cause may be a warm or fragile cake, frosting that is too resistant to spread, an exposed damaged edge or a spatula used with too much pressure. A careful crumb coat helps, but it cannot repair every underlying problem by itself.
Before scraping off the entire finish, decide whether you are seeing a few isolated crumbs or an ongoing breakdown of the cake's surface. An occasional dark fleck in an otherwise stable coating calls for a smaller correction than a side that tears away with every pass.
Read the pattern of the damage
Look at where crumbs first appear. A rough top edge may have been damaged during leveling. A line along a filling seam can indicate uneven assembly. A broad patch that sheds under the spatula may reflect a delicate cake or frosting that grips instead of gliding.
Inspect the utensil too. If it carries cake fragments from a previous pass, returning it to the clean frosting bowl distributes those fragments throughout the reserve. A clean bowl can become speckled surprisingly quickly when the working spatula is repeatedly dipped without scraping it separately.
Keep three areas distinct: clean frosting for the final finish, frosting used for the crumb coat, and scraps removed during correction. A separate scrap bowl is useful even for a small cake. It prevents an avoidable problem from spreading while you investigate the original one.
Let the cake reach an appropriate condition
Do not frost a cake while warmth remains inside its layers. Warm sponge can be more vulnerable to handling, and buttercream touching it can soften. Follow the cake recipe's cooling instructions rather than deciding from the outside alone that a thick layer is ready.
A fully cooled cake can still be delicate. Chilling may make some layers easier to handle, but use a preparation method suitable for the recipe. A very cold surface that becomes wet in humid air introduces a different difficulty, so inspect it before spreading frosting.
King Arthur Baking's cake guide discusses frosting preparation and level layers. Its advice supports a useful principle: the cake and coating need compatible working conditions. The goal is controlled handling, not making the cake as cold or the frosting as stiff as possible.
Recognize a cake that needs gentler handling
Different cakes have different structures. A sturdy butter cake and a very tender sponge should not be treated as though they offer identical resistance. Choose the coating and thickness with that structure in mind rather than forcing a fragile layer to withstand a heavily loaded scraper.
If the cake is unusually crumbly throughout, review its recipe, baking and storage history separately. Frosting technique cannot fully correct a cake that was overbaked, badly damaged or assembled from broken layers. Decide whether a simpler finish, a different presentation or remaking the layer is the better response.
Do not repair structural gaps by pressing loose dry crumbs into the side and then dragging frosting over them. That creates an unstable interface. If a small area can reasonably be repaired, use a suitable recipe-compatible method and a restrained coating; if it cannot, adapt the design.
Match spreading resistance to the surface
Test the frosting against a clean bowl with the spatula. If moving it requires considerable force, that same resistance can pull at a delicate cake. The correct adjustment depends on the formula and temperature. Do not thin an entire batch with an unmeasured pour simply because one cold spoonful feels stiff.
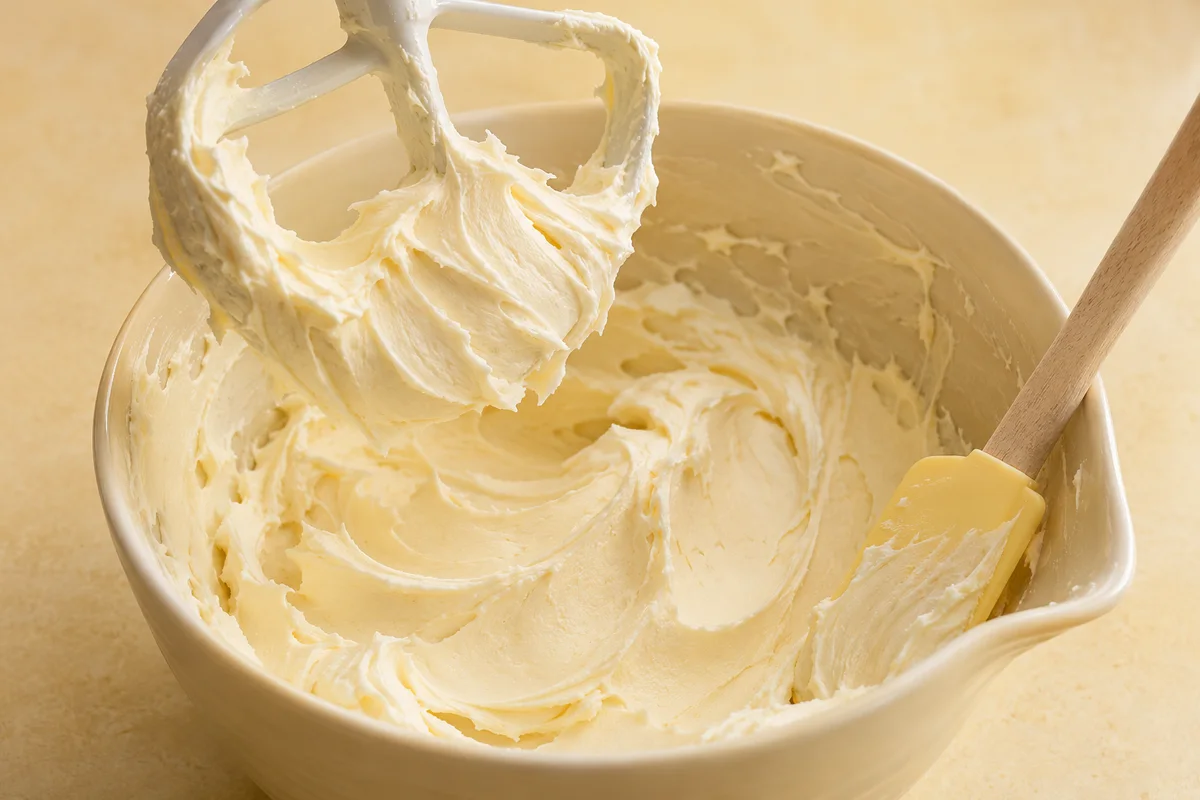
For American buttercream, check that the butter was prepared evenly and that the mixture is at its intended working condition. Use only a small measured adjustment allowed by the recipe when more mobility is actually needed. Our smooth American buttercream guide explains that preparation stage.
A softer coating should still stay where you place it. If it flows down the side, you have exchanged drag for instability. Keep the amount manageable and test it before coating the whole cake. Reserve any firmer portion intended for a final piped border separately.
Apply a controlled crumb coat
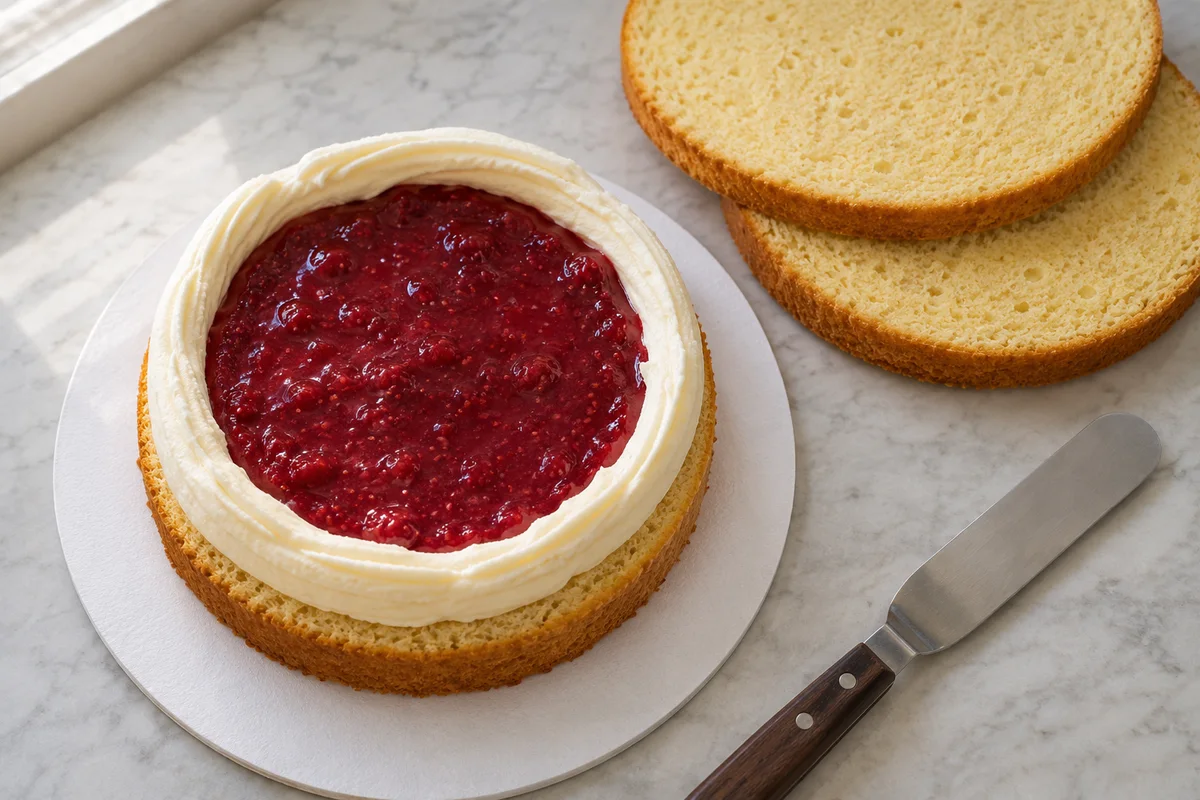
- Place the fully prepared cake on a stable board and check that the layers are aligned.
- Take frosting from the crumb-coat portion, keeping the clean final-coat reserve separate.
- Place frosting onto the surface with gentle contact, then spread it across a small area instead of scraping nearly bare sponge repeatedly.
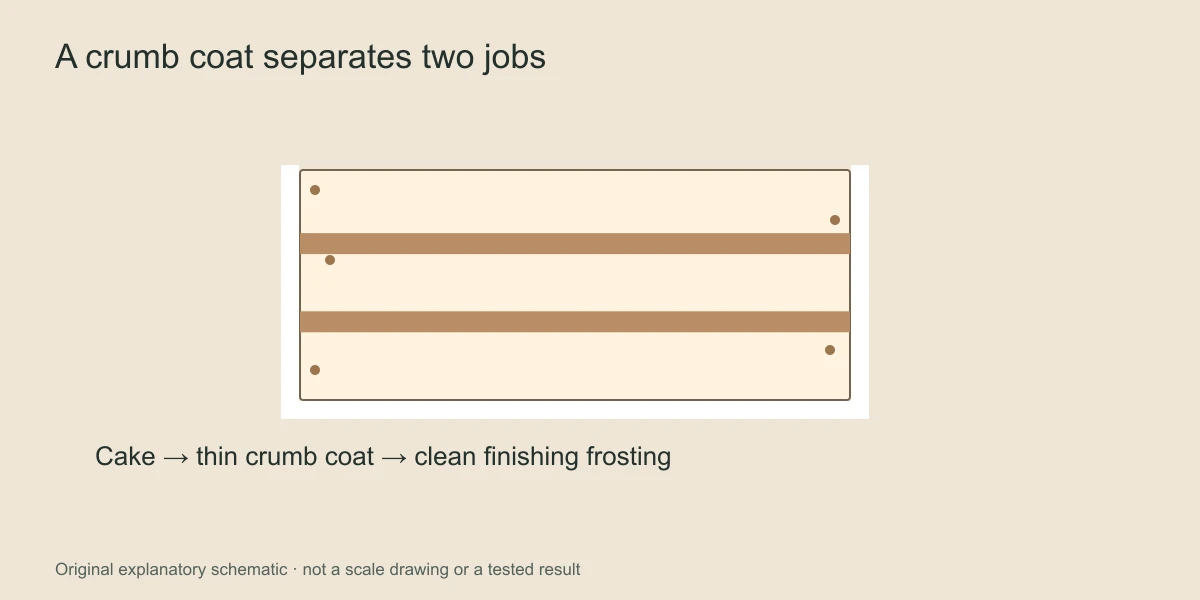
- Join the coated sections with light passes, using enough frosting to capture crumbs without building a thick uneven shell.
- Clean the utensil into the scrap bowl as needed, and let the coat reach the recipe's appropriate condition before applying the finish.
The crumb coat may show flecks; containing them is its purpose. Do not keep working that thin layer in pursuit of a flawless outer appearance. Every extra pass over a delicate patch can dislodge more crumbs and undermine the controlled surface you were trying to create.
Add the second coat without reopening the first
Check the crumb coat gently before proceeding. If a light pass immediately drags it and exposes sponge, the surface is not ready for that application. Follow the recipe's setting or chilling directions rather than assuming that the passage of a fixed time guarantees readiness.
Apply enough final frosting to give the tool something to work through. Trying to achieve an opaque finish from a very thin smear can encourage repeated scraping against the crumb layer. Spread deliberately, then refine the shape without removing the coating almost entirely.
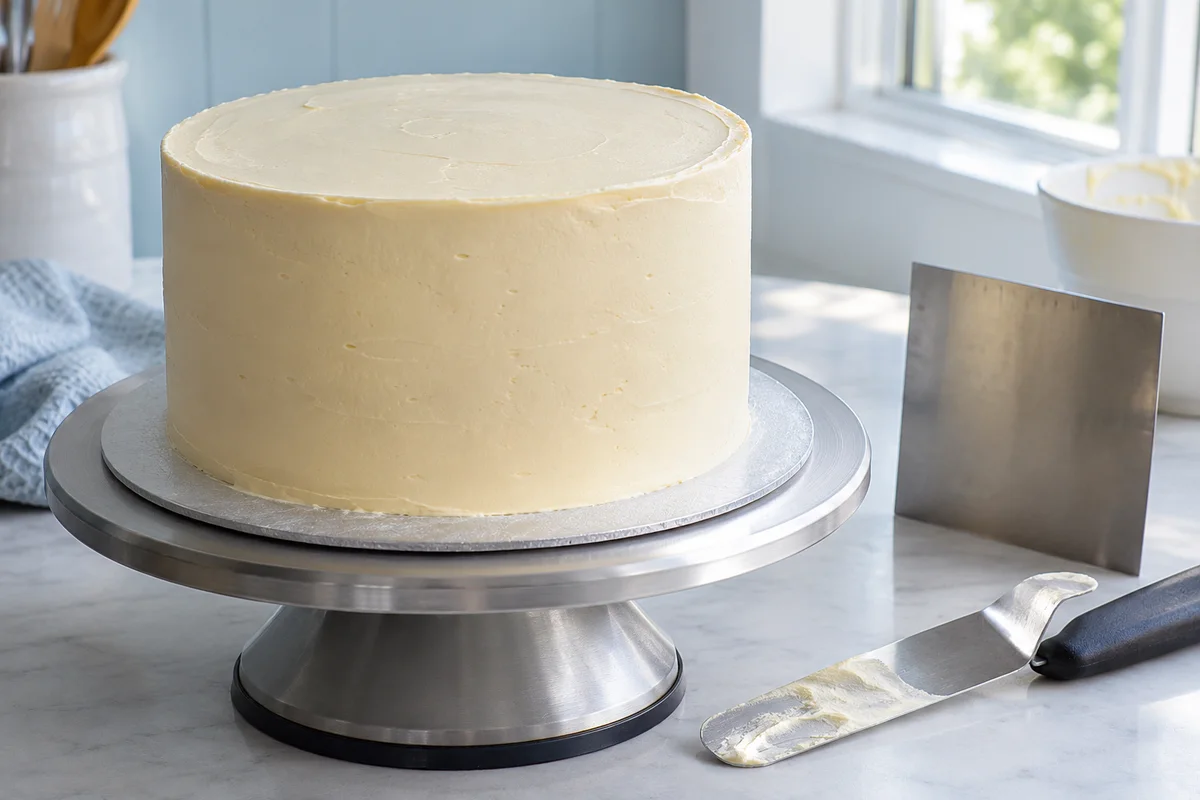
Use a steady scraper angle and avoid leaning hard into the cake. If one side needs a large amount of extra frosting to appear straight, inspect layer alignment. The smooth-edge guide covers the finishing mechanics, while the stacking guide addresses the foundation beneath them.
Correct isolated crumbs locally
For a visible crumb near the surface, use a clean small tool to lift out the affected speck and a little surrounding frosting. Replace that small area with clean matching frosting, then blend it with a light pass. Do not sweep the contaminated tool across the rest of a neat cake.
If many crumbs have entered the final-coat bowl, stop treating it as a clean reserve. Depending on the design, that frosting may be more suitable for a clearly separate crumb-coat application with an acceptable handling history. Do not promise that extended mixing will make the fragments disappear.
Choose the smallest effective correction
| Pattern | First question | Focused correction |
|---|---|---|
| A few surface specks | Were crumbs carried by the tool? | Clean the tool and repair locally. |
| Whole side tearing | Is the cake fragile or frosting resistant? | Reassess condition and spreading pressure. |
| Top edge breaking | Was leveling or handling damaging? | Repair or simplify the edge rather than scraping harder. |
| Crumbs throughout reserve | Was working frosting returned to the clean bowl? | Separate portions and protect a clean final batch. |
Make the next attempt easier
A useful comparison is to test two small areas before continuing. On one area, use the current frosting with a lighter tool movement. On the other, use a sample adjusted appropriately for spreading. If the lighter movement alone reduces damage, your next change should be technique rather than the whole recipe. If both areas tear, return to the cake's condition and structure. Keep the test inconspicuous and avoid repeatedly exposing the same fragile patch.
This approach also helps you recognize a stopping point. Once the crumb coat is continuous and the final layer can be spread without reopening it, move on to the finish. Waiting for an unrealistically perfect first coat can cause more damage than the few contained crumbs you originally noticed.
For a small home cake, prepare the board, scrap bowl, final frosting reserve and clean tools before starting. This prevents the rushed habit of returning every utensil to the same bowl. Take a short note when the first crumbs appear: the cake's condition, the frosting's resistance and the area being worked.
Choose a finish suited to the cake's structure. A softly textured coat can be more successful than aggressively chasing a razor-sharp corner on an unusually fragile sponge. The everyday-tools guide includes finishes that use controlled spoon or spatula movements instead of repeated full-height scraper passes.