Chocolate buttercream frosting that tastes rich but slumps as soon as it leaves the bag has not reached the right working balance. The answer may be a cooler mixture, a different liquid adjustment or a recipe designed for piping. Adding cocoa until the frosting becomes dry can hide one problem while creating another.
Begin by deciding whether you want a smooth coating, shallow rosettes or a detailed border. These uses need different resistance under the tool. Make a small test decoration before committing the full bowl to a cake, and compare it with the frosting's intended use rather than an unrelated photograph.
Choose a cocoa or melted-chocolate formula
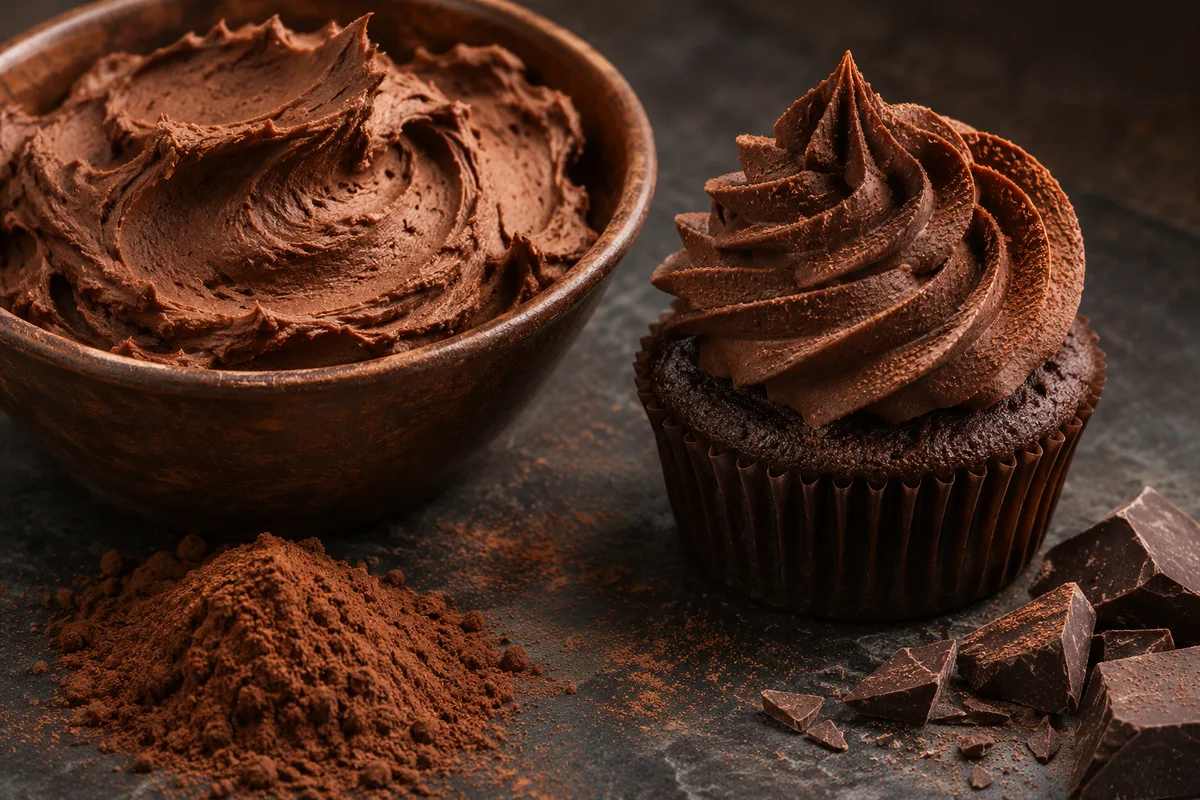
Cocoa powder contributes concentrated flavor and dry solids without bringing the same fat and sugar balance as a bar of chocolate. Melted chocolate adds cocoa butter and, depending on the product, sugar and milk ingredients. They are not interchangeable spoon for spoon, so use the ingredient your selected formula specifies.
For a cocoa-based reference, King Arthur Baking's chocolate buttercream provides a complete formula and staged mixing directions. Using an established formula lets you focus on texture and handling without inventing several ingredient ratios at once. Keep its cocoa type and starting liquid quantity consistent during your first attempt.
For a reproducible cocoa-based starting batch, that reference combines 226g butter, 396g confectioners' sugar, 42g unsweetened cocoa and 57g dairy liquid, with two teaspoons vanilla and a quarter teaspoon salt. It permits natural or Dutch-process cocoa. Optional espresso powder is a flavor choice, not a structural repair. Keep this formula's alternating powder-and-liquid method together rather than applying the ingredients to an unrelated melted-chocolate process.
If using a melted-chocolate recipe, check whether it calls for unsweetened, bittersweet or another specific chocolate. A sweeter bar changes more than the flavor intensity. Chocolate chips may also melt differently from a baking bar, so follow the recipe's guidance instead of assuming that all chocolate products behave alike.
- Read the complete ingredient list and intended decorating use.
- Weigh cocoa, sugar and chocolate rather than packing powders inconsistently into a cup.
- Check allergen information on chocolate, butter and any added dairy.
- Prepare a clean spatula, suitable mixer attachment and a small piping test surface.
Prepare a uniform butter base
Butter should mix smoothly without cold pieces or an oily melted edge. A block that is firm in the center and soft outside produces a less predictable bowl than evenly pliable butter. Cut it into manageable pieces and check its condition before adding the powders.
Beat the butter until its texture is consistent, stopping to scrape the bowl. Look under the beater and along the bottom curve, where pieces may escape the main mixing action. Chocolate's dark color can disguise pale butter lumps later, making this early inspection especially useful.
Powdered ingredients need attention too. Break up or sift visible clumps in cocoa and confectioners' sugar as the recipe directs. Do not rely on prolonged whipping to eliminate a tightly packed cocoa lump after the frosting is already warm and airy. Preparation makes the later mixing more controlled.
Add cocoa without creating dry pockets
- Combine the dry ingredients as specified, checking for clumps before they enter the butter.
- Add a manageable portion with the mixer stopped, then begin slowly to keep powder in the bowl.
- Scrape the sides and underside of the mixture before continuing. Dark color on top does not prove the entire bowl is combined.
- Add the recipe's liquids in its stated sequence, measuring each addition rather than pouring while the machine runs.
- Inspect a thin smear for lumps and a piped sample for shape before making further changes.
Some chocolate frostings deliberately hydrate cocoa with warm liquid, while others mix it with the sugar. Keep the method matched to the formula. Combining hot-liquid instructions from one recipe with another recipe's butter stage can soften the base unexpectedly.
Control melted chocolate before incorporation
Melt chocolate gently using the method specified by the recipe. Stir so you can distinguish unmelted pieces from a smooth liquid rather than heating continuously until the outside is much hotter than necessary. Keep tools clean and avoid introducing stray water into the melting bowl.
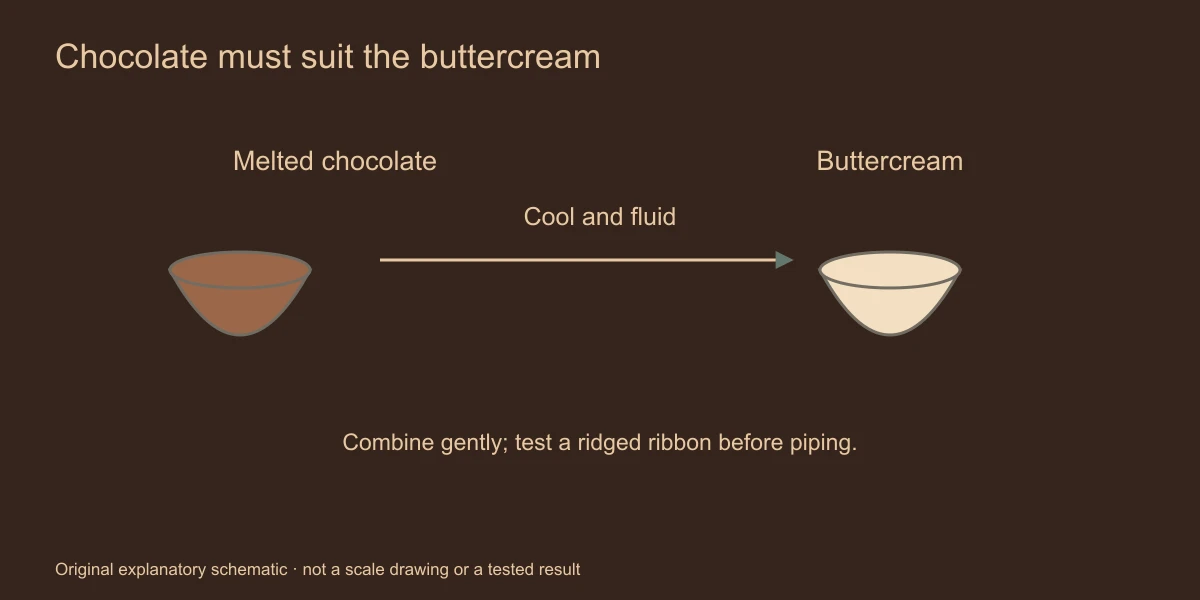
Let the chocolate reach the condition the frosting recipe describes before adding it. Very hot chocolate can melt a butter-based mixture; chocolate that has cooled until it is setting can form small pieces instead of blending uniformly. A bowl that feels merely comfortable to hold does not tell you whether its contents are still flowing evenly.
Make a small compatibility test if the temperatures seem uncertain: mix a little of the chocolate with a small frosting portion and examine it. This does not validate a new formula, but it can reveal an obvious temperature mismatch before the entire batch is affected. Use the recipe's thermometer target where one is provided.
Check shape at the intended scale
A spoon standing upright in frosting is not the same test as a narrow piped border. Use your chosen tip and make three repetitions on clean parchment. Look for clean edges, consistent pressure and whether the ridges settle into each other as you complete the row.
If the frosting is too resistant, first check whether it is unusually cold or whether the formula expects a small liquid adjustment. If it is slack, check warmth and measured ingredients before adding a large quantity of sugar. Work in a sample so a mistaken correction does not change the whole bowl.
Compare the frosting at the temperature in which you will decorate. Chilling a warm batch until it becomes hard may make a star appear firm briefly, without showing how it will behave during a longer session. For pressure and release practice, use the shell-border tutorial with a modest test portion.
Read the texture before correcting it
| Appearance | Likely check | Next action |
|---|---|---|
| Dry, resistant frosting | Powder quantity and working temperature | Verify measurements; test only the recipe's permitted liquid adjustment. |
| Soft glossy mixture | Warm butter or recently added hot chocolate | Restore a suitable condition before changing ingredients. |
| Small dark pieces | Cocoa clumps or chocolate setting during mixing | Identify the ingredient issue instead of treating it as air. |
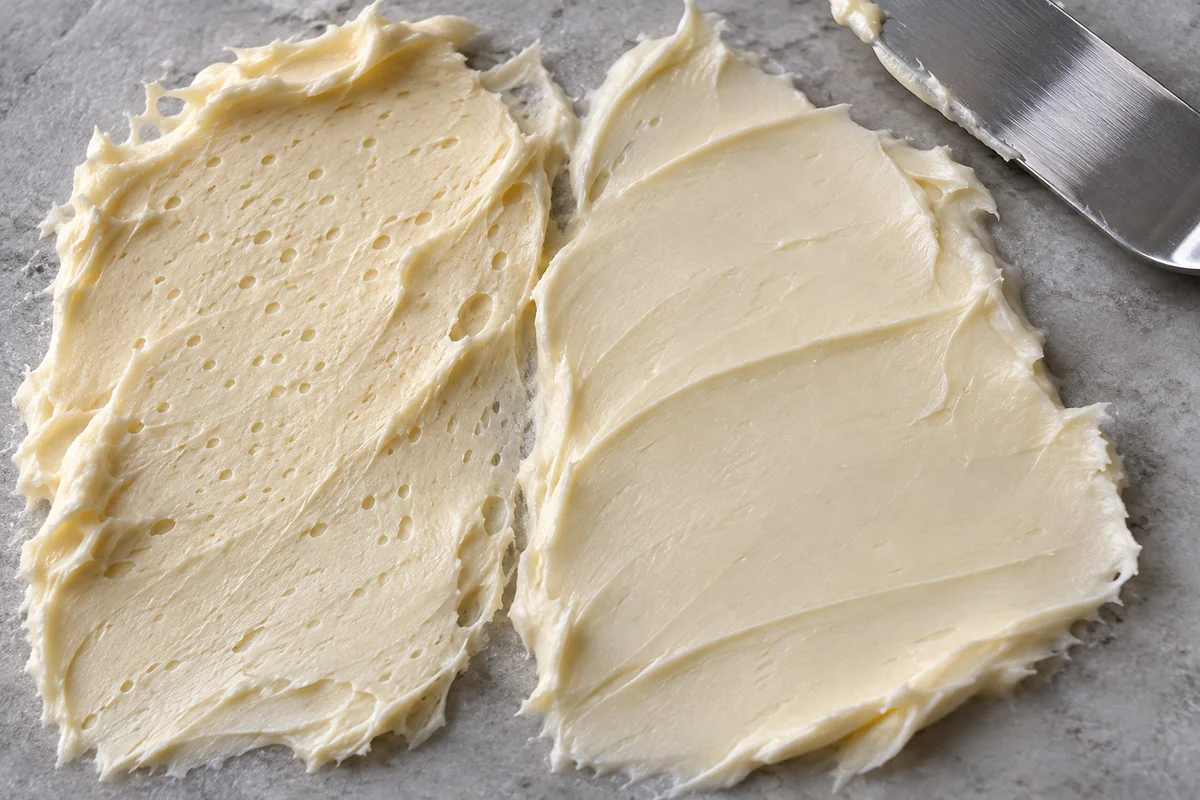
| Fine pinholes | Air incorporated after ingredients combined | Finish gently rather than increasing whipping speed. |
For a mixture that is uniform but aerated, the air-bubble guide explains a more focused smoothing sequence. If the problem began during a basic butter-and-sugar stage, return to the American buttercream method rather than adding more chocolate as a general repair.
Keep flavor and color decisions connected
Consider a chocolate layer cake that needs both a smooth outer coat and a row of low stars. First check the frosting with the scraper and reserve enough for the stars. If the coating portion needs a little more mobility, adjust that portion alone. Pipe the reserved frosting onto a practice surface while you finish the cake, then inspect it again before beginning the real border. This separates two different jobs without requiring two unrelated recipes.
When estimating the amount to reserve, include the decoration's actual size and a small allowance for refilling the bag. A border made with a large star tip uses more frosting than the same number of small dots. If you run short, mixing a tiny emergency batch may produce a visibly different shade. Planning the quantity up front protects color consistency as well as texture.
A deeper brown does not always mean better chocolate flavor. Cocoa varieties, chocolate percentages and lighting affect appearance. Taste a clean sample with a piece of the intended cake, and stop chasing a darker shade when the flavor already suits the dessert.
Do not add large quantities of coloring to conceal a weak formula. If a design needs an especially dark accent, tint only a small portion with an appropriate edible product and assess its texture. A dark narrow border can create contrast without making the whole cake excessively intense.
Plan working portions and storage
Use modest bag refills so your hands do not warm a large quantity while you practice. Keep the rest protected according to the recipe's storage directions. Chocolate does not make every frosting shelf-stable, and a sharp piped ridge is not proof that the ingredients can be displayed without temperature control.
Follow the storage and reuse guide for labeling, handling history and recipe-specific limits. Before the next batch, note the cocoa or chocolate product, any measured liquid adjustment and the decoration you tested. Those details help reproduce a useful texture more reliably than a note that only says “make it thicker.”