A buttercream piping practice session works best when it answers one question at a time. Can you keep a line even? Can you stop pressure without leaving a point? Can you repeat a shell at the same size? A board of deliberately chosen shapes reveals those answers more clearly than decorating a whole cake with several unfamiliar techniques.
Practice does not need to imitate a finished celebration cake. It needs a stable surface, workable frosting and a simple way to compare attempts. Keep the setup small enough that you can concentrate on the movement instead of spending most of the session mixing colors and changing fittings.
Set up a board that makes differences visible
Use a flat tray with a clean practice mat or parchment held securely in place. A moving surface changes the apparent shape of a line or flower. Leave generous space between rows, especially when practicing releases, so one shape does not merge into the next.
Set the tray at a comfortable height and keep your elbows free. Turn the board as needed rather than twisting your wrist into an awkward position. If you plan to decorate a cake on a turntable, include a little practice at that working height once the basic movement is familiar.
Begin with a single frosting color. Strong contrast between the buttercream and surface makes edges easier to inspect. A pale frosting on a pale board may hide the thin tails and broken ridges that show where pressure changed.
- Choose one or two tips with clearly different purposes.
- Keep the bag comfortably filled and the exterior clean.
- Reserve a clean portion of frosting separately from practice material.
- Have a small spatula and a place for discarded practice frosting.
- Decide which movement the next row is intended to improve.
Check the material before judging your hands
Pipe a short ribbon and one stationary shape. Watch whether the frosting flows continuously and whether its ridges remain recognizable. A material that is unusually stiff, loose or full of air will complicate every exercise, regardless of the bag angle.
Work from the consistency guidance for your chosen recipe. If the frosting changes while you hold the bag, compare it with the reserve in the bowl. Your hands may warm a small portion during a long session. That change is a reason to reassess the material, not proof that you suddenly lost the movement.
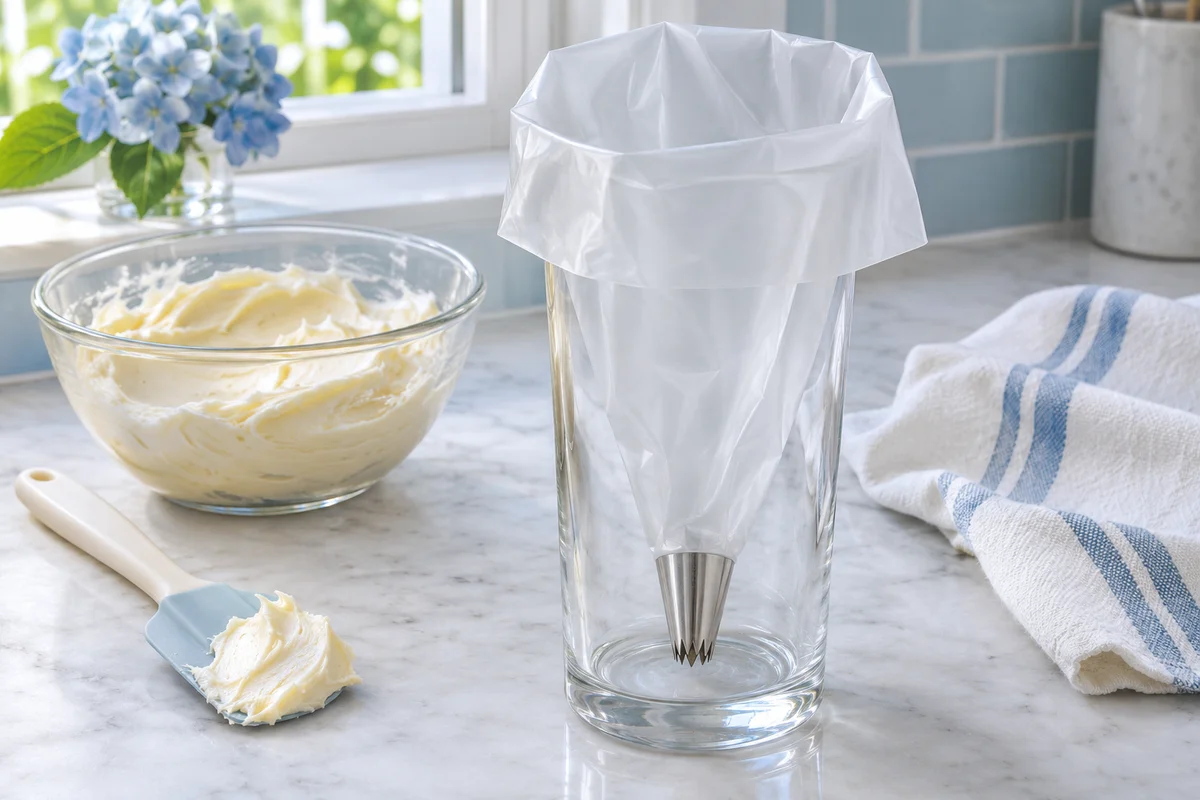
The bag filling guide helps prevent large pockets of air and an unsecured top. If a test ribbon still breaks repeatedly, inspect the opening and review texture before returning to the practice pattern.
Use lines to learn coordinated travel and pressure
With a round tip, pipe several short straight lines in the same direction. Keep the distance from the surface and the flow reasonably consistent. A section that becomes thin may reflect faster travel or reduced pressure; a swollen section may reflect a pause while you continued squeezing.
Repeat the line at a slower, more comfortable pace without changing the frosting. Compare its thickness rather than simply deciding whether it looks prettier. Then practice a shallow curve. Curves introduce a change in direction while preserving the same basic relationship between travel and flow.
Add a row of dots to isolate the release. Hold the tip still, squeeze to the intended size, stop pressure and lift away. If each dot ends in a tall point, practice releasing earlier before assuming you need a different tip.
Separate stationary shapes from moving ones
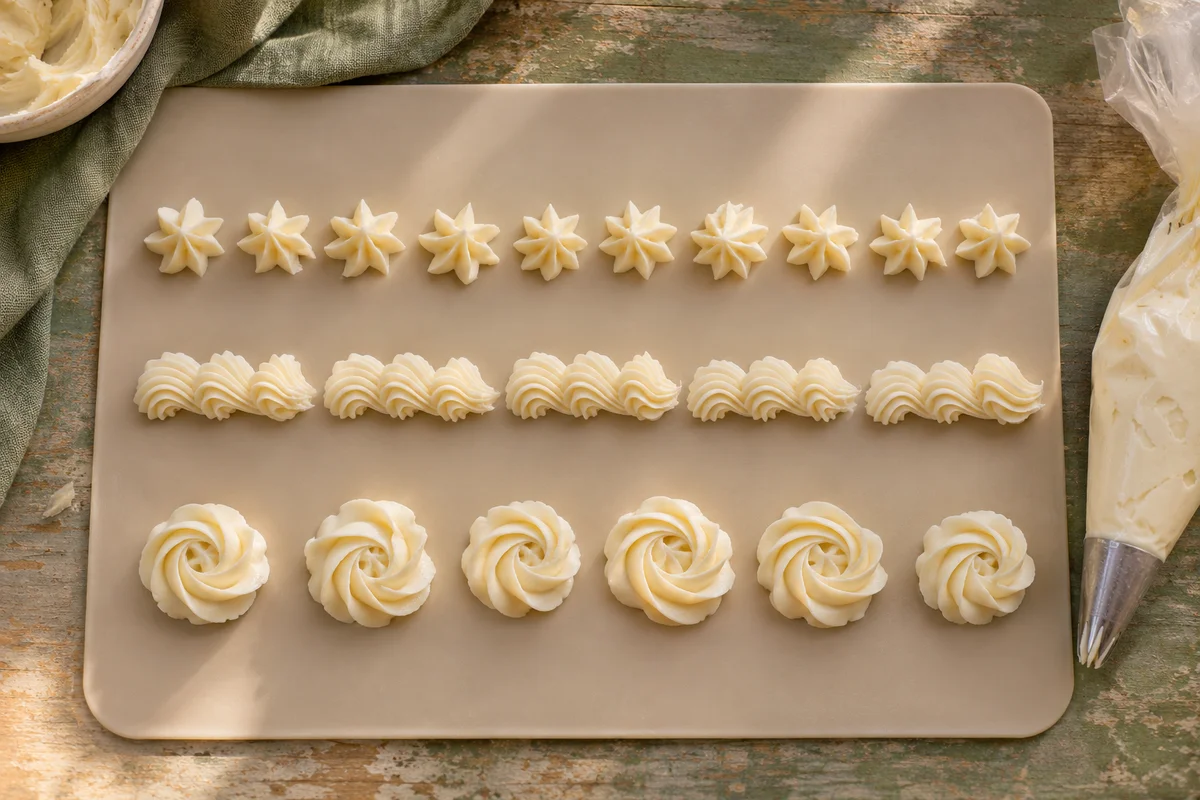
A star tip makes its simplest shape when held in place for a controlled squeeze. Practice several stars with the same opening and intended size. Compare their bases and peaks from the side as well as overhead. A taller star often comes from a longer squeeze or a higher tip position.
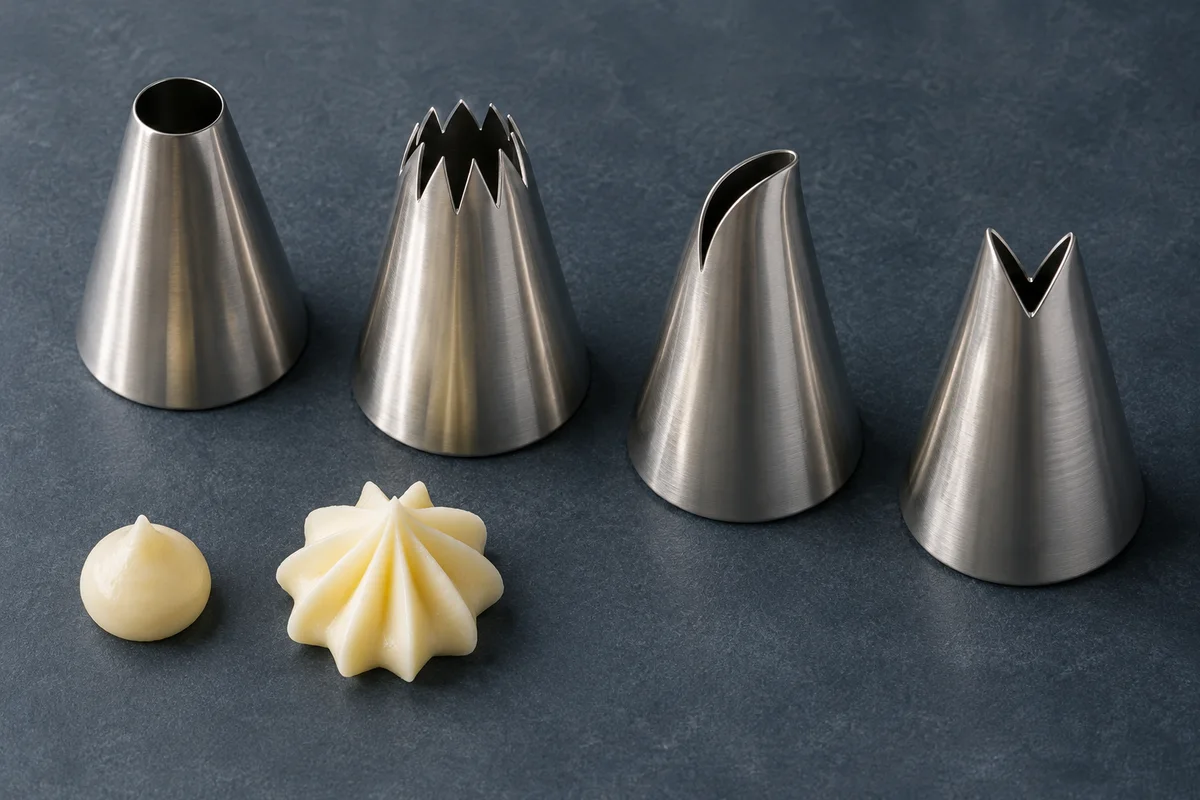
Do not change three things after one imperfect star. Keep the bag angle the same and shorten only the squeeze, then compare another row. This turns a vague impression into an observable experiment. The piping tips guide explains which openings make these differences easiest to see.
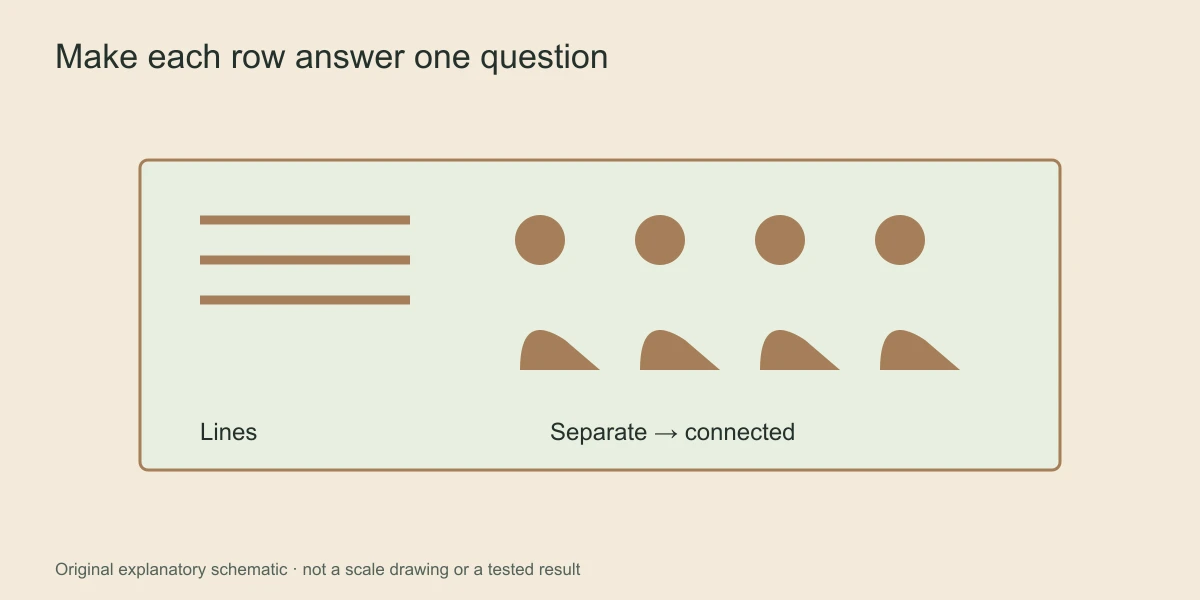
Add a movement with a clear beginning and ending
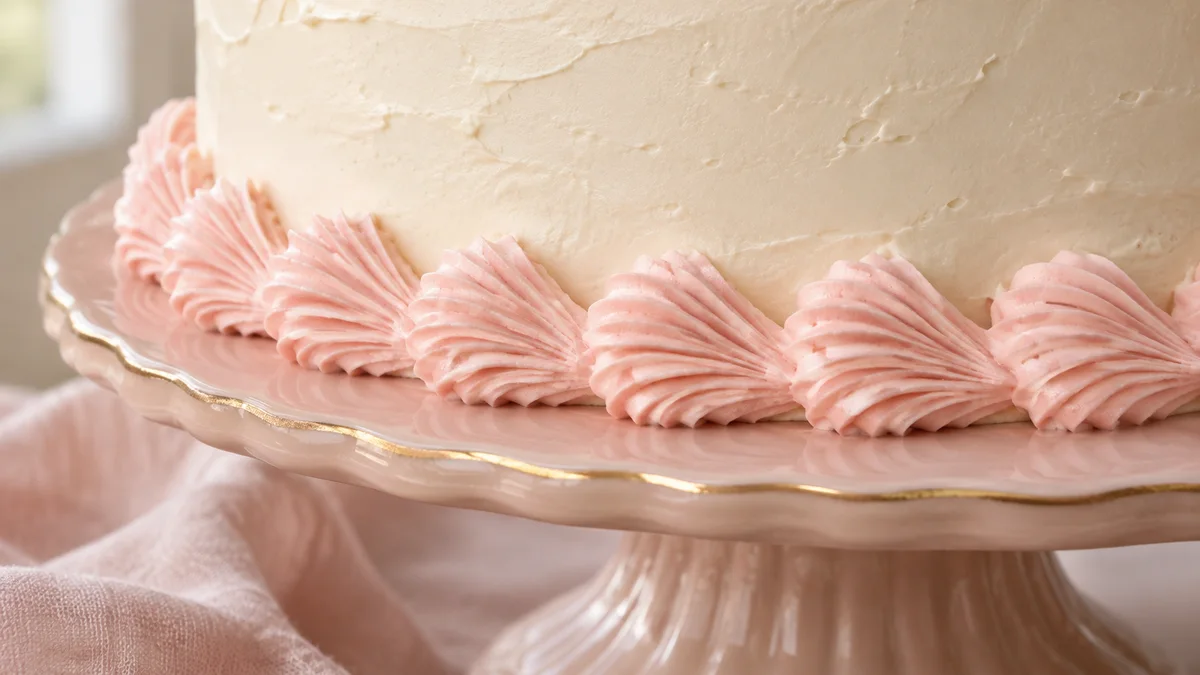
A shell introduces a buildup followed by a tapering pull. A rosette introduces a center-out circle followed by a controlled release. Practice each in its own row before combining them. Their shared use of a star tip does not make them the same hand movement.
- Choose a target size and pipe a few separate examples of the shape.
- Look for the feature that varies most: head size, tail length, center height or outer diameter.
- Choose one corresponding adjustment for the next row.
- Repeat with the same frosting and tip so the comparison remains useful.
- Connect the shapes into a short border or cluster only after the individual units are recognizable.
Use the dedicated shell border and rosette guides when you need the movement broken down further. Switching randomly between the two can make it difficult to remember which ending belongs to which shape.
Try a small, focused practice board
Divide the board mentally into three areas: lines and dots, separate shapes, and a short connected pattern. Start with the simplest movement that is giving you trouble, rather than automatically repeating every exercise. A useful session can focus on one clean release across several shapes.
For example, pipe four separate shells, compare their tails, then pipe a short connected row. If the separate shells are even but the border becomes crowded, spacing is now the useful question. You do not need to relearn the initial squeeze just because arranging the units adds difficulty.
Take a photograph before clearing a board that contains a helpful comparison. Label it with the tip and the single adjustment you made. A record such as “shorter initial squeeze, same frosting” is more informative than “second attempt better.”
Use a simple observation checklist
| Feature | Question to ask | Useful next exercise |
|---|---|---|
| Thickness | Does the line widen where I pause? | Repeat a shorter line at a comfortable pace. |
| Release | Am I still squeezing when I lift? | Practice separate dots. |
| Shape size | Does each initial buildup last equally long? | Pipe isolated stars or shell heads. |
| Spacing | Am I placing centers or chasing gaps? | Use a lightly marked practice guide. |
| Texture | Have the ridges softened during the session? | Compare a fresh test ribbon. |
Guidelines can be placed underneath a translucent practice sheet so marker ink does not touch frosting intended for eating. Use the lines to check size and spacing, not as a reason to keep pressing on a shape after the frosting has already landed.
Separate practice reuse from food reuse
Frosting scraped repeatedly from a practice mat has a different handling history from frosting kept covered in a clean bowl. Hands, equipment and the working surface may introduce contamination. Keep that practice material separate and do not assume it is suitable for decorating desserts that will be served.
You may be able to reuse an appropriately handled portion for further practice during the same learning session, but that is not a general safety endorsement for eating or long-term storage. Discard material that has an uncertain history, and follow the recipe's handling requirements for any frosting reserved for food.
Recognize when a pause is useful
If you are squeezing harder with each attempt, stop and check your grip, the bag closure and the frosting. Hand fatigue and a poorly twisted bag can make the movement feel unresponsive. Refilling with a smaller comfortable portion may help more than continuing another crowded row.
Return with one clear target, such as a shorter shell tail. If you cannot name the change you want to make, compare the existing rows before piping again. Observation is part of practice, even when no new frosting lands on the board.
Decide when to move to the cake
You are ready for a simple project when you can repeat the intended shape several times, recognize an obvious error and make a focused adjustment. Exact duplicates are unnecessary. Aim for a consistent overall rhythm that remains readable from normal viewing distance.
Choose a cake design with fewer decorations than your practice board. Leave space for the shapes, keep a small test area beside the cake and pause when control starts to fade. A successful practice session should make the final project more manageable, rather than obliging you to use every technique you tried.