Cake decorating without special tools works best when you choose a finish that suits the equipment you already have. A spoon makes a deliberate textured surface; a sturdy food bag can pipe plain dots; a small kitchen spatula can spread an even coat. None needs to imitate an elaborate flower tip or a perfectly machined scraper to make the cake look considered.
Decide on one main texture and one finishing detail before you start. For example, pair soft spoon swirls with a restrained scattering of sprinkles. Adding several unfamiliar techniques to the same cake makes each correction harder, especially when your tools are improvised.
Build a small kit from the kitchen
Look for tools with surfaces that are smooth, clean and suitable for contact with food. A small flexible spatula helps move frosting out of the bowl, while a blunt table knife or ordinary spreading knife can handle smaller areas. A metal spoon with an unchipped bowl is useful for repeatable marks. Choose handles you can hold comfortably without gripping tightly.
- A stable plate or rigid cake board to support the cake.
- A flexible spatula and a small spreading knife for applying frosting.
- A clean teaspoon or dessert spoon for texture.
- A new, sturdy food storage bag for simple piping, if desired.
- Baking parchment and scissors for a basic piping cone or board protection.
Do not turn a piece of packaging into a cake scraper merely because one edge looks straight. Unknown coatings, damaged plastic and materials not intended for food contact are poor substitutes. If you do not have a suitable straight tool, choose a textured finish instead of forcing an unsafe workaround.
Make the foundation easier to decorate
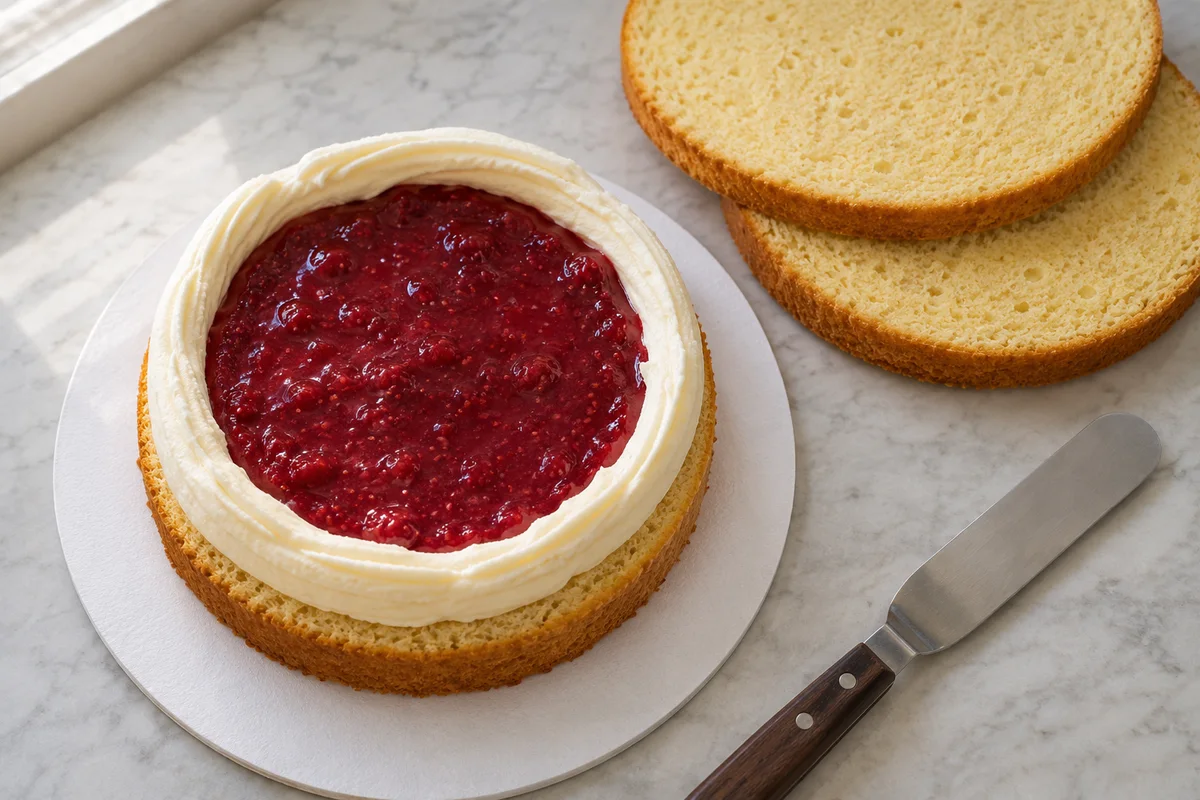
Even a casual cake benefits from cooled, stable layers. Level substantial domes before stacking and keep filling amounts controlled. Decorating pressure that would be harmless on a sound cake can push a warm or poorly filled layer out of position. Use our stacking and filling guide if the cake moves before frosting begins.
Place the cake where you can reach around it without leaning over the top. A turntable is convenient, but you can decorate in sections on a stable plate. Move yourself around the counter or carefully rotate the entire supported plate between strokes. Do not spin a loose board over an improvised pedestal that might tip.
Apply a thin crumb coat with your spreading tool, keeping a separate small portion of frosting for this job. Collect crumb-laden frosting separately rather than returning it to the clean finishing batch. Let the coating become suitably firm for the frosting recipe before applying the outer layer. A thin preliminary coat reduces the amount of repair your ordinary tools need to do later.
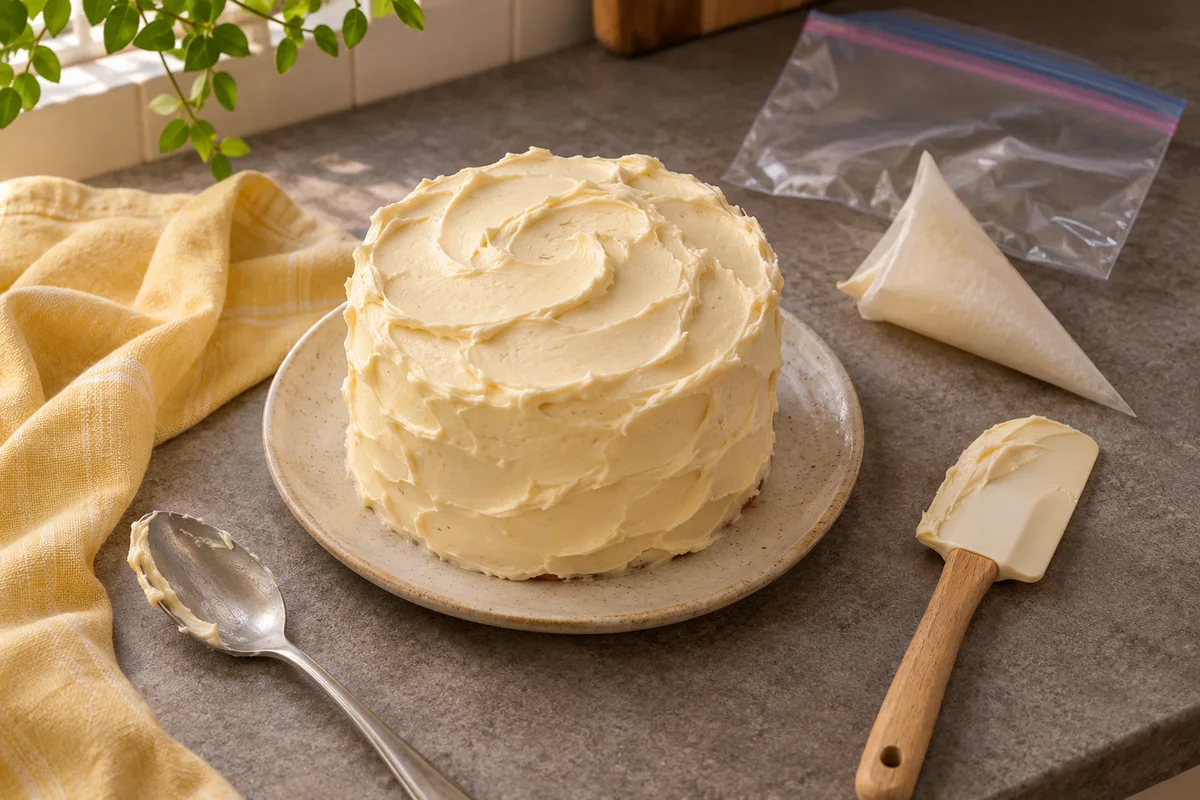
Create a spoon-textured finish
Spread enough finishing frosting over the crumb coat to make shallow marks without exposing the sponge beneath. It does not need to look polished at this stage, but the coverage should be reasonably consistent. A very thin section beside a thick mound makes every spoon stroke behave differently.
- Test a short stroke. Hold the spoon so its curved back touches the frosting lightly. Make one small swoop and inspect whether it creates a soft ridge or drags crumbs into the finish.
- Choose a direction. Work in small arcs, short upward strokes or broad swirls. Repeat that movement rather than changing direction at every gap.
- Work in neighboring sections. Add marks beside completed ones, slightly overlapping their edges where appropriate. Keep the spoon from digging into the underlying cake.
- Finish the top deliberately. Carry the same texture onto the top, or use broader circular swirls there. Keep the outer rim tidy rather than dragging excess frosting down the sides.
- Clean between corrections. Wipe the spoon if frosting builds up unevenly. Repair one damaged area with fresh frosting instead of retracing every mark around the cake.
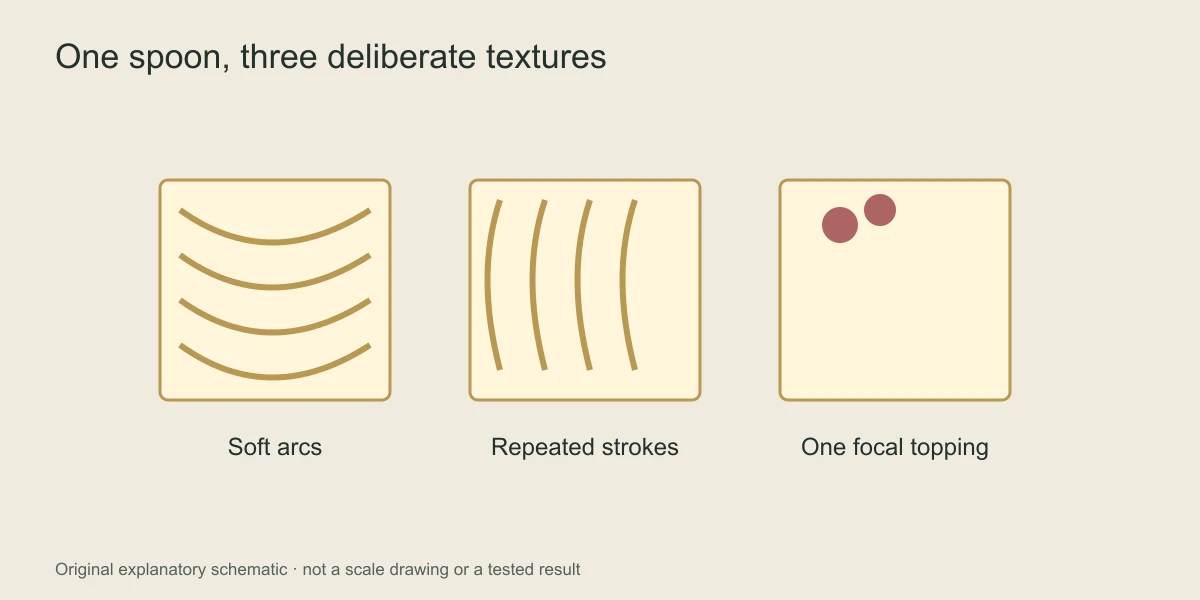
A short repeated pattern usually looks more intentional than a completely random surface. If one stroke is deeper than its neighbors, soften that location with a clean spreading tool and remake the mark. Resist smoothing all the texture away just because it is not perfectly identical; the attractive feature is the consistent movement, not mechanical uniformity.
For a quick comparison, press the spoon's back into one test patch and lift straight away, then make a short curved drag in another. The first motion leaves a shallow impression, while the second creates a ridge with a visible direction. Pick the result you prefer and repeat that action. This small test helps prevent a cake covered with two competing textures simply because the grip changed halfway through decorating.
Pipe simple dots with a food bag
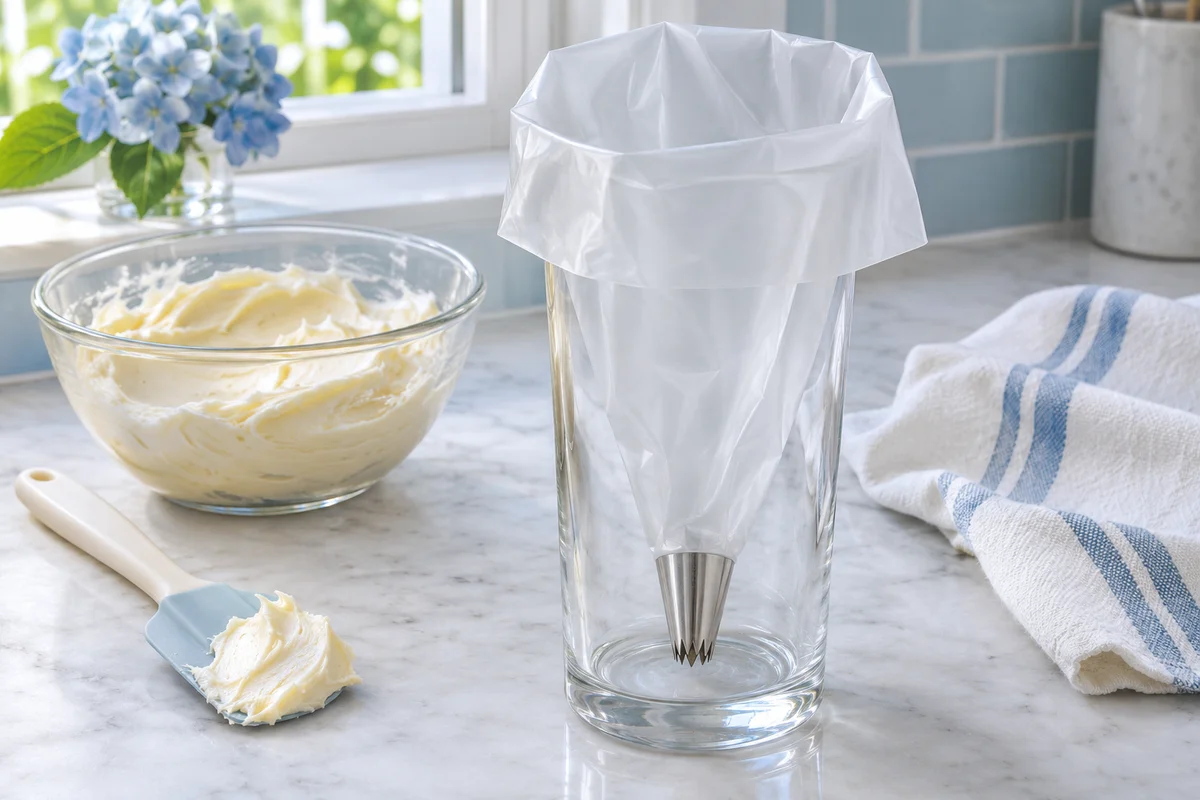
Use a new food bag designed to hold food, with a corner strong enough for gentle piping. Load a modest amount of smooth frosting and close or twist the top so you can apply pressure from above the filling. Avoid filling the bag completely: it is harder to control and more likely to squeeze frosting from the opening.
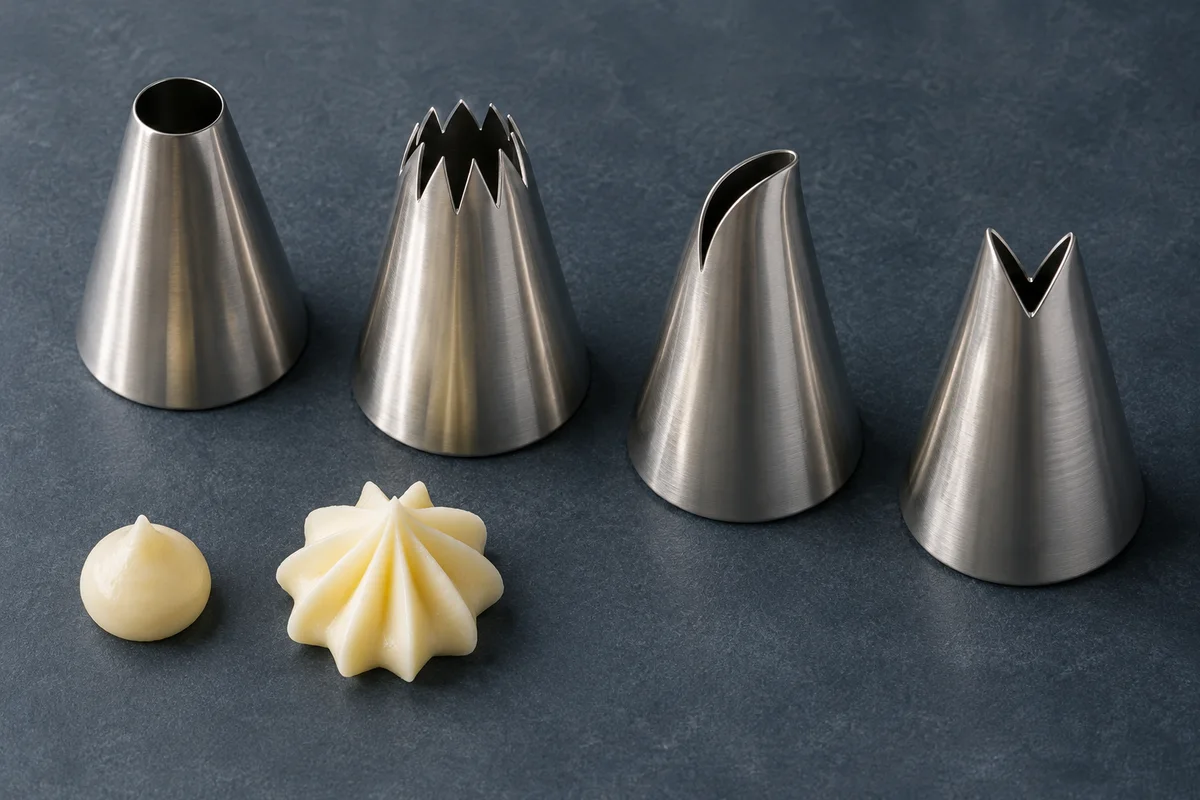
Snip a very small opening in one corner and test it on a clean plate. You can enlarge an opening, but cannot make it smaller after cutting. A bag without a metal nozzle is best for plain dots, simple lines or small dollops. It will not reproduce the defined ridges of a star tip, and a thin bag may split if you try to force stiff frosting through it.
For a dot, hold the opening just above the surface, squeeze until the dot reaches the chosen size, stop squeezing and then lift away. Practice several dots before adding them to the cake. Our piping-bag loading guide explains pressure and empty air pockets in more detail, even if your first bag is a simple kitchen substitute.
Use parchment for small details
A parchment cone can hold a small amount of suitable piping material for a short line or restrained detail. Roll the parchment into a cone with a tight point, check that the seam stays closed and fold the open top securely after filling. Practice holding and squeezing it before positioning it above a finished cake.
Keep the design simple and the cone lightly filled. A cone that unfolds in your hand is not ready to use over a cake. Small paper cones are not a substitute for a robust bag when piping a large quantity of stiff frosting. If the point or seam becomes damaged, replace the cone rather than holding it together over the food with improvised clips or adhesive.
Another useful parchment task is protecting the serving board while frosting. Slide a few narrow strips under the cake's outer edge, keeping enough exposed to remove them gently afterward. Do not bury the strips beneath a heavy finished cake and then tug hard enough to shift the layers.
Know when a purchase would help
For occasional textured cakes, a spoon and spreading knife may be entirely sufficient. If smooth vertical sides are your repeated goal, an offset spatula and food-safe straight scraper can make the task more comfortable. If you love piped borders, one suitable tip and a sturdy bag are usually more useful than a large set of unfamiliar shapes.
Think about the problem before buying the tool. Uneven filling needs better assembly, not a new piping nozzle. Warm frosting needs an appropriate recipe and handling conditions, not a wider scraper. The piping-tip guide can help you choose a shape when a specific decoration genuinely calls for one.
Keep the finishing details restrained
Consider a small birthday cake with ivory spoon texture and colored dots around the base. Use dots of similar size, then leave the upper surface mostly clear for the main decoration. If the board looks messy, clean it before adding more dots. Extra decoration should serve the design, not conceal unfinished cleanup.
Choose toppings that suit the frosting and serving plan. Fresh fruit needs appropriate preparation and placement, explained in our fruit-decoration guide. Keep unknown flowers, craft glitter and non-food decorative materials away from the edible surface. The absence of specialist tools is not a reason to compromise the materials touching the cake.