Smooth American buttercream starts with the butter, not an extra splash of milk at the end. If the butter contains cold lumps, the sugar will not make them disappear. If it has become oily and slack, whipping harder will not rebuild the texture you need for a neat cake finish.
American buttercream combines butter and confectioners' sugar with small amounts of flavoring and liquid. It is useful when you want an accessible frosting that can be adjusted for spreading or simple piping. Smooth and fluffy describe different goals: the mixture can feel light in the mouth while still containing visible air pockets. Make the frosting first, then finish its texture for the task.
Understand what each ingredient contributes
Butter provides richness and most of the frosting's structure. Confectioners' sugar adds sweetness and body, while its fine particles disperse more readily than granulated sugar. Vanilla contributes flavor rather than structure. Milk or cream loosens the mixture, so an unnecessary large addition can change a piping frosting into a loose coating.
Use the butter type specified by your chosen recipe. Spreadable butter products and lower-fat substitutes can contain different proportions of water and other ingredients. They are not automatic equivalents for a block of butter. Check your sugar packaging too: confectioners' sugar and ordinary fine granulated sugar are different products, even when both look pale and powdery at a glance.
- A reliable American buttercream recipe with weights and ingredient instructions.
- A mixing bowl large enough to contain the sugar without spilling.
- A mixer with a suitable beater or paddle, plus a flexible spatula.
- A sieve if the sugar is visibly lumpy, and measuring spoons for small liquid additions.
For a complete ingredient formula, use a professional recipe such as Wilton's vanilla buttercream. Keep its starting proportions intact while learning the mixing method. Changing the fat, reducing the sugar substantially and replacing the liquid simultaneously makes it difficult to tell whether a texture problem comes from the formula or from handling.
Use a measured starting formula
For a concrete all-butter starting point, King Arthur Baking's quick buttercream uses 113g unsalted butter, 283–340g confectioners' sugar, a pinch of salt, one teaspoon vanilla and 28–57g milk. Its optional meringue powder is not necessary for the basic formula. Begin with the lower liquid quantity, follow its mixing order and assess the finish before adding more. These amounts belong to that reference recipe, not a claim that we developed or tested it.
Start with pliable butter
Press the butter gently with a clean utensil. It should yield without feeling liquid or showing a greasy puddle. “Room temperature” is an imperfect instruction because kitchens vary. The useful observation is the butter's physical condition, not how many minutes it has spent on the counter.
Cutting a cold block into smaller pieces helps it soften more evenly. Do not microwave a whole block until the outside melts while the middle remains hard, then expect the bowl to behave consistently. If you accidentally melt part of it, restore an even workable texture before mixing rather than trying to hide the unevenness under sugar.
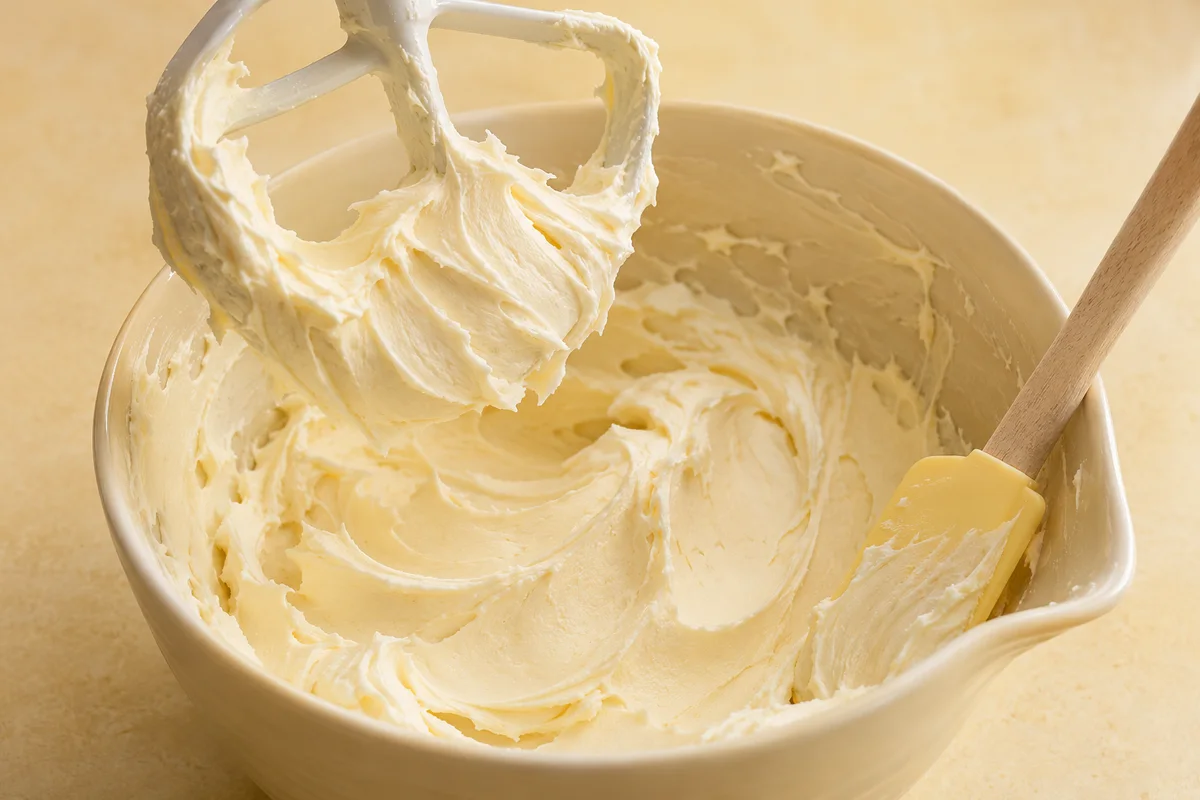
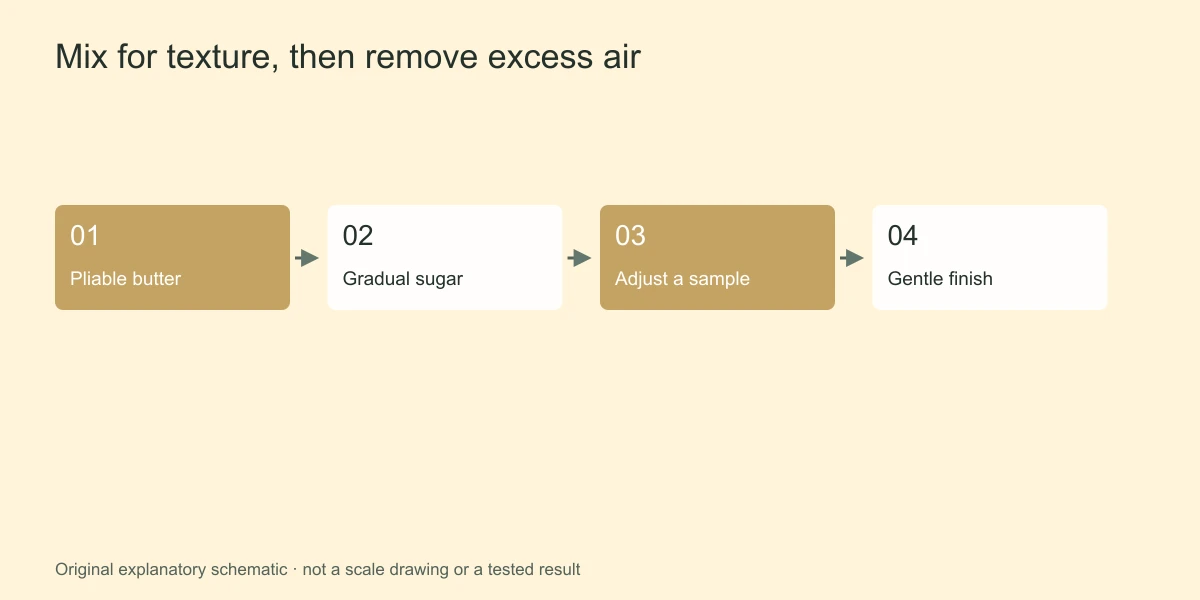
Beat the butter until it looks uniform, stopping to scrape the bowl and beater. Look for small pale lumps pressed against the sides. Those lumps are easier to deal with now than after the frosting contains its full sugar load. Scraping is an active mixing step: the beater does not reach every part of the bowl by itself.
Add sugar in controlled stages
- Check that the butter is evenly pliable and beat it to a consistent texture.
- Add a portion of the confectioners' sugar with the mixer stopped. Start slowly so the sugar combines instead of becoming a cloud.
- Scrape the sides and bottom before adding the next portion. Inspect the underside of the beater for unmixed butter.
- Add the recipe's flavoring and liquid in the stated order, holding back any optional liquid until the texture has been assessed.
- Mix until the frosting is uniform, then test a small amount with the tool you plan to use.
A fixed clock time is less helpful than a visible checkpoint. A small hand mixer, a large stand mixer and different batch sizes do not work identically. The mixture should no longer contain isolated butter pieces or dry sugar pockets. Continuing to whip simply because a timer has not finished can add more air after the ingredients are already combined.
Separate ingredient smoothness from trapped air
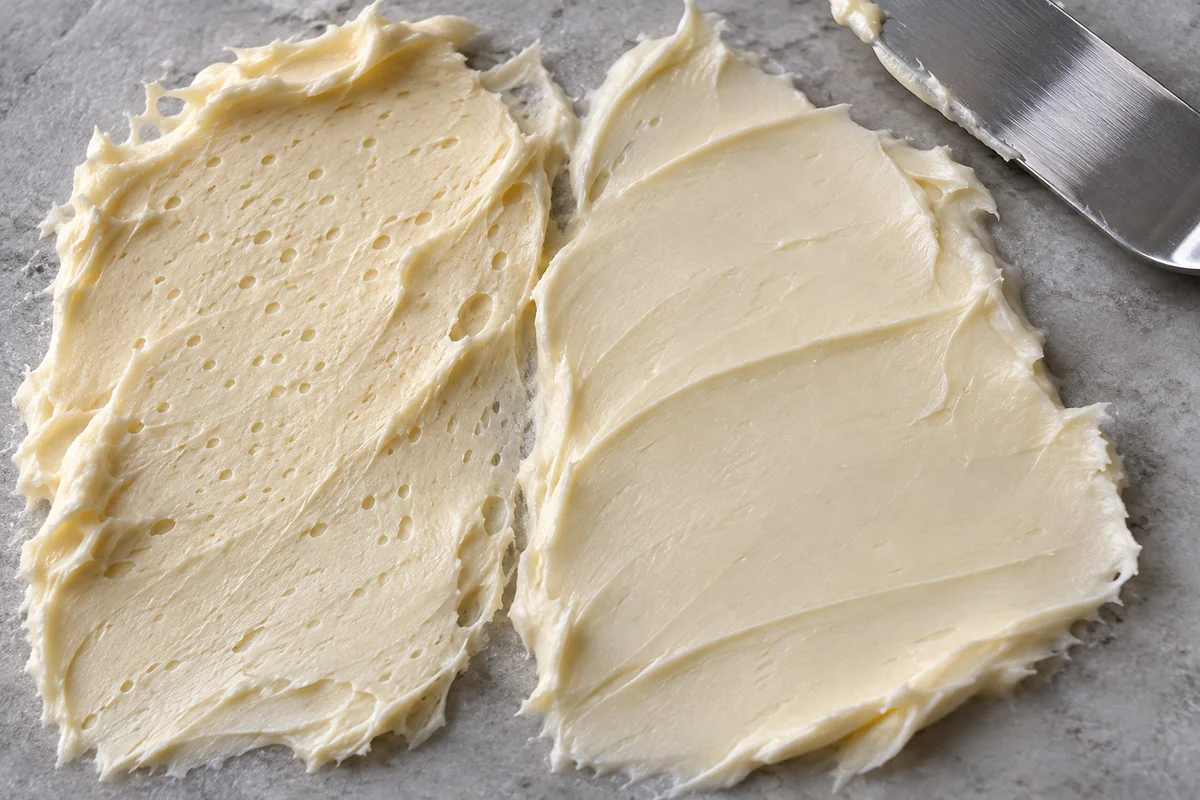
Rub a little frosting between the back of a clean spoon and the bowl. Obvious lumps suggest incomplete mixing or clumped ingredients. Tiny holes across an otherwise uniform mixture point toward incorporated air. These need different responses: more force does not necessarily solve both problems.
For an aerated mixture that is already fully combined, switch from aggressive whipping to gentle mixing. King Arthur Baking's smooth-frosting guidance discusses low-speed paddle mixing to release bubbles. Treat this as a finishing stage, not a requirement to leave every batch mixing for a prescribed long interval.
If you have only a hand mixer, stop and use a spatula to press the frosting against the bowl in broad strokes. Work through a manageable portion rather than chopping repeatedly through it. Examine the pressed surface: you want fewer pits and a more continuous smear, not a larger quantity of trapped bubbles.
Adjust for spreading or piping
For spreading, the frosting should move under a spatula without pulling excessively at the cake. For piping, test whether a simple star retains its ridges. Neither observation tells you a universal correct temperature, but both give you a clear purpose for the next adjustment.
If the frosting resists spreading while the butter is evenly pliable, add only a small measured portion of the recipe's permitted liquid, mix thoroughly and reassess. If it is soft because the bowl has warmed, adding sugar immediately may make the eventual cooled frosting unnecessarily stiff and sweet. Correct an obvious temperature problem before changing the ingredient balance.
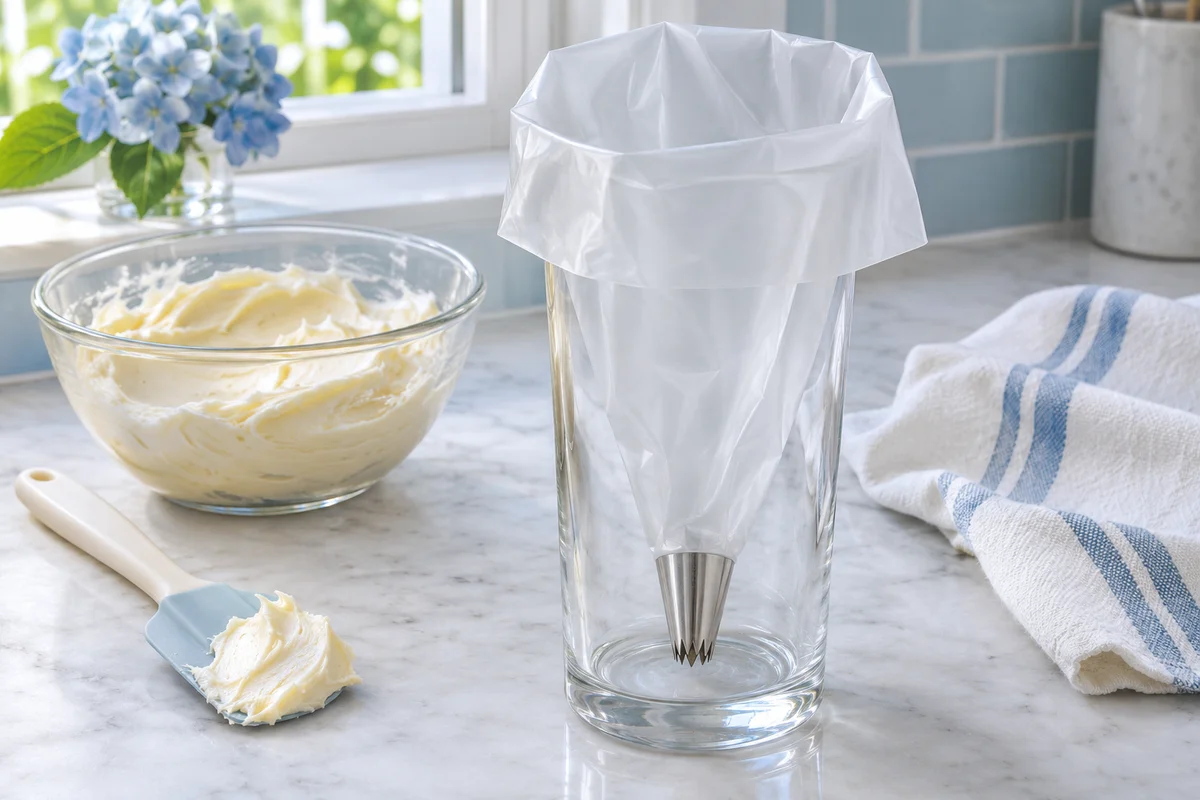
For piping, put a small amount into a bag and make three equal shapes. If the first is sharp and later ones soften, your hand may be warming the working portion. Use smaller refills and keep the remaining frosting protected. Our guide to filling a piping bag explains how to keep the bag manageable.
Read the symptom before correcting it
| Symptom | First observation | Focused response |
|---|---|---|
| Small firm lumps | Were cold butter pieces left in the bowl? | Restore an even texture rather than adding more liquid blindly. |
| Many pinholes | Is the mixture uniform but highly aerated? | Try gentle paddle mixing or broad spatula pressing. |
| Slumping piping | Has the working portion become warm? | Reassess temperature before altering the whole batch. |
| Rough cake coating | Is the cake shedding crumbs or the frosting too resistant? | Check both the crumb coat and spreading texture. |
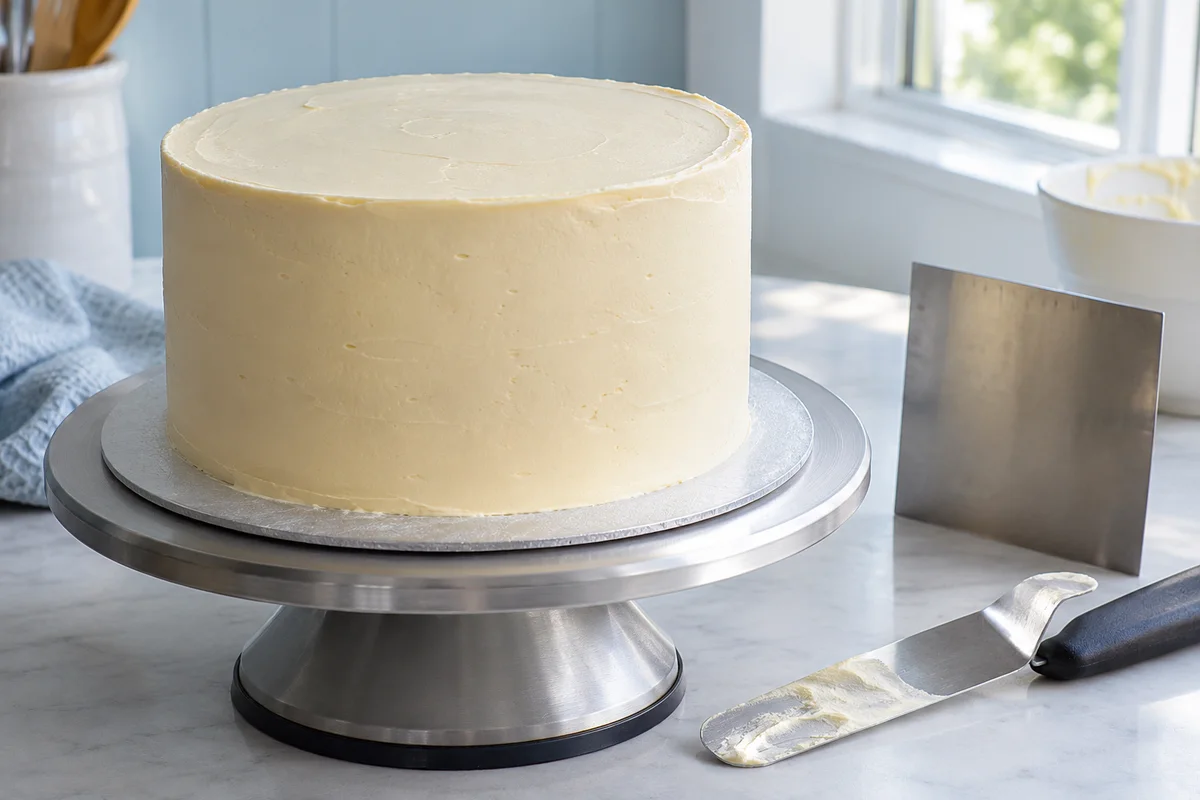
Use the air-bubble troubleshooting guide when the mixture is already smooth in composition but pitted in appearance. For cake coating problems, the smooth buttercream edges guide distinguishes frosting texture from scraper technique.
Keep storage separate from texture
Imagine a batch intended for both a cake coating and a ring of rosettes. Reserve the piping portion before loosening the rest for spreading. This prevents a common sequence in which the whole bowl is thinned for easy coating, then stiffened again for the final decoration. Separate portions make the adjustment more direct and reduce unnecessary changes to flavor and sweetness.
Work with similar amounts when comparing two attempts. A teaspoon of liquid has a different effect in a small cup of frosting than in a large mixer bowl. Label the reserved portion and keep clean tools for it, especially if the cake spatula has already picked up crumbs. Those small organizational choices help preserve a smooth final decoration without requiring a different recipe.
A frosting that holds a neat ridge is not automatically safe for indefinite display. Storage depends on the formula and every perishable ingredient in the finished cake. Follow your recipe's storage directions, and use the conservative refrigeration approach explained in our buttercream storage guide when the formula has not been assessed for shelf stability.
For a useful next attempt, record the recipe, butter condition, mixer attachment and any liquid you added. A short note such as “one small addition loosened the finish” is more actionable than “mix longer next time.” Save the frosting adjustment for the next batch only when the same ingredients and intended decorating task apply.