To stack a layer cake without sliding layers, remove the slopes before adding the filling. Level cake surfaces, restrained filling and a stable support give each layer somewhere predictable to sit. Chilling can help an appropriate frosting firm up, but it cannot turn a wedge-shaped stack or a loose filling into a sound structure.
This method is for layers within a single cake tier. Stacking separate tiers is a different task that requires an appropriate support system. Do not assume that a buttercream dam, a cold cake or a skewer makes a multi-tier arrangement structurally safe.
Prepare the support and workspace
Use a rigid cake board or serving surface large enough for the cake and any planned decoration. Set it on a level, stable counter. If a turntable is involved, check that the platform turns smoothly without wobbling before placing a filled cake on it. An unstable platform makes it difficult to distinguish a problem in the cake from movement underneath it.
Choose a board that can support the finished cake during any transfer you actually need to make. A thin decorative liner is not equivalent to a rigid support. Decide where the cake will be stored before assembly, including whether its board and container fit. Clearing that space now prevents an awkward move while the filling is still soft.
- Have a serrated knife, small spatula, piping bag and scraper within reach.
- Separate filling portions and reserve frosting for the outside before starting.
- Place a clean plate nearby in case a layer needs to be lifted off.
- Keep the intended front of the cake consistent while checking its alignment.
Level the cake layers before filling
Allow the baked layers to cool completely as their recipe directs. A layer that feels cool on its outer edge may still hold warmth inside, which can soften the frosting after stacking. Do not rush this stage by covering a warm layer with a thick filling and hoping the refrigerator will compensate.
Inspect each layer from the side. Trim a substantial dome with a long serrated knife, supporting the cake on a flat surface. Make a shallow guide cut around the circumference, then use controlled sawing strokes rather than pushing the blade down through the middle. Keep your guiding hand clear of the cutting path and let the knife do the work.
Lay the trimmed surfaces beside one another and compare them. Perfection is not necessary, but a clearly sloped layer should be corrected before filling. Avoid shaving away large amounts simply to make every layer exactly the same height. The more important goal is a flat contact surface that does not tilt the layer above it.
Choose a filling that suits the structure
A firm frosting and a loose fruit sauce do not behave the same way under a cake layer. Use a filling intended for layered cakes, following its recipe rather than improvising a thick puddle of something that tastes good on a plate. A barrier at the perimeter can help contain a softer filling, but it is not a substitute for choosing a suitable consistency.
Plan a modest, repeatable amount for each seam. For a four-layer cake, divide the internal filling among three spaces and keep the outer frosting separate. If the first seam receives a generous scoop and the last receives the leftovers, the stack will look uneven even when the layers themselves were leveled carefully.
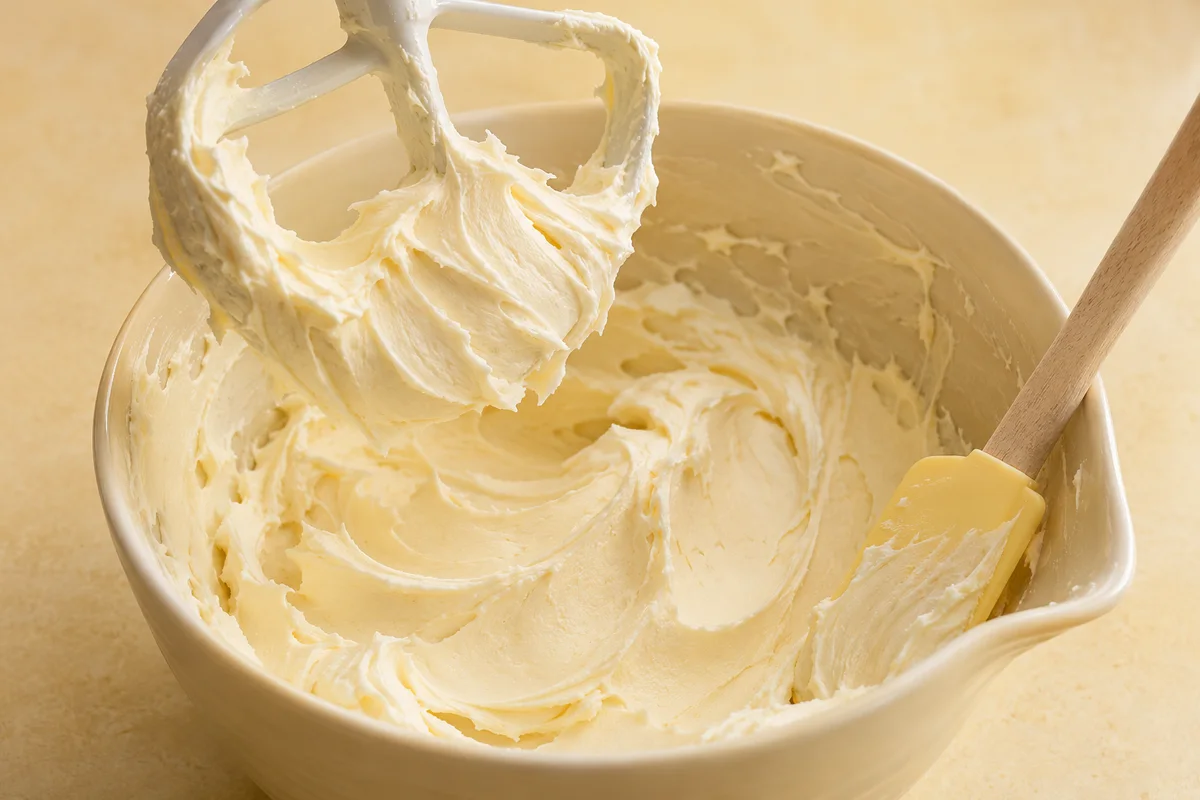
Use frosting that spreads without dragging the cake. If applying it requires so much pressure that the sponge moves or tears, reassess the frosting before continuing. Our American buttercream guide discusses the texture of a basic decorating frosting. Choose the recipe appropriate to your cake instead of combining unrelated adjustment rules.
Stack and fill in controlled stages
- Anchor the first layer. Place a small dab of suitable frosting on the board and center the cake layer over it. This helps resist small movements during decorating; it is not a structural adhesive for transporting an unsupported cake.
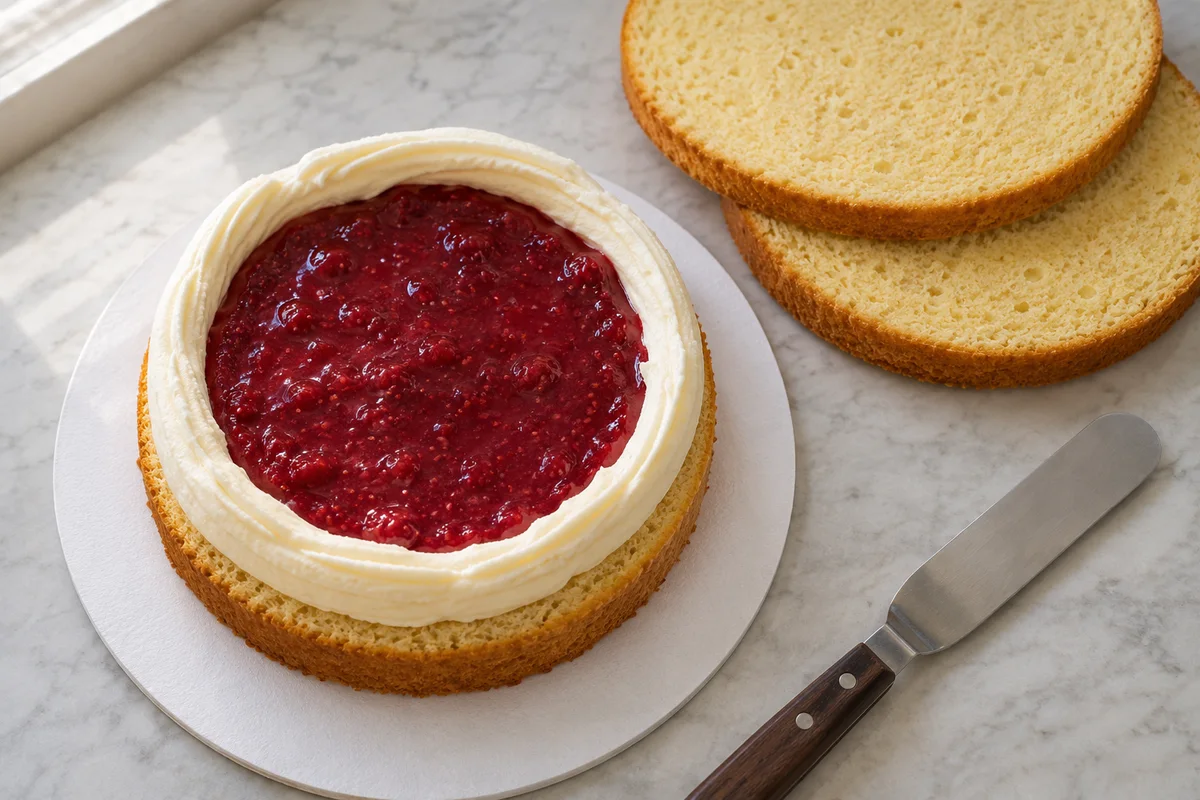
- Apply the filling. For frosting alone, spread an even layer across the surface without creating a mound. For softer filling, pipe a continuous perimeter dam of firmer frosting just inside the outer edge, then fill the contained space conservatively.
- Check the level. Look across the filling from several sides. Keep the filling surface aligned with the dam rather than piling it above the barrier. A high central mound pushes the next layer upward and encourages it to pivot.
- Lower the next layer. Support it evenly while positioning it above the cake. Lower it gently into place instead of dropping one edge first or sliding it through the filling. Align the perimeter before making light, even contact.
- Inspect before repeating. Check vertical alignment and seam thickness. If the layer is visibly misplaced, lift and reposition it carefully before adding another level. Repeat only when the current seam looks stable.
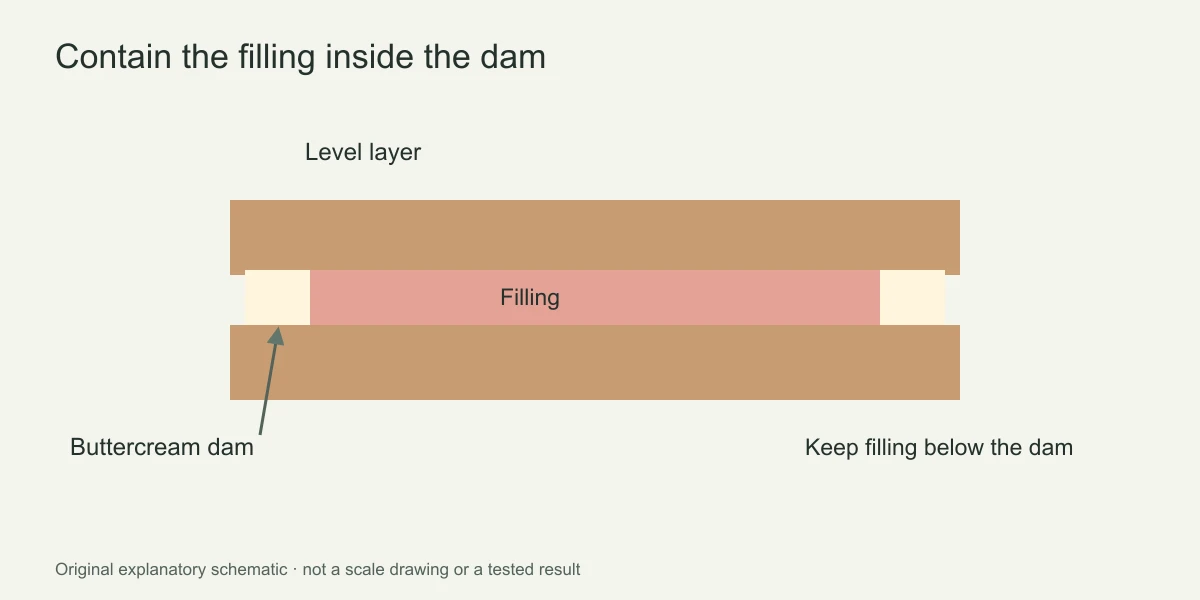
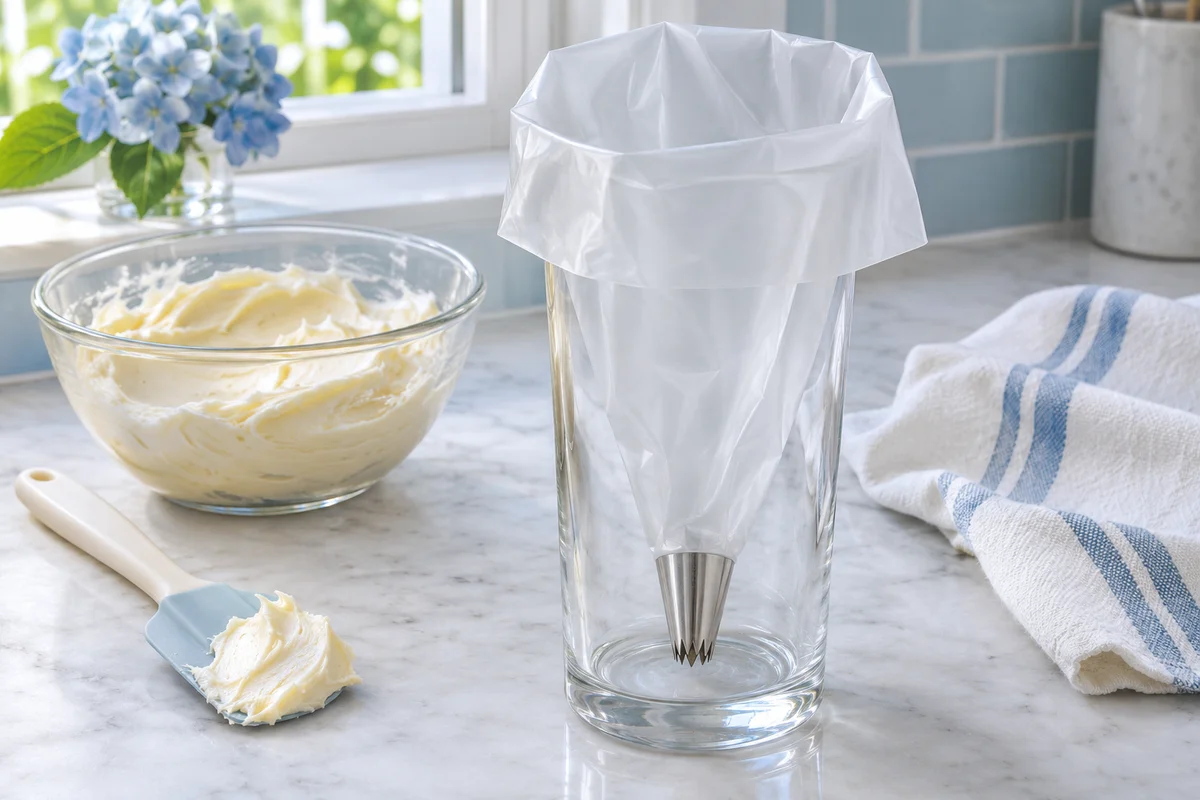
At the dam stage, the outside ring should be continuous rather than dotted with gaps. A tiny opening can become the path of least resistance when the next layer settles. If you need help loading a bag without large empty pockets, see our piping-bag filling guide.
Let the stack settle before the final coat
Pause after assembly and inspect the cake from the side. A small amount of filling settling is different from a layer visibly moving. If the cake is continuing to lean, address the assembly problem rather than proceeding to the outer decoration. Spreading frosting across a moving cake can hide the warning signs while adding more sideways force.
Where the frosting recipe permits chilling, refrigerate until the filling and outer surface are firm enough for the next step. Use the frosting's condition as the practical cue, alongside its handling instructions, rather than treating a fixed timer as proof that every cake is ready. Chilling requirements for food safety still depend on the filling and other ingredients.
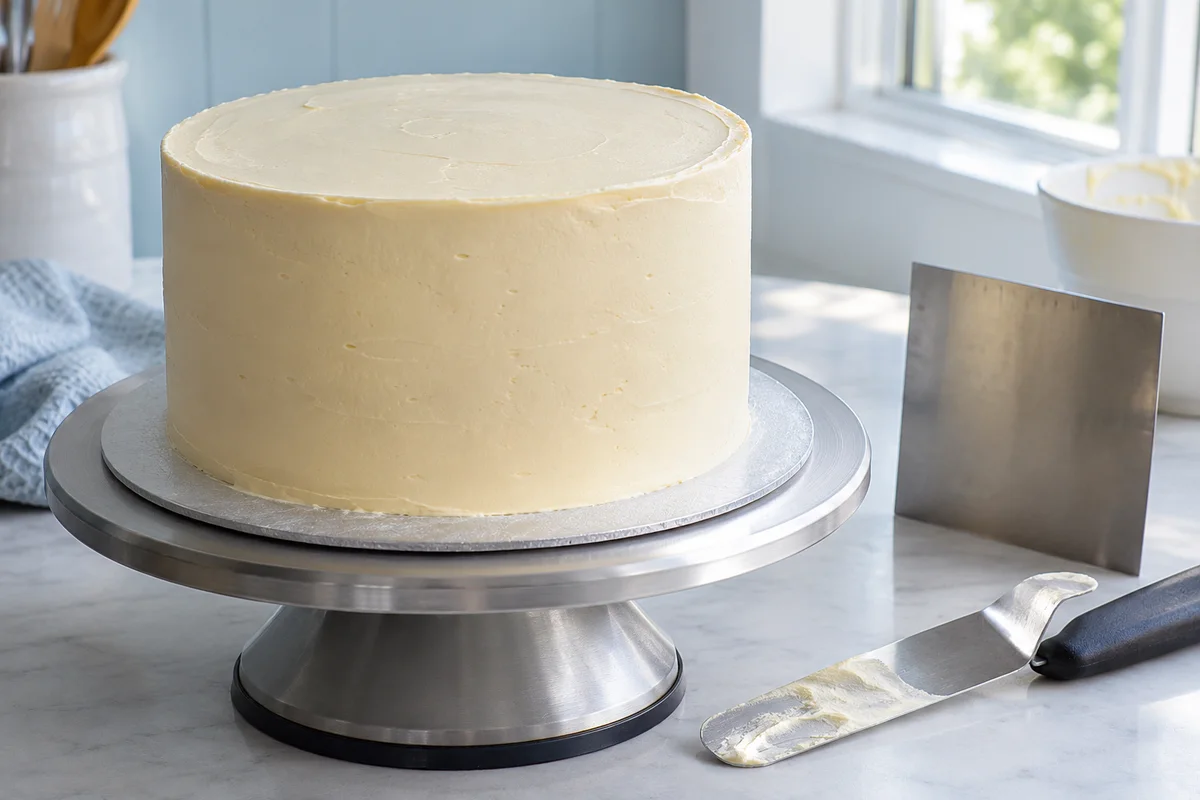
Apply a thin crumb coat with light pressure to trap loose crumbs and fill small surface gaps. Do not use this coating to force a crooked stack into position. Follow our smooth-edge technique only after the assembled cake is stable; a final coat is much easier to control when you are not fighting the layers underneath.
Match the symptom to the next correction
Mark the intended front on the board with a removable indicator outside the food area. This makes repeated checks more useful: you can compare the same view after every layer instead of unconsciously rotating the least tidy side away. Take a straight-on photograph before covering the seams. If a problem develops later, that image helps distinguish a stack that was already crooked from one that shifted during coating or handling. Keep the camera level with the middle of the cake; a steep overhead angle can make a leaning stack look deceptively centered.
| What you notice | Check first | Focused correction |
|---|---|---|
| Every layer tilts the same way | Counter, board and layer surfaces | Level the support and correct sloped layers |
| One seam bulges | Filling volume and dam height | Rebuild that seam with restrained filling |
| Layer shifts while frosting | Warmth and tool pressure | Reassess frosting condition and work more lightly |
| Fruit filling escapes locally | Gap or weak point in the dam | Repair the barrier before covering the sides |
Suppose a three-layer cake looks straight until the top layer is added. First examine the second filling seam and the underside of that top layer. Rebuilding the entire base immediately may introduce more damage without addressing the actual cause. Conversely, if the cake leans before any filling is added, changing frosting consistency will not fix the support or cake geometry.
Once the stack holds its alignment, clean the board and plan decoration around its actual shape. Keep heavy toppings modest and supported. For a related symptom after the coating stage, read why buttercream can slide off a cake; frosting slipping at the surface and cake layers shifting at a filling seam require different corrections.